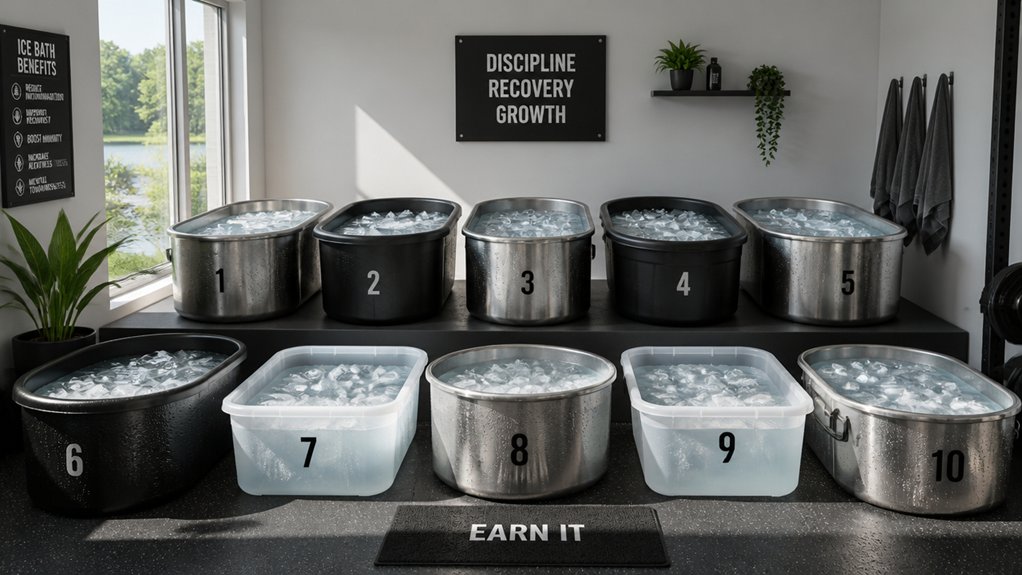
You can build an effective DIY ice bath using heavy-duty containers like Rubbermaid stock tanks or waterproofed chest freezers, which are cost-effective and customizable. Insulate well to retain cold, use temperature controllers to keep water around 45-50°F, and add circulation pumps for even cooling. Manage ice and water hygiene easily with proper maintenance and safety precautions. If you continue exploring, you’ll discover detailed steps to create your ideal recovery setup.
Why Build a DIY Ice Bath for Recovery?
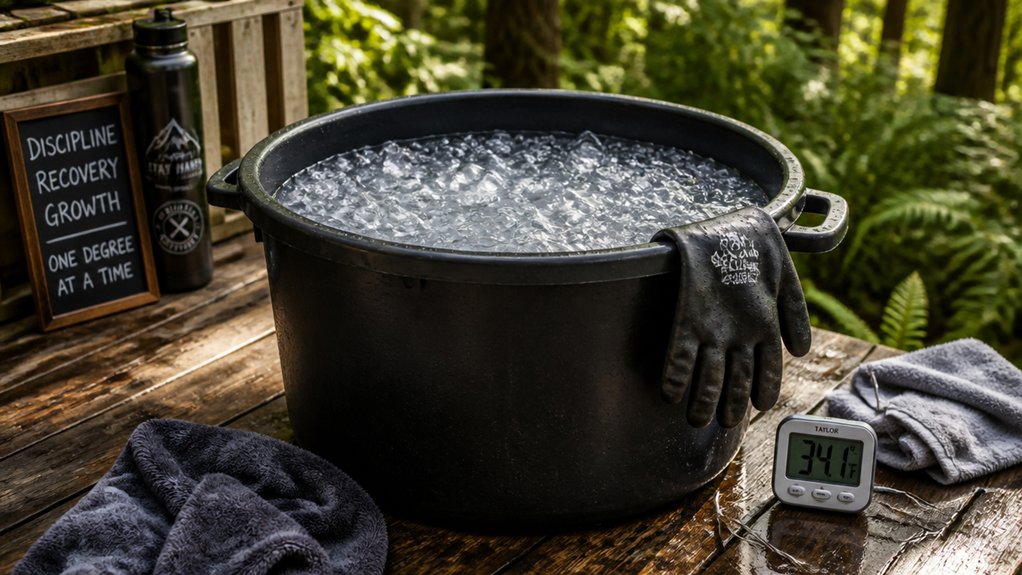
Have you ever considered building a DIY ice bath to enhance your recovery routine? Cold water immersion therapy is proven to reduce muscle soreness and inflammation after intense workouts, helping you recover faster.
Discover how a DIY ice bath can speed up recovery and ease muscle soreness effectively.
With a DIY setup, you can keep costs under $1000, unlike commercial tubs that often exceed $3000. Using materials like chest freezers and temperature controllers such as Inkbird, you can maintain precise water temperatures between 45-55°F, ensuring effective cold plunges.
Besides physical benefits, cold water immersion also supports mental health by lowering cortisol levels and boosting alertness.
Additionally, choosing a high-quality chest freezer ensures durability and efficient temperature regulation for safe and reliable cold plunges.
Plus, a DIY setup requires regular maintenance, including water changes every two weeks and safety precautions like unplugging electrical components before use.
Building your own ice bath offers an affordable, customizable way to optimize recovery.
Choosing the Best Container for Your DIY Cold Plunge
When selecting a container for your DIY cold plunge, consider material durability to guarantee it withstands frequent use and exposure to cold temperatures.
Size and capacity matter too, with 100 gallons being ideal for single users and larger sizes suited for multiple people or bigger individuals.
Don’t forget about insulation—choosing a vessel with good insulation can keep water cold longer and reduce your ice needs.
Additionally, selecting puncture-resistant materials ensures long-lasting use and minimizes accidental damages during setup and regular use.
Material Durability
Choosing a durable container is essential for the longevity of your DIY cold plunge, as it must withstand constant cold exposure, water weight, and user movement.
Heavy-duty plastic stock tanks, like Rubbermaid models, are excellent options because they’re weather-resistant and built to last. Waterproofed chest freezers, typically 15 cubic feet or larger, can be durable if sealed properly with marine sealant and Flex Seal to prevent leaks.
While bathtubs are sturdy and accessible, they often lack insulation, which affects durability in maintaining cold temperatures. Proper sealing of seams and drains in chest freezers also boosts their durability by preventing water damage.
Ultimately, selecting a durable container guarantees your setup withstands repeated use, preventing cracks, leaks, and decay over time.
Size and Capacity
Selecting the right size and capacity for your DIY cold plunge container is key to ensuring comfort and functionality. A 100-gallon tub is ideal for full-body immersion, offering enough space for most users to submerge comfortably. If you’re taller or plan to share the bath with others, consider larger options around 120 to 150 gallons to provide ample room and prevent overcrowding.
The depth and shape matter too: shallower, longer tubs suit those who want to immerse mainly their legs or recline, while deeper, narrower tubs are better for upright sitting. Common container choices include waterproofed chest freezers of at least 15 cubic feet and sturdy plastic stock tanks.
Additionally, considering container dimensions will help you balance the container’s size with your space, maintenance ease, and immersion preferences for the best setup.
Insulation Benefits
Maximizing the insulation of your DIY cold plunge container guarantees you maintain low temperatures with less effort and cost. Insulated containers like chest freezers excel at this by keeping water cold longer and requiring less ice. They provide excellent insulation, ensuring stable temperatures and reducing fluctuations during immersion. Utilizing specialized insulated liners can further enhance thermal retention and improve overall efficiency. Using waterproof sealants and temperature controllers further enhances insulation, preventing heat loss and maintaining consistent cold temperatures. Choosing a well-insulated container, such as a sealed chest freezer, markedly lowers operational costs by reducing ice consumption and power use. Proper insulation is key to an effective, budget-friendly DIY ice bath setup.
How to Build a Stock Tank Ice Bath Step-by-Step
To build your stock tank ice bath, you need to start by choosing the right size that fits your space and immersion needs. Next, guarantee the tank is properly waterproofed and sealed to prevent leaks and corrosion. Additionally, selecting a cover with insulation efficiency can help in maintaining the desired cold temperature for longer periods. Finally, set up a reliable temperature control system, like ice, water chillers, or probes, to maintain the water at the right cold temperature.
Selecting Suitable Tank Size
How do you choose the right tank size to guarantee your ice bath is both effective and comfortable? Start by considering a stock tank that holds about 100 gallons, offering enough depth for full-body immersion.
For taller or larger athletes or if multiple users will share the cold plunge, opt for a tank between 120 to 150 gallons. Longer and shallower tanks are great for leg or reclining immersion, while deeper, narrower tanks suit upright sitting positions.
Heavy-duty plastic stock tanks, typically around $100, are affordable, weather-resistant, and widely available for DIY setups.
Proper sizing balances water volume and comfort, reducing the amount of ice needed while maintaining efficient cooling, ensuring your cold therapy sessions are both effective and enjoyable. Additionally, selecting a tank with appropriate insulation can help preserve cold temperatures and improve overall efficiency.
Waterproofing and Sealing
Guaranteeing your DIY ice bath is watertight requires careful waterproofing and sealing of all joints and seams. Use marine sealant and Flex Seal spray to coat inside seams and the bottom perimeter of your stock tank or chest freezer. This prevents water leaks and prolongs durability.
To secure a proper seal:
- Apply marine sealant evenly around all joints, especially near the drain plug.
- Use additional sealing if the drain lacks a rubber gasket.
- Check corners and edges for weak points and reinforce with extra layers.
- Allow the sealant to fully cure before filling with water to maintain a watertight barrier.
Proper waterproofing prevents leaks and water damage, making it easier to use temperature controllers and guaranteeing your cold plunge bath remains effective and safe.
Temperature Control Setup
Setting up a reliable temperature control system is essential for maintaining an ideal cold plunge bath. A quality temperature controller, like the Inkbird model, helps you keep the water between 45°F and 55°F. It automatically cycles your cooling device on and off, preventing the water from freezing and ensuring consistent temperatures. Using a smart cooling system ensures your bath maintains precise temperatures effortlessly and supports continuous comfort during recovery sessions. To rapidly reach and maintain your desired cold, add large quantities of ice or connect the tank to a water chiller system—recommend a 1/4 to 1/2 HP chiller for insulated tanks. Place your stock tank on a level, waterproof surface, and install a drain plug if needed for easy water changes. Regularly test and adjust water quality with brominating concentrate and pH strips to keep the bath safe and clean for prolonged use.
Transforming a Freezer Into a Cold Plunge: Materials and Tips
Transforming a chest freezer into a cold plunge is a practical DIY project that can greatly enhance your cold therapy routine. Start with a chest freezer of at least 9.4 cubic feet, like a Hot Point model, to guarantee sufficient space.
Transform a 9.4 cu ft chest freezer into a safe, effective cold plunge for your therapy routine.
To prevent leaks, seal all inside seams, including the bottom perimeter and drain plug if it lacks a gasket, with waterproof sealant like DAP. Install a temperature controller, such as Inkbird, to keep water between 44–48°F safely.
When filling, add water below the rim to prevent overflow and accelerate cooling with ice, trusting the thermostat to avoid freezing. Proper sealing of the freezer’s internal surfaces with appropriate waterproof sealants helps ensure durability and prevent water damage. Finally, always unplug the freezer before use to eliminate electrical hazards.
Proper materials and safety measures make your DIY cold plunge effective and safe.
Set Up Water Circulation and Control the Temperature
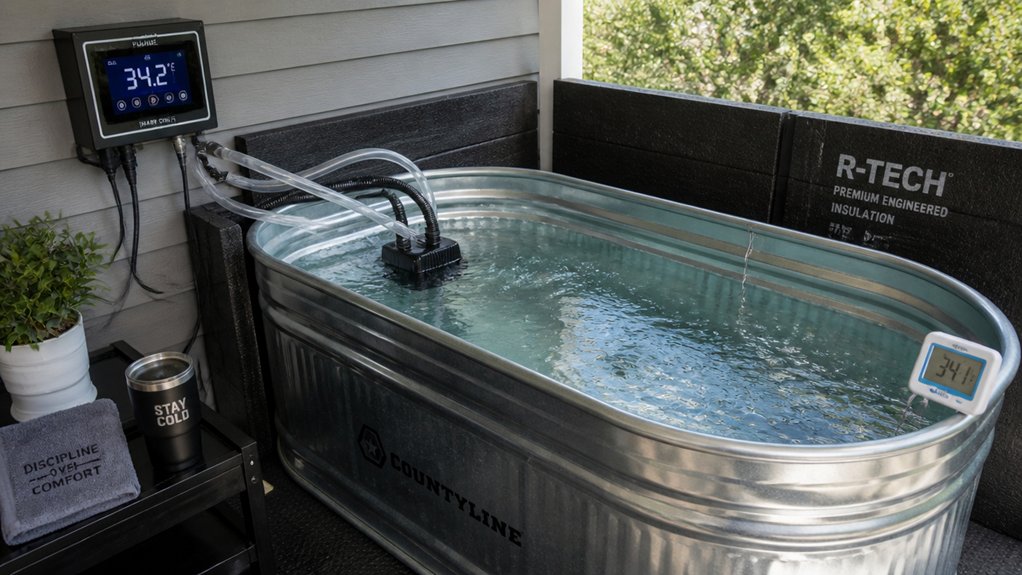
To achieve consistent and comfortable immersion temperatures, you should incorporate a water circulation pump or small submersible pump into your DIY ice bath setup. Proper circulation helps evenly distribute cold water, preventing temperature stratification and ensuring a uniform, invigorating experience.
To automate temperature control, use a device like the Inkbird controller, setting activation points such as on at 48°F and off at 44°F. This maintains water around 45-50°F effectively.
Make sure all seams and drain plugs are properly sealed to prevent leaks. Regularly monitor the water temperature and adjust the controller as needed, especially for longer sessions.
When adding ice, unplug electrical devices beforehand for safety, and rely on automated cooling to quickly reach and maintain your target temperature.
Stay Safe: Essential Tips for Your DIY Ice Bath
To stay safe with your DIY ice bath, make sure to unplug electrical components before use to avoid shocks.
Keep the water clean by showering beforehand, changing it regularly, and using filtration or disinfectants.
Pay close attention to your body’s signals, and stop immediately if you feel dizzy, numb, or severe discomfort.
Proper Electrical Safety
Ensuring electrical safety is essential when setting up your DIY ice bath, and it starts with disconnecting the freezer from the power source and temperature controller before entering.
Always unplug your chest freezer to prevent any risk of electrical shock.
Follow these safety steps:
- Use a waterproof sealant like DAP on all inside seams, including the bottom and drain area, to prevent water leaks.
- Regularly inspect cords for damage or fraying, replacing any that are compromised.
- Keep electrical connections away from splashes or direct water contact.
- Employ an external, reliable temperature controller (like Inkbird) to safely manage water temperature without risking freezing.
Maintain Water Hygiene
Maintaining water hygiene in your DIY ice bath is essential for safety and comfort, especially with frequent use. To keep the water clean, change it approximately every two weeks if you use it about six times a week.
Taking a quick shower before entering helps reduce contamination and keeps the water fresher longer. You can also use water treatment methods like brominating concentrates and monitor pH levels with test strips to prevent microbial growth.
If possible, add a filtration system to reduce debris and extend the time between water changes, especially in setups like stock tanks or chest freezers.
Finally, guarantee all seams and joints are properly cleaned and sealed to prevent leaks and mold, creating a hygienic, safe immersion environment.
Monitor Body Responses
Pay close attention to how your body reacts during and after each cold immersion session. Monitoring your responses guarantees safety and effectiveness.
Keep these key points in mind:
- Check the water temperature regularly, aiming for 45-50°F, to avoid overly cold conditions that could cause harm.
- Watch for symptoms like dizziness, lightheadedness, or excessive shivering — if any appear, exit immediately.
- Use controlled breathing techniques to prevent panic or hyperventilation, especially if you feel discomfort.
- Always unplug the electrical controller before entering the bath to prevent electric shock and guarantee safety.
Keep the Water Clean: Maintenance Tips and Tricks
Keeping your ice bath water clean requires regular upkeep and attention to detail. Showering before entering helps reduce contaminants, keeping the water fresher for longer.
To maintain hygiene, change the water about every two weeks if you’re using the bath around six times weekly. Installing a water filtration system also helps by reducing debris and prolonging the time between full water changes.
Using a brominating concentrate and testing pH levels with strips can prevent bacterial growth and keep the water fresh for several days. It’s essential to regularly seal seams and drain plugs to prevent leaks.
Additionally, cleaning out debris and debris buildup will keep your ice bath functional and safe, ensuring you get the most out of your recovery routine.
Insulate and Heat Your DIY Ice Bath for Extended Use
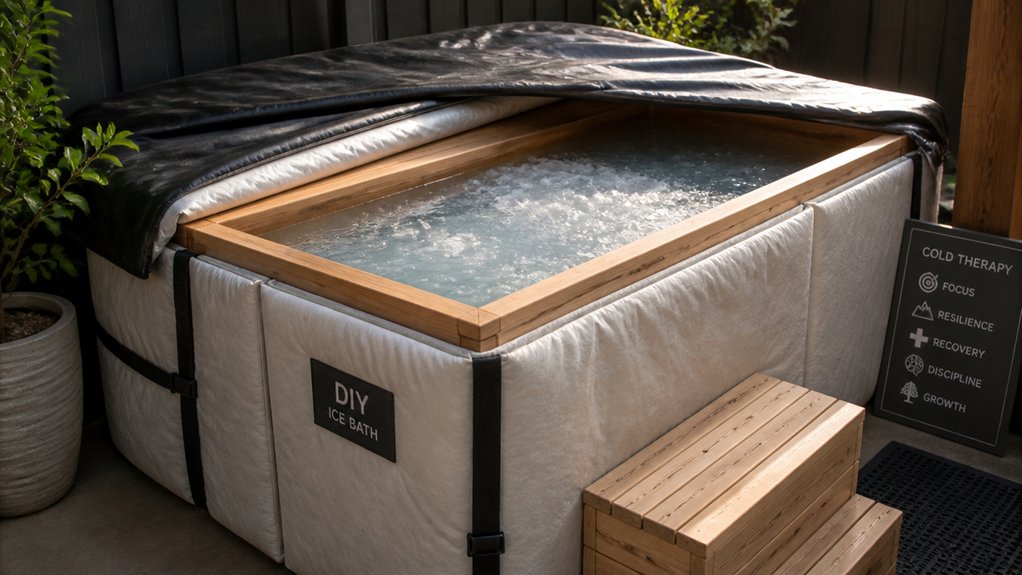
Insulating your DIY ice bath is essential if you want to extend its usability and reduce energy costs. Proper insulation helps insulate the temperature and maintain cold water longer. To do this effectively, consider adding foam board or reflective insulation around the tub or chest freezer.
When the bath isn’t in use, cover it with an insulated lid or cover to prevent heat gain and slow ice melt.
For those including heating options, integrate a hot water circulation system or heat exchanger to alternate between cold and warm without refilling. Avoid using electric immersion or aquarium heaters due to safety and temperature control issues.
Finally, combining insulation with a temperature controller, like an Inkbird, stabilizes water temperature and reduces cooling cycles, ensuring extended, efficient use of your DIY ice bath.
Budget-Friendly Materials and Costs Explained
Building a budget-friendly DIY ice bath is more accessible than you might think, especially when you choose cost-effective materials. A popular option uses a repurposed chest freezer, which costs around $350 and includes waterproof sealant and an Inkbird temperature controller for precise cooling.
You could also opt for large plastic stock tanks—around $100—that work well as tubs but require manual ice addition. Essential DIY materials include waterproof sealants like DAP ultra-clear, caulking tools, and temperature controllers priced between $30 and $40.
While commercial cold plunge tubs start around $3,000, building your own with household freezers and proper sealing offers significant savings. Overall, your upfront cost stays under $1,000, making cold water therapy affordable and achievable.
Troubleshoot Common Problems With Your DIY Ice Bath
When setting up your DIY ice bath, encountering some common problems is normal. To troubleshoot effectively, focus on a few key areas.
First, seal all seams and the drain plug carefully with waterproof sealant like marine sealant or Flex Seal to prevent leaks. Second, guarantee your temperature controller maintains water between 44°F and 48°F; improper control can cause freezing or warming issues.
Seal all seams and drain plugs with waterproof sealant to prevent leaks and ensure a safe, effective DIY ice bath.
Third, always unplug your setup before entering to avoid electrical hazards, especially with converted freezers. Fourth, regularly clean and change the water every one to two weeks, and shower beforehand to reduce bacteria.
Additionally, monitor ice supply closely and manage melting to keep water cold, replacing ice as needed. These steps help maintain a safe, functional DIY ice bath setup.
Frequently Asked Questions
How to Build a DIY Ice Bath?
You build a DIY ice bath by choosing a large, waterproof container like a chest freezer or stock tank, sealing it properly, installing a temperature controller, adding a drain, and ensuring safe placement and water quality.
How Do Athletes Do Ice Baths?
You fill a tub or tank with cold water, set the temperature around 45-55°F using a controller, then sit in for a few minutes, breathing steadily. Always shower before, monitor your time, and stay safe.
Can Ice Baths Help With Lipedema?
Ice baths can help with lipedema by reducing inflammation, easing pain, and improving circulation. You should consult your healthcare provider first, as cold sensitivity varies, and personalized guidance guarantees safe, effective use for symptom relief and lymphatic support.
Do Cold Plunges Help Neuropathy?
Cold plunges might help neuropathy by reducing inflammation and improving circulation, potentially easing nerve pain. However, since evidence is limited and individual reactions vary, you should consult your doctor before trying cold water therapy.