DIY ice baths are safe and effective when you carefully control water temperature, limit immersion time, and maintain hygiene. Starting gradually helps your body adapt to cold water, reducing risks like numbness or shock. Using properly cleaned, monitored water at 50°F–59°F minimizes safety concerns while boosting recovery. With proper setup, safety precautions, and regular attention, you can enjoy the benefits of cold immersion. Keep exploring for detailed tips to maximize safety and effectiveness in your routine.
What Makes DIY Ice Baths a Safe and Effective Recovery Method?
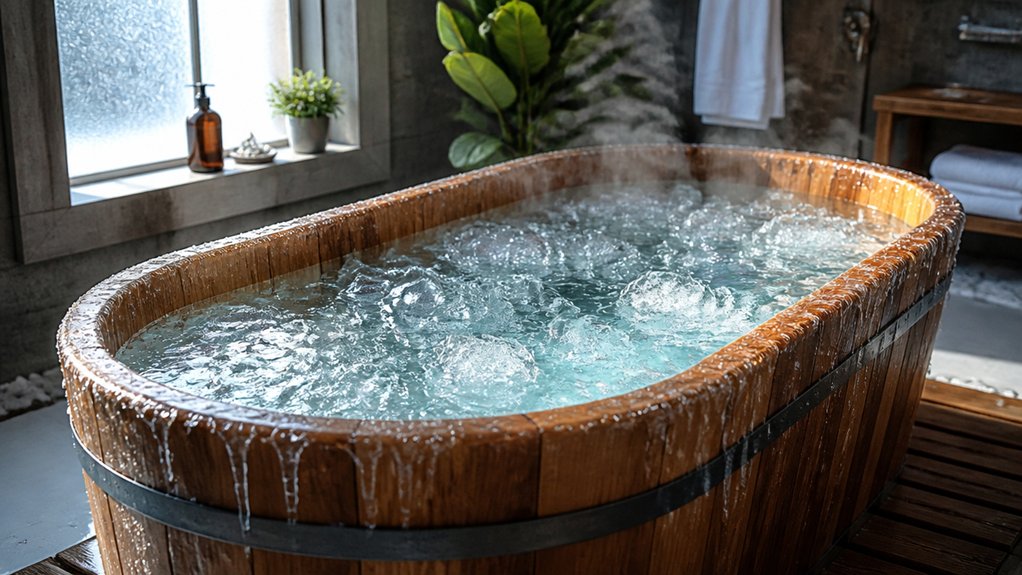
What makes DIY ice baths a safe and effective recovery method is their ability to rapidly reduce muscle soreness and inflammation through cold water immersion. When you immerse yourself in cold water typically between 32°F and 50°F, your body triggers a strong physiological response that helps alleviate pain, constricts blood vessels, and slows nerve signals. This process effectively reduces swelling and discomfort right after intense workouts or injuries. Using the right cold plunge water treatment liquids and understanding proper maintenance ensures the water remains clean and safe, further enhancing the therapy’s benefits. To guarantee safety, start with short durations of 30 seconds to 1 minute, gradually increasing exposure as your body adapts. Regular water replacement and cleaning help prevent infections, while monitoring your body’s reactions minimizes risks like numbness or cardiac strain. When used responsibly, DIY ice baths become a practical tool for quicker, safer recovery at home.
How Do Cold Water Temperatures Impact Safety and Benefits?
Ever wonder how the temperature of your DIY ice bath influences its safety and benefits? Water temperature plays a vital role in cold water exposure, affecting both physiological gains and safety risks.
- Cooler water (below 50°F) enhances recovery benefits, but increases risk of hypothermia and frostbite, especially if immersed too long or without supervision.
- Maintaining temps between 50–59°F offers a safe balance, reducing cold shock responses such as dizziness or hyperventilation while still providing effective cold plunges.
- Gradual adaptation to decreasing water temperatures over sessions helps build tolerance and minimizes risks, allowing you to safely enjoy the benefits of cold water exposure without sudden shocks or adverse effects.
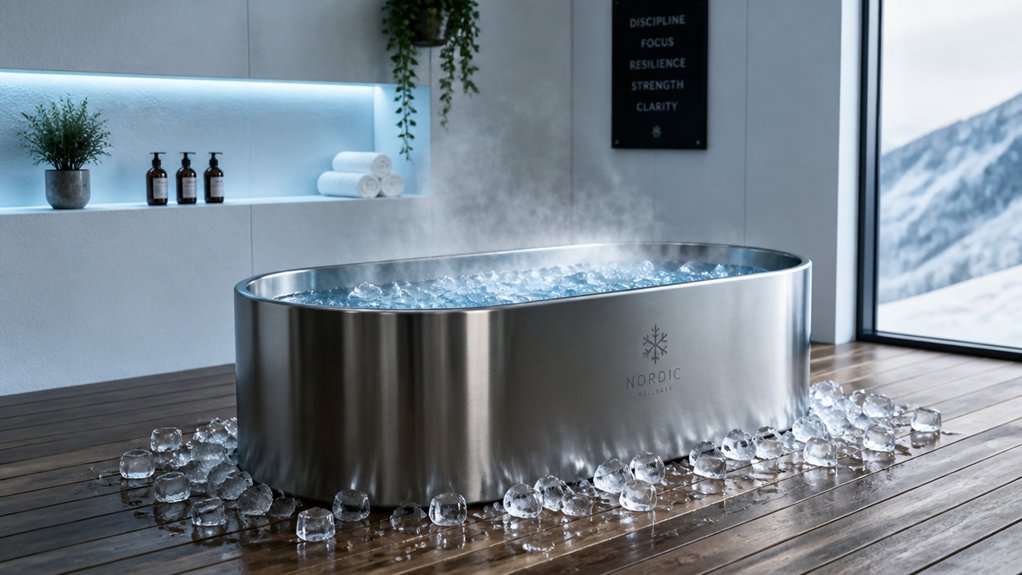
- Choosing an appropriate acrylic cold plunge tub with safety features like insulation and filtration can help maintain consistent temperatures and improve overall safety during cold water immersion.
Controlled cold plunges and consistent water temperature are key to safe, effective DIY ice baths.
Starting Slow: How to Gradually Introduce Yourself to Ice Baths
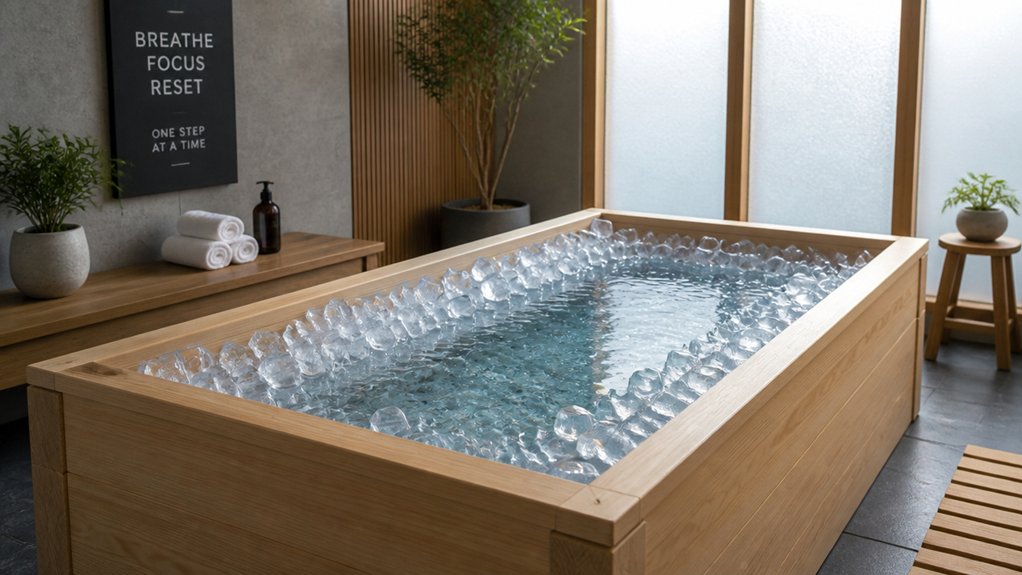
To safely introduce yourself to ice baths, it’s essential to start with shorter, manageable exposure times and gradually build your tolerance. Begin with cold exposure sessions lasting just 30 seconds to 1 minute, helping your body adapt slowly. Use water temperatures in the safe range of 50–59°F (10–15°C) instead of freezing temperatures to reduce the risk of shock or hypothermia. Gradually increase immersion time over multiple sessions, aiming for 5 to 10 minutes as your comfort and physiological adjustment improve. Support and supervision during early cold plunges are vital to prevent dizziness and fainting. Start with gradual submersion, such as feet and limbs, before full-body immersion, allowing your body to adapt safely to the cold. Incorporating proper water treatment can also help ensure that the water remains clean and safe during your cold plunge routine.
What Are the Best Temperature Ranges for Your DIY Ice Bath?
Finding the ideal temperature range for your DIY ice bath guarantees you get the benefits without risking safety. The best temperature range for ice baths is typically between 32°F and 50°F (0°C to 10°C).
For beginners, starting closer to 50°F (10°C) helps prevent cold shock and hypothermia during immersion. Maintaining water within this range effectively reduces muscle inflammation and accelerates recovery without unsafe conditions.
Consider these key points:
- Keep the water near 50°F for safe, effective muscle recovery.
- Temperatures below 50°F increase risks of hypothermia, frostbite, and nerve damage.
- Regularly monitor and add ice to sustain the ideal temperature, ensuring a safe cold immersion experience.
- Using waterproof thermometers with proper calibration helps maintain consistent and accurate temperature readings over time.
Staying within this temperature range balances cold benefits with safety precautions.
How to Set Up and Maintain Your DIY Ice Bath Safely
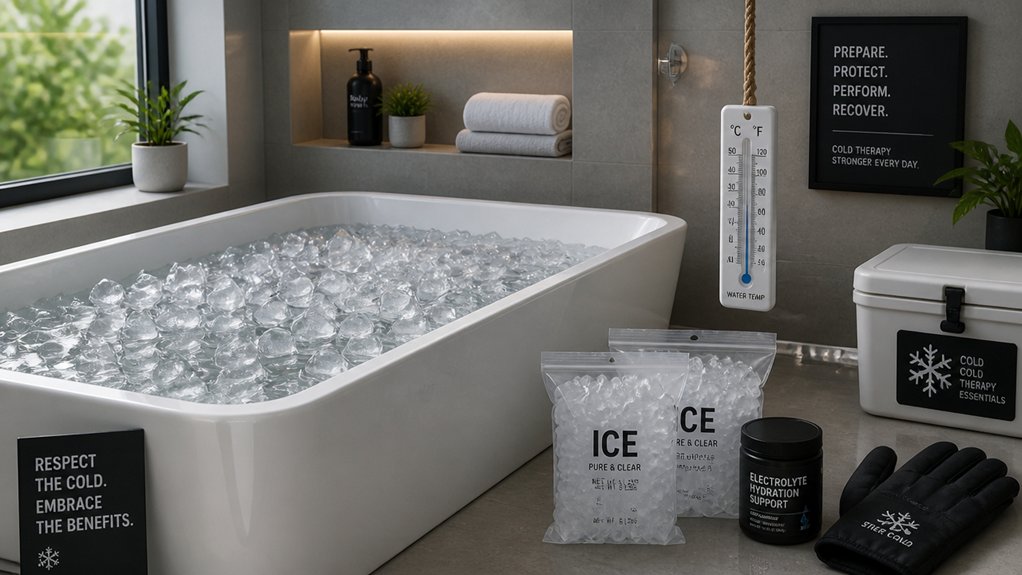
To set up your DIY ice bath safely, start with a clean bathtub and monitor the water temperature closely, maintaining it between 32°F and 50°F. Add ice gradually to prevent cold shock and change the water frequently to keep it hygienic. Always supervise your session and warm up slowly afterward to reduce health risks. Incorporate temperature-resistant construction in your equipment to ensure durability in cold conditions.
Safety Precautions and Guidelines
Setting up and maintaining a safe DIY ice bath requires careful attention to water temperature, duration, and cleanliness. To avoid risks like hypothermia or frostbite, keep water temperatures between 32°F and 50°F (0°C–10°C) and limit your time at a stretch to 5–10 minutes. Start with 30 seconds to 1 minute and gradually increase as your body adapts.
Always set up your ice bath in a clean tub, replacing water and ice regularly to prevent bacterial growth.
Ensure someone nearby is always present to monitor your breathing and responsiveness, especially during the initial sessions. Be mindful of uncontrolled breathing or fainting signs to avoid accidents.
Afterward, rewarm gradually, not with hot tubs or saunas, to prevent cardiovascular stress.
Proper insulation and durability of your setup can help maintain consistent water temperatures and reduce energy costs, ensuring a safer and more effective experience.
Maintaining Water Quality
Maintaining water quality in your DIY ice bath is essential for safe and effective cold therapy. To prevent bacterial growth and guarantee hygiene, change the water regularly—ideally after every session or daily if used often. Always clean and sanitize the bathtub or container beforehand to eliminate contamination. Use filtered or clean tap water, avoiding natural sources unless properly treated. Keep the water temperature stable between 32°F and 50°F by frequently adding ice, which helps maximize therapy and minimize risks like frostbite. Store ice in a clean environment and handle it with sanitary tools to prevent introducing pathogens. Proper water chemistry and regular testing are crucial to maintain safe levels of pH and sanitizer compounds, ensuring the water remains non-irritating and bacteria-free. Visualize this setup with the following table:
| Water | Ice | Cleanliness |
|---|---|---|
| Fresh | Cold | Sanitized |
| Safe | Stable | Hygienic |
| Clear | Maintained | Risk-free |
| Stable | Cold | Healthy |
| Regularly | Frequently | Properly |
How to Recognize Signs You Need to Stop or Adjust Your Ice Bath
Ever wonder how to tell when it’s time to stop or adjust your ice bath? Recognizing early signs can prevent serious health risks.
First, if you experience persistent numbness, intense pain, or shivering that won’t stop, stop your ice bath immediately—these could indicate frostbite or hypothermia.
Persistent numbness, severe pain, or uncontrollable shivering signal it’s time to exit your ice bath immediately.
Second, feelings of dizziness, fainting, or difficulty breathing mean it’s time to get out, as cold shock effects are dangerous.
Third, monitor your heart rate—an irregular or rapid heartbeat signals you should exit and seek medical advice.
Additionally, muscle cramps, skin discoloration, or lingering numbness should prompt you to shorten future sessions or raise the water temperature, ensuring your safety during cold dips.
Being aware of your measurement parameters like SpO2 and pulse rate can also help you assess how your body is responding during the session.
Proper Techniques for Rewarming After Your Cold Water Session
After completing a cold water session, it’s important to rewarm your body gradually to prevent thermal shock and allow your circulatory system to recover safely. Focus on rewarming slowly at room temperature to support natural blood vessel function and avoid sudden stress.
Avoid jumping into hot tubs or saunas immediately, as rapid temperature changes can strain blood vessels and cause dizziness. Instead, use dry, warm clothing or blankets to insulate and retain heat.
Drinking warm (not hot) beverages assists internal warming and hydration, while gentle movement like light stretching or walking encourages improved circulation and helps raise your core temperature safely.
This approach guarantees your body adjusts gradually, promoting effective rewarming without risking adverse reactions.
Safety Precautions for People With Health Conditions
If you have a heart condition, high blood pressure, or diabetes, talk to your healthcare provider before trying ice baths.
Keep a close eye on how your body responds during the process, and don’t push beyond safe limits.
Avoid exposing yourself to extremely cold temperatures or prolonged immersion to reduce risks.
Consult Medical Professionals First
Before starting an ice bath, it’s crucial to consult a healthcare professional, especially if you have existing health conditions. A medical consultation helps identify risk factors like heart conditions, high blood pressure, or other issues that could make cold plunges unsafe.
To guarantee safety, your healthcare provider can advise on appropriate temperature and duration, often recommending water between 50–59°F and limiting sessions to under 5 minutes. They can also warn you about adverse effects, such as increased cardiac workload or dizziness.
Monitor Body Reactions Closely
Monitoring your body’s reactions during an ice bath is essential to avoid dangerous complications, especially if you have pre-existing health conditions. You should closely monitor for signs like hyperventilation, dizziness, or fainting, which can increase the risk of injury or drowning.
Cold plunges offer rapid cooling, but water below 50°F (10°C) amplifies risks like elevated blood pressure and cardiac stress. If you have heart disease, high blood pressure, or diabetes, consulting a healthcare provider beforehand is vital.
Pay attention to how your body responds—if you experience excessive shivering or discomfort, stop immediately. Keeping a close eye on your reactions helps prevent hypothermia, nerve damage, or other adverse effects, ensuring a safer ice bath experience.
Avoid Extreme Cold Exposure
Avoiding extreme cold exposure is essential, especially for individuals with underlying health conditions.
When doing DIY ice baths or cold plunges, stay mindful of water temperatures—avoid dropping below 40°F (4°C) to prevent hypothermia or frostbite.
If you have health conditions like heart disease, high blood pressure, diabetes, or poor circulation, consult a healthcare provider before attempting cold-water immersion.
Here’s what to keep in mind:
- Use moderate water temperatures (50–59°F) and limit exposure time.
- Avoid staying in cold water for prolonged periods to prevent cold shock responses like hyperventilation or dizziness.
- People with conditions such as pregnancy or peripheral neuropathy should seek medical clearance before cold immersion.
These precautions help guarantee your safety during cold plunges, especially for sensitive or high-risk individuals.
Tips for Maintaining Water Hygiene and Quality
To keep your DIY ice bath safe and effective, it’s essential to regularly replace the water and thoroughly clean the tub between uses. Proper water hygiene prevents bacterial growth and maintains overall cleanliness.
Always drain and disinfect the tub after each session to minimize contamination risks. Use clean, filtered water whenever possible to reduce impurities that can affect water quality.
Avoid leaving the same water in the tub for extended periods, especially when adding ice, as melting ice can lower hygiene standards. For extra safety, consider natural disinfectants like diluted vinegar or hydrogen peroxide to disinfect the water without harsh chemicals.
Maintaining these practices guarantees your DIY ice bath remains hygienic, effective, and safe for repeated use.
Common Mistakes to Avoid for Safe and Effective Ice Baths
Using ice baths incorrectly can lead to serious health risks, so it’s crucial to be aware of common mistakes that may compromise your safety and the therapy’s effectiveness.
Misusing ice baths can pose serious health risks; awareness of common mistakes ensures safety and effectiveness.
- Avoid plunges in water below 50°F (10°C), which can cause hypothermia or frostbite. Always check the temperature before immersing yourself.
- Limit initial immersion time to 30 seconds to 1 minute, gradually increasing to 5-10 minutes, and never exceed this limit.
- Avoid submerging your head to prevent cold shock responses like gasping or hyperventilation, which could lead to drowning.
Additionally, always have a spotter present, and avoid prolonged icing immediately after injury to prevent slowed healing.
Stay safe while enjoying cold therapy.
How to Make Your Routine Consistent and Listen to Your Body
Establishing a consistent ice bath routine involves setting a clear schedule and paying close attention to how your body responds each time. To stay safe, start with shorter durations of 30 seconds to 1 minute and gradually increase to 5–10 minutes as your body adapts. Always listen to your body; if you experience pain, dizziness, or discomfort, stop immediately.
Keep your ice bath temperature between 32°F and 50°F using a thermometer, adjusting the ice as needed for reliable effects. Incorporate your ice baths after workouts or on recovery days, but avoid doing them immediately after strength training to prevent hindering muscle growth. Prioritize slow warming afterward, avoiding rapid rewarming methods to support natural recovery.
Frequently Asked Questions
Can You Cold Plunge if You Have Raynaud’s?
You shouldn’t cold plunge if you have Raynaud’s without medical approval. Cold exposure can trigger attacks, so start slowly with milder methods, limit your time, and prioritize warming up afterward to safely manage symptoms and reduce risks.
What Are the Negatives of Ice Baths?
You might experience safety risks like hyperventilation, increased heart rate, and potential frostbite or hypothermia. Poor temperature control, hygiene issues, and prolonged use can also hinder recovery, muscle growth, and overall safety during ice baths.
Can Ice Baths Help With Lipedema?
Ice baths can help with lipedema by reducing swelling, inflammation, and pain temporarily. You might notice short-term relief and improved circulation, but be careful with cold exposure, and always consult your healthcare provider before trying them as part of your treatment plan.
Do Ice Baths Help Doms?
Yes, ice baths help with DOMS by constricting blood vessels, reducing inflammation, and slowing nerve signaling, which alleviates soreness and stiffness after intense workouts. Just remember to balance them with other recovery methods to avoid long-term issues.