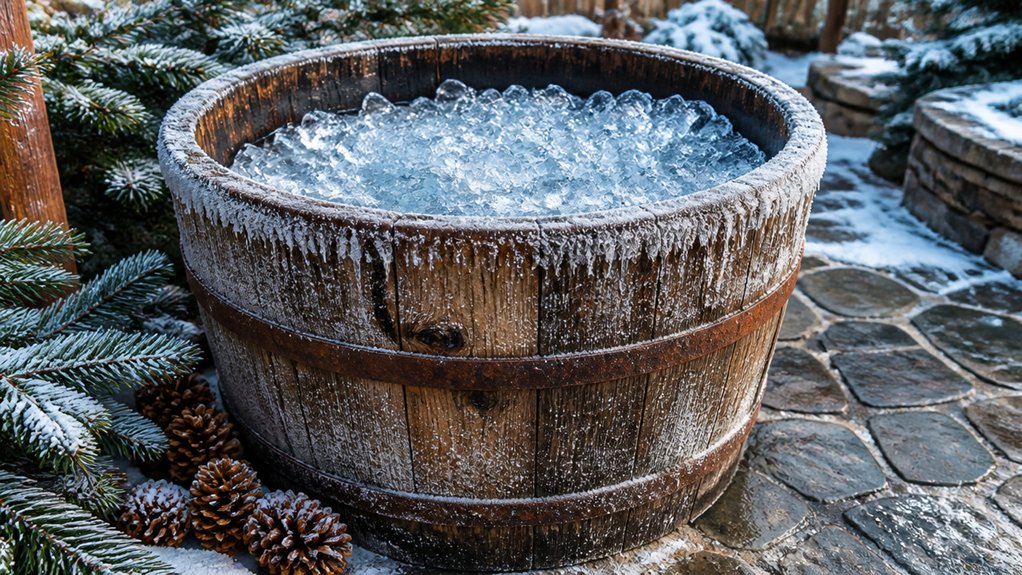
To create the best DIY winterproof ice bath, focus on using thick, reflective styrofoam insulation, waterproof barriers like Tyvek, and a durable, waterproof lid made from cedar with airtight seals. Incorporate a reliable cooling system, such as an external water chiller and circulation pump, to keep water cold year-round. Proper ventilation, safety measures, and maintenance are essential. Keep exploring these tips to build a robust, efficient, and safe cold plunge for all seasons.
Why Build a DIY Cold Plunge for Winterproofing
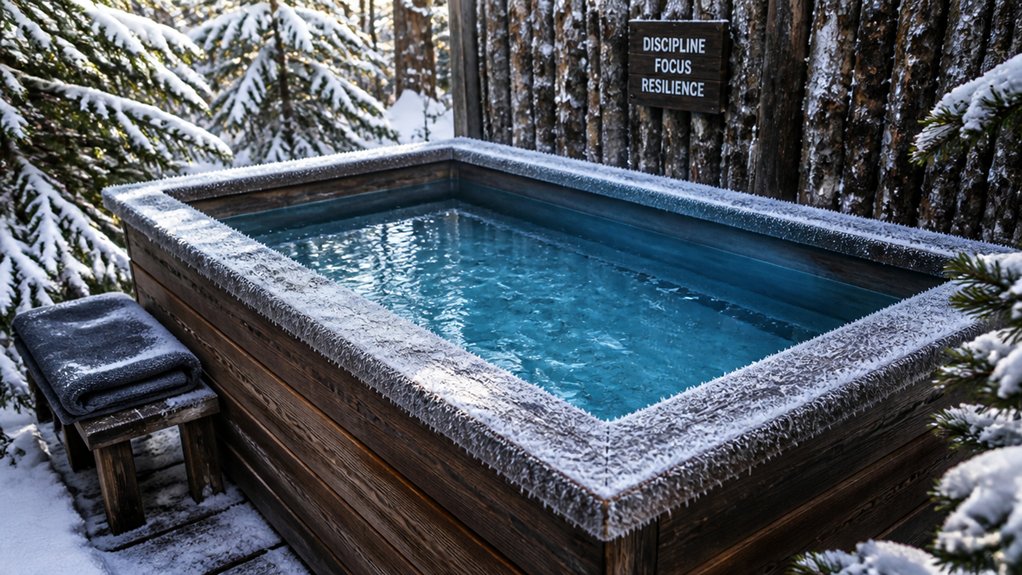
Building a DIY cold plunge can be an effective way to winterproof your outdoor setup because it allows you to customize insulation and insulation methods tailored to harsh winter conditions. With a water chiller, you can precisely control water temperature, ensuring the cold plunge stays consistently cold even in freezing weather. Using thick 2-inch styrofoam insulation and Tyvek waterproof sheeting blocks heat loss and prevents moisture damage. Durable, splash-resistant materials like pressure-treated 2x4s and cedar enhance longevity in cold conditions. An insulative, airtight lid minimizes heat transfer, helping you maintain a low water temperature. External chilling units and proper ventilation further optimize heat dissipation, reducing the risk of freezing. Building your own cold plunge offers targeted winterproofing solutions at a fraction of commercial costs, making cold therapy accessible year-round. Incorporating effective insulation materials can significantly enhance the efficiency of your setup, ensuring consistent cold temperatures regardless of the weather.
Essential Materials and Insulation for a Durable Ice Bath
To keep your ice bath winterproof, choosing the right insulation and waterproofing materials is key. Thick styrofoam with reflective backing provides strong thermal retention, while waterproof sheeting guards against moisture damage.
Using pressure-treated lumber and tightly packed insulation sheets guarantees your setup stays durable and effective year-round.
Insulation Strength and Placement
Thick 2-inch styrofoam insulation with reflective backing is essential for creating a durable, winterproof ice bath, as it provides excellent moisture resistance and thermal retention.
When installing, make certain the insulation is tightly packed, filling all crevices to maximize effectiveness and minimize heat loss.
For an open box design, cut half-inch foam panels to fit snugly against the walls, filling gaps around corners.
Wrap the entire structure, including the sides and bottom, with a moisture barrier like Tyvek sheeting to prevent water damage and mold growth.
Don’t forget the lid—apply insulation underneath, protected with a plastic waterproof sheet to prevent rot from moisture exposure.
This careful placement ensures your DIY ice bath stays insulated and durable through harsh winter conditions, especially when considering the multi-layer insulation options that reflect heat radiation and extend cold retention.
Waterproofing Materials Selection
Selecting the right waterproofing materials is essential to ensuring your ice bath remains durable and weather-resistant throughout the winter. Tyvek waterproof sheeting was used to wrap the entire cold plunge, protecting it from outdoor moisture and elements. Two-inch thick styrofoam insulation with reflective backing was chosen for moisture resistance and better thermal efficiency, packed tightly to prevent heat loss. The lid was reinforced with cedar planks and covered with styrofoam and a waterproof plastic sheet, ensuring rot resistance and pressure durability. By avoiding fiberglass and spray foam—prone to moisture damage—you emphasize long-lasting materials. Here’s a quick overview:
| Material | Purpose | Benefits |
|---|---|---|
| Tyvek waterproof sheeting | Outer moisture barrier | Durable, weatherproof |
| Styrofoam insulation | Thermal insulation | Moisture-resistant, efficient |
| Cedar planks | Lid reinforcement, framing | Rot resistant, aesthetic |
| Waterproof plastic sheet | Lid top, pressure-resistant | Long-term durability |
Additionally, selecting materials that are inherently resistant to moisture damage helps ensure the longevity of your DIY winterproof ice bath.
How to Construct a Waterproof, Insulated Cold Plunge
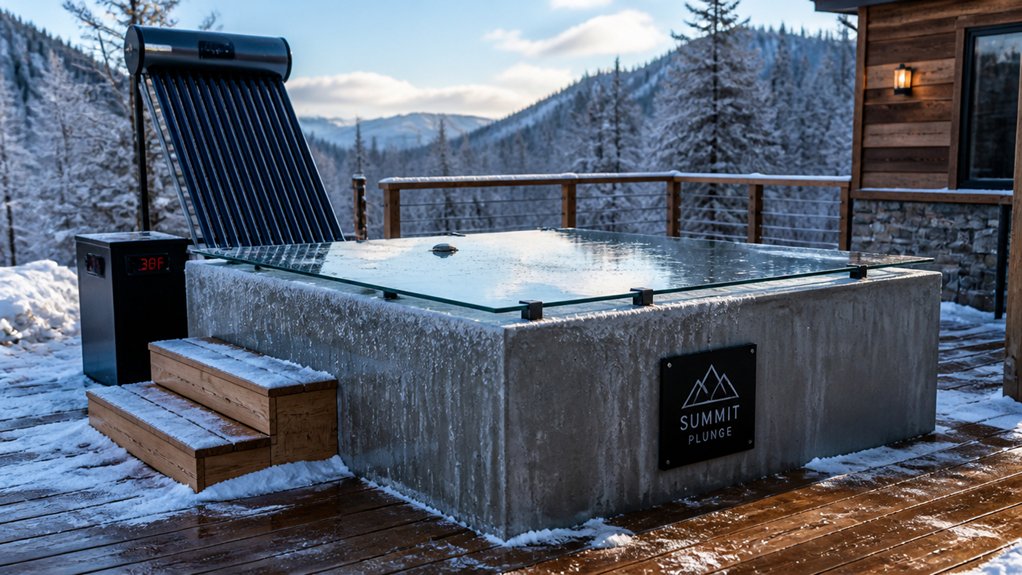
Building a waterproof, insulated cold plunge requires careful planning and precise execution.
Begin by framing the structure with pressure-treated 2×4 lumber, ensuring durability and splash resistance for outdoor use. To insulate the cold plunge, pack 2-inch thick styrofoam sheets with reflective backing tightly into all crevices, maximizing moisture resistance and thermal efficiency.
Wrap the entire frame with a Tyvek waterproof barrier to shield the wood from winter moisture damage.
For the lid, use cedar tongue and groove planks reinforced with glued pocket holes, and cover its underside with styrofoam insulation and a waterproof plastic sheet to prevent mold.
Seal all edges with cedar framing, L-brackets, and mitered strips for a tight fit. Multiple small lid panels with hand grips make handling easier in cold weather.
Installing the Cooling and Circulation System Correctly
To guarantee your ice bath functions effectively, installing the cooling and circulation system correctly is essential. Going to take depends on the size of your tank, but start with a quarter horsepower aquatic water chiller rated for about 100 gallons. Place it externally, securing it properly with frame screws for easy removal. Connect the system with a strong external aquarium pump, positioned to pull water from a drilled intake hole near the bottom and return cooled water near the surface to maintain thermal layering. Use three-quarter inch flip connectors and direct hose receivers for watertight seals, minimizing potential failure points. Design the plumbing for continuous cycling, with separate inlet and outlet hoses. Remember to unplug the pump when in use for safety, and consider adding a cable management hole for neater, safer wiring. Additionally, ensure all components are compatible with system efficiency to optimize energy use and maintain consistent temperature control.
How to Maintain Cold Water Temperatures Year-Round
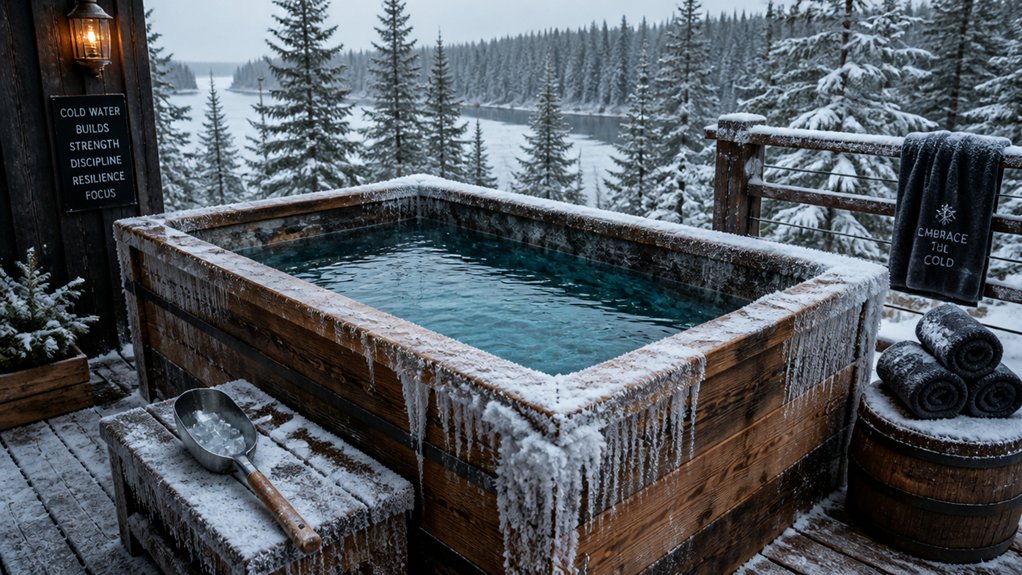
To keep your cold water from warming up, focus on effective insulation and proper circulation. Use thick styrofoam with reflective backing and a waterproof lid to minimize heat transfer, and guarantee your chiller runs efficiently with good ventilation. A well-designed thermal insulation quality system can significantly reduce energy consumption and maintain consistent temperatures. Adjust your cooling strategies seasonally by adding ice or upgrading your chiller when temperatures rise.
Insulation Efficiency Techniques
Maintaining cold water temperatures year-round requires a combination of effective insulation techniques that prevent heat exchange and moisture buildup. Make sure you use thick 2-inch styrofoam with reflective backing, packing it tightly to fill small crevices—this little bit of extra effort maximizes cold retention and moisture resistance.
Wrap the entire structure in a waterproof barrier like Tyvek sheeting to protect against moisture damage and improve insulation durability. Insulate the lid with both styrofoam and a plastic waterproof sheet glued on top, preventing rot and keeping thermal efficiency high.
Design your plunge low to minimize heat loss during entry and exit, while maintaining proper water layering. Position ventilation openings strategically to manage heat from the external chiller unit, improving overall thermal stability. Additionally, choosing a durable, waterproof exterior can significantly enhance long-term insulation performance.
Water Circulation Strategies
Effective water circulation plays a vital role in keeping your ice bath consistently cold throughout the year. Using a quarter horsepower aquatic water chiller designed for 100 gallons helps maintain cold water at around 39°F, though efficiency may dip during hot summer days.
To optimize cooling, circulate water continuously with an external pump, drawing warm surface water and returning cooled water near the bottom. This maintains temperature layering and improves performance.
Tight insulation, such as two-inch reflective-backed styrofoam and a Tyvek moisture barrier, minimizes heat gain, reducing the chiller’s workload. Strategic ventilation enhances heat evaporation from the chiller, especially during warmer periods.
Securely connect plumbing with watertight connectors and consider a removable chiller setup for easy maintenance and seasonal adjustments, ensuring cold water stays steady year-round. Utilizing reusable filters can also help maintain water clarity while reducing ongoing maintenance costs.
Seasonal Cooling Adjustments
Keeping your ice bath cold throughout the year requires adjusting your approach as outdoor temperatures vary. During cooler months, a 0.25 horsepower water chiller can keep water around 39°F, but in summer, with temperatures reaching 95°F, you’ll need to add more cooling help. Using bags of ice for five minutes can quickly boost coldness without overloading your chiller. Incorporating energy-efficient chillers with smart controls further helps optimize cooling performance during peak heat. During hot weather, increasing the chiller’s horsepower or insulating the bath with 2-inch styrofoam and Tyvek helps retain cold temperatures and reduces heat gain. Modifying vent placement aids in heat evaporation, maintaining consistent temperatures. When temperatures soar, moving the bath indoors or using ice cubes as a quick boost guarantees your water stays chilly, delivering reliable cold plunges all year round.
Safety Tips and Best Practices for Winter Use
During winter use, safety should be your top priority to prevent accidents and health risks. Always unplug or properly insulate electrical equipment like pumps and cables before entering your ice bath, especially when ice cubes and water are involved. Keep the water temperature between 35°F and 50°F and limit exposure to 3–5 minutes to avoid hypothermia. Use insulation, moisture barriers, and waterproof materials like reflective styrofoam and Tyvek sheeting for better thermal efficiency. Regularly check ventilation openings to maintain proper heat evaporation, adding ice if needed. Safe access features, such as low plunge height and insulated lids, reduce heat loss and prevent slipping.
| Safety Step | Description | Example |
|---|---|---|
| Electrical Safety | Unplug or insulate electrical parts before use | Pumps, cables |
| Temperature Control | Maintain safe water temps, monitor exposure time | 35-50°F, 3–5 mins |
| Insulation | Protect against winter moisture damage | Styrofoam, Tyvek |
| Ventilation Checks | Maintain heat escapes, add ice when necessary | Vent openings |
| Safe Entry & Exit | Use low entry points, secure lids to prevent accidents | Sturdy steps, lids |
Frequently Asked Questions
What Is the Best Ice Bath for Home Use?
The best ice bath for home use is a DIY wooden frame with thick insulation, waterproof barriers, and a water chiller. You can also start with a simple bathtub filled with ice, but run it efficiently with proper insulation.
Can Ice Baths Help With Lipedema?
Ice baths can help with lipedema by reducing inflammation, swelling, and fluid retention, potentially easing pain and enhancing mobility. Always consult your healthcare provider before starting cold therapy to guarantee it’s safe for your specific condition.
How Cold Should a DIY Ice Bath Be?
You should aim for an ice bath temperature between 35°F and 50°F, with 39°F being ideal. Maintain this temperature with sufficient ice, and stay submerged for three to five minutes for effective cold therapy without risking hypothermia.
Can Cold Plunge Lower Cortisol?
Yes, cold plunges can lower cortisol. When you expose yourself to cold water for a few minutes, it activates your parasympathetic nervous system, helping reduce stress hormone levels and promoting relaxation, mood improvement, and hormonal balance.