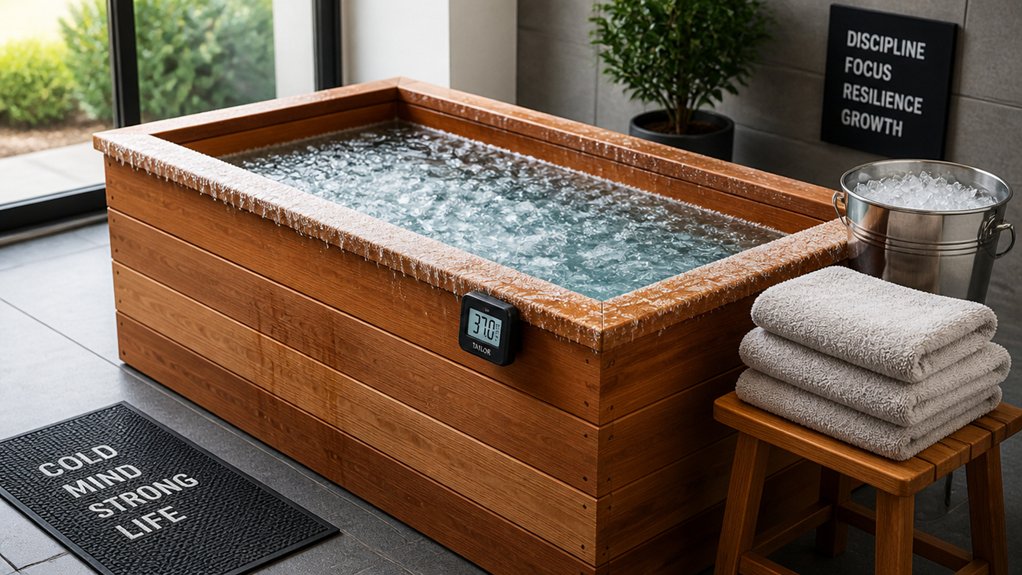
To set up your home ice bath safely, you need a sturdy, well-insulated container deep enough for chest-level immersion, ideally with stability and non-slip surfaces. Keep essential tools like a waterproof thermometer, timer, and cooling accessories handy. Prepare and monitor water temperature carefully at 10-15°C, using ice incrementally. Maintain water hygiene with regular changes and sanitizers. Properly acclimate gradually and focus on post-bath recovery techniques. For detailed guidance, explore how to optimize every step of your ice bath experience.
Why Setting Up Your Home Ice Bath Safely Matters
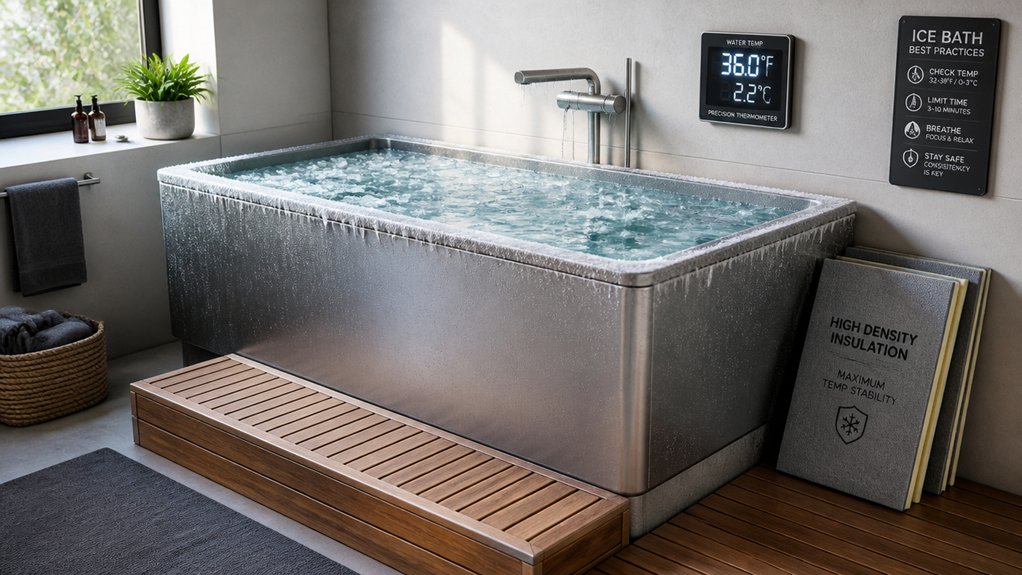
Setting up your home ice bath safely is essential to prevent health risks and guarantee a beneficial experience. Maintaining the right ice bath temperature, ideally between 10-15°C, secures effective cold water immersion without causing hypothermia or cold shock.
Ensuring proper ice bath temperature between 10-15°C prevents health risks and maximizes recovery benefits.
Controlled temperature allows you to enjoy the benefits while avoiding discomfort or injury. Safety measures like supervision, gradual entry, and using thermometers help you monitor water temperature accurately.
Having warm clothing, towels, and a comfortable recovery area nearby supports your post-immersion recovery, reducing risks of sudden temperature drops. Using non-slip mats and confirming water hygiene through regular changes minimizes accidents and contamination.
Prioritizing safety during setup helps you get the most out of your ice bath while protecting your health.
Choose the Best Container for Your DIY Ice Bath
Choosing a container that’s sturdy, deep enough, and made of easy-to-clean materials guarantees your ice bath is both safe and effective. A comfortable size that allows full chest-level immersion enhances recovery and comfort during use.
Material Durability and Insulation
When selecting a container for your DIY ice bath, prioritizing material durability and insulation is essential for long-lasting and effective cold therapy sessions. Opt for insulated tubs or those with double- or triple-layered walls greatly boost thermal efficiency, helping the water stay colder longer and reducing ice consumption. Collapsible or inflatable options with multi-layer insulation offer portability without sacrificing temperature control. Traditional bathtubs lack insulation, leading to rapid water temperature loss and increased ice needs. Adding thermal covers or lids further enhances insulation, preserves cold temperatures, and promotes water hygiene, ensuring your ice bath remains effective and durable over time. Incorporating multi-layer insulation materials like nylon, PVC, pearl cotton, or foam can significantly improve temperature retention and overall performance.
Size and Depth Compatibility
Have you confirmed your container is deep enough for effective cold immersion? A suitable bath needs at least 18-24 inches (45-60 cm) of water depth to fully submerged the lower body, allowing the water to reach your chest.
Guarantee there’s enough space to sit comfortably without cramped limbs, so movement isn’t restricted during the session. Household bathtubs are ideal, offering sufficient volume and depth for full or partial immersion.
If you opt for large plastic bins or collapsible tubs, check their size and durability to avoid leaks or collapse under ice water. Choose a container that remains stable on the ground, allowing easy entry and exit, while consistently maintaining cold temperature throughout your session.
Proper size and depth are vital for effective, safe ice baths.
How to Prepare and Fill Your Ice Bath Water Properly
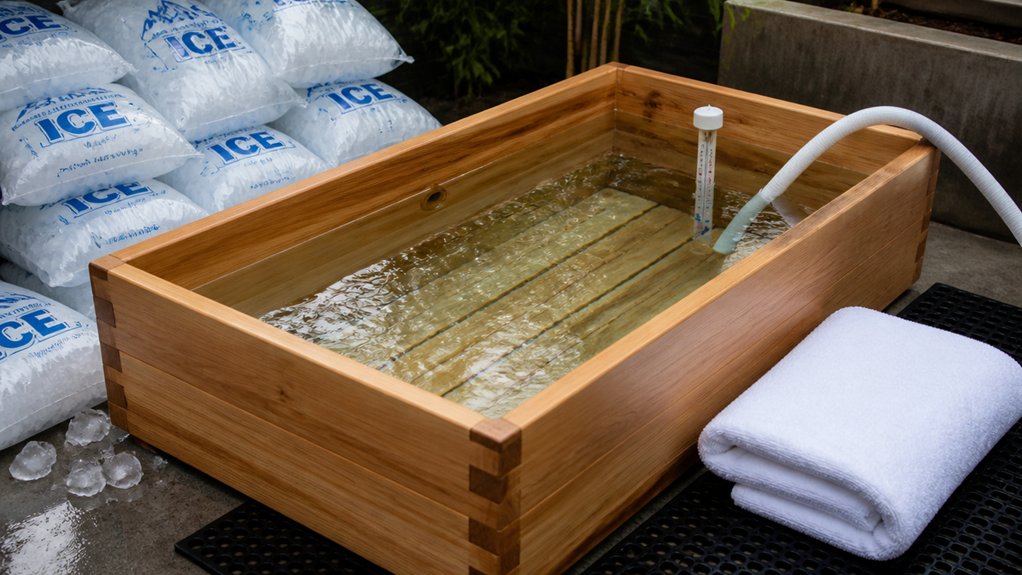
Start by filling your tub with cold tap water, then gradually add ice to reach 10-15°C (50-59°F). Use a thermometer to closely monitor and adjust the temperature, keeping it stable with a water-to-ice ratio of about 3:1. For beginners, begin near 15°C (59°F) and increase ice over time to build tolerance. Additionally, choosing a temperature accuracy of ±1°F ensures safe and consistent therapeutic conditions.
Selecting the Right Temperature
Foundational to an effective ice bath is selecting and maintaining the right temperature, ensuring you reap the maximum benefits while minimizing discomfort.
Start by filling your tub with cold tap water and gradually add ice to reach a beginner-friendly water temperature of 13-15°C (55-59°F). Use a floating or waterproof thermometer to continuously monitor the water temperature, aiming for a range between 10-15°C (50-59°F).
To keep the temperature stable during your session, add ice incrementally, following a rough ice-to-water ratio of 1:3, adjusting based on thermometer readings. Avoid starting below 10°C (50°F), as it can increase cold shock risk and requires shorter immersion times.
Preparing your ice bath in advance helps the water and ice settle evenly, ensuring consistent cold exposure throughout. Additionally, choosing a high-powered chiller can facilitate rapid cooling and temperature stability.
Proper Water Mixing Technique
To prepare your ice bath effectively, begin by filling the tub mostly with cold tap water, which makes it easier to manage the overall temperature and reduces the risk of shocking your body.
Next, use a ratio of about 3 parts cold water to 1 part ice for the best results. Take ice baths by maintaining this balance, gradually adding ice cubes in small increments while monitoring the water temperature with a thermometer. This prevents the water from becoming too cold too quickly.
After adding each batch of ice, stir the water gently so it distributes evenly, avoiding cold patches or localized freezing. Incorporating insulating covers can help maintain the desired temperature for longer periods heat retention.
Keeping the Water at the Right Temperature (Monitoring Tips)
Ever wonder how to keep your ice bath at the perfect temperature? The key is continuous monitoring with a floating or handheld thermometer.
Maintain your ice bath’s perfect temperature with continuous monitoring using a floating or handheld thermometer.
To stay in the ideal range of 50°F to 59°F, you need to:
- Regularly check the water temperature during your session.
- Adjust the amount of ice based on the thermometer reading.
- Keep the water cool enough without dropping below 50°F to avoid cold shock.
- Cover the bath with an insulated lid between uses to maintain the temperature.
- Utilizing a thermometer with waterproof ratings ensures durability and consistent readings in the chilled environment.
Start with a 3:1 water-to-ice ratio, then tweak as needed.
Use the floating thermometer to guarantee the water’s temperature stays steady, and keep the water at the right level for safety and comfort.
How to Maintain Water Hygiene and Safety During Use
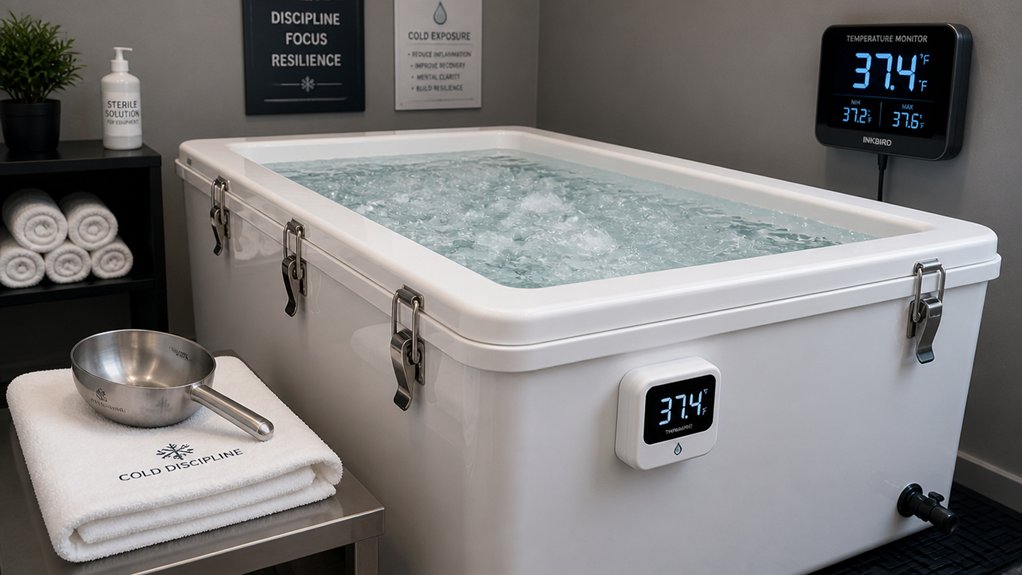
Maintaining water hygiene and safety during your ice bath session is essential to prevent infections and guarantee a revitalizing experience. Before taking ice baths, shower thoroughly and remove lotions or makeup to minimize contamination. Keep your ice bath water clean by covering it when not in use, preventing dirt, debris, and bacteria. Change the water at least every 4 weeks, or sooner for permanent setups. If storing ice bath water longer, add sanitizers like chlorine or bromine and keep the pH near 7 to maintain proper sanitation. Regularly skim debris and clean the tub’s interior to avoid buildup. Adhering to these practices helps maintain water hygiene and secures a safe, effective recovery process. Properly balancing water chemistry is also vital to ensure effectiveness and safety during use.
Essential Equipment to Make Your Ice Bath Comfortable and Safe
Having the right equipment guarantees your ice bath is both comfortable and safe. To guarantee control and comfort during your cold plunge, focus on essential gear.
- A reliable thermometer helps you monitor water temperature, keeping it within the safe 10-15°C (50-59°F) range using ice.
- Non-slip mats placed near the bath prevent slips and falls when entering or exiting, especially on wet surfaces.
- Warm, dry towels and insulated clothing like robes or ponchos are vital for gradual rewarming after immersion, preventing hypothermia.
- Neoprene gloves, booties, or caps reduce peripheral heat loss, boosting comfort and control during colder, longer baths without losing cold exposure benefits.
This equipment guarantees a safe, effective, and comfortable home ice bath experience, especially when utilizing thermal insulation ratings to maintain consistent water temperature.
Step-by-Step: Preparing for Your First Cold Immersion
Start by choosing a safe, accessible spot for your ice bath, ensuring it’s sturdy and easy to enter and exit. Gather all necessary equipment, like a tub, ice, towels, and a timer, so you’re ready to go.
Then set your temperature goal around 55-60°F, and prepare to control your exposure for a safe and effective first session.
Choose Appropriate Location
Have you chosen the perfect spot for your ice bath? Picking the right location is key to a successful immersion. You want a flat, stable surface where you can easily take in water and drain it afterward. Make sure it’s an area with good ventilation to prevent moisture buildup and a non-slip surface to keep you safe.
Position the bath near a power source if you plan to use equipment like pumps or thermometers, ensuring consistent temperature control. Avoid direct sunlight or extreme weather, which can affect water temperature and quickly heat or ice the bath.
Imagine a spot where blood flow can be easily monitored, and blood vessels won’t be constricted by cold, helping you optimize recovery and comfort during each session.
Gather Necessary Equipment
To prepare for your first cold immersion, you’ll need to gather the right equipment to guarantee a safe and effective experience. For your first ice bath, use a standard bathtub or a large, sturdy container that can hold water up to chest level for full lower-body immersion.
Acquire about 40 pounds of ice—roughly two large bags—to reach a beginner-friendly temperature of 55-59°F (13-15°C). Keep a waterproof or floating thermometer handy to monitor and maintain the desired temperature throughout your cold-water immersion.
Have a timer set to track your immersion time, starting with 1-2 minutes and avoiding extended periods. Also, prepare warm towels, dry clothing, and a warm space nearby for immediate post-bath rewarming.
Proper equipment guarantees safety and maximizes the benefits of taking an ice bath.
Set Temperature Goals
Setting your water temperature appropriately is essential for a safe and effective cold immersion experience.
To set your temperature goals, start by using regular ice and a reliable floating thermometer to keep the water between 10°C and 15°C (50°F-59°F). This range promotes ideal vasoconstriction and recovery benefits while minimizing shock.
Imagine these steps:
- Fill your bathtub with water, then add regular ice until the thermometer reads around 15°C.
- Maintain this temperature, avoiding sudden drops below 10°C.
- Set a time goal of 1-2 minutes for your first session.
- Gradually lower the temperature and increase duration over successive immersions.
This approach guarantees safe exposure to cold water, encouraging adaptation without risking hypothermia.
Gradually Acclimate Your Body to Cold Water for Safety
Gradually acclimating your body to cold water is essential for safety and comfort. To improve your cold tolerance, start by immersing in water around 15°C (59°F) for 1-2 minutes, then slowly lower the temperature and extend your time. This helps your body become accustomed without shocking your system.
Enter the ice bath slowly, wetting your face first and controlling your nasal breathing to manage the gasp reflex and hyperventilation. Increase your immersion time gradually each session, aiming for 10-15 minutes at 10-15°C (50-59°F) over weeks.
Keep water at chest level initially to reduce risks. Consistent weekly sessions help maintain your cold tolerance and guarantee your body’s safe adaptation to cold exposure.
Post-Bath Warm-Up and Recovery Techniques
After exiting the ice bath, promptly dry off completely and wrap yourself in warm layers like a poncho or robe to prevent dangerous drops in body temperature. This post-bath warm-up helps stabilize your core temperature safely.
Dry off quickly and bundle in warm layers to safely stabilize your core temperature after an ice bath.
To support recovery and reduce inflammation, focus on gentle movements such as:
- Light stretching to improve circulation without stressing your muscles
- Sunlight exposure for natural warmth and metabolic boosting
- Consuming warm, nutrient-rich drinks high in healthy fats, protein, and iron
- Avoiding cold showers for at least two hours post-immersion, allowing the benefits of cold therapy to fully develop
These techniques can help your body recover effectively, minimize cold shock, and promote healthier muscle function during your post-bath recovery.
Troubleshooting Common Issues and Keeping Your Ice Bath Clean
Maintaining cleanliness in your home ice bath is key to safe and effective recovery. If you notice murky water or a foul odor, it’s time to TAKE ICE out and change the water, ideally every four weeks or sooner for a permanent setup.
Always shower beforehand and wear clean shoes when near the tub to reduce contamination. When not in use, cover your ice bath with a lid or thermal cover to keep out debris, dirt, and insects.
If you plan to keep water for several days, consider adding a small water filter or sanitizer like chlorine to maintain the pH balance and prevent microbial growth. Regularly skim floating debris and wipe down surfaces to avoid residue buildup, ensuring your ice bath stays hygienic and ready whenever you need it.
Frequently Asked Questions
How to Arrange an Ice Bath at Home?
You fill your bathtub with cold water, add enough ice to reach 50-59°F, monitor with a floating thermometer, and start with short dips. Prepare warm towels nearby, guarantee safety, and gradually increase immersion time as your tolerance builds.
Can Ice Baths Help With Lipedema?
Ice baths may help with lipedema by reducing inflammation, swelling, and improving circulation. Cold exposure activates brown fat, boosting metabolism, which might lower abnormal fat. Always consult your healthcare provider before starting cold therapy for safety.
How to Acclimate to an Ice Bath?
To acclimate to an ice bath, start with warm water around 15°C, gradually lower the temperature and increase duration over weeks. Use slow nasal breathing, limit to a few sessions weekly, and listen to your body signals closely.
How Much Ice Do You Need for an Ice Bath at Home?
You need about 40 pounds of ice, roughly two large bags, for your home ice bath. Start with less, monitor water temperature, and add ice gradually to keep it between 55-59°F for safe, effective cold therapy.