After a cold plunge, prepare your body by gradually warming with dry towels or a brief warm shower, and dress in light, warm clothing to prevent shock. Alternate between 5-20 minutes of heat, like infrared sauna, and 1-3 minutes of cold, with rest periods of 1-2 minutes. Stay hydrated and monitor your body’s response to avoid overexposure. For more tips on optimizing your contrast sessions safely and effectively, keep exploring these guidelines.
How to Prepare Your Body for Contrast Therapy After a Cold Plunge
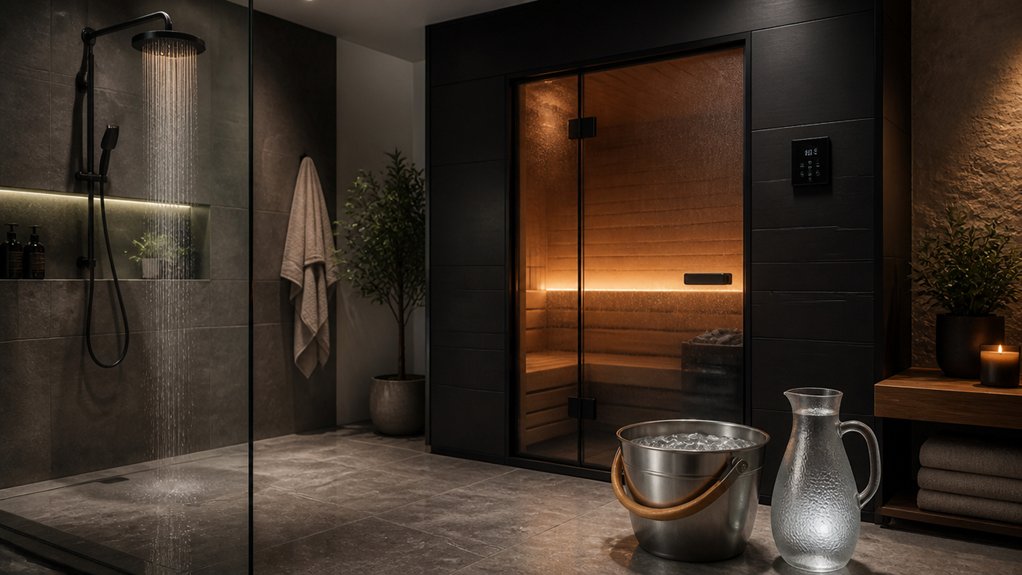
After a cold plunge, it’s important to prepare your body carefully before moving into the heat phase. Start by gradually warming your body with dry towels or a brief warm shower to prevent sudden temperature shock.
Gradually warm your body after a cold plunge with towels or a quick shower to prevent shock.
During the adjustment phase, dress in light, warm clothing to help your body acclimate smoothly to the upcoming heat therapy. Take 1-2 minutes to rest, allowing your heart rate to stabilize and your core temperature to normalize.
Hydrate well beforehand, as this supports circulation and reduces dizziness caused by rapid temperature changes. Avoid intense activity immediately after the cold plunge; instead, do gentle stretching to prepare your muscles.
These steps guarantee a safe, effective shift from the cold plunge into heat therapy. Incorporating guided meditation devices that facilitate calming and breathing exercises can further enhance relaxation during this transition.
Why Timing Your Hot and Cold Cycles Matters
Timing your hot and cold cycles correctly boosts circulation and maximizes recovery without overtaxing your body. Ending on a cold plunge helps lock in benefits like reduced inflammation and mood enhancement, but overdoing cold exposure can be overwhelming. Incorporating heat retention strategies in your sauna sessions ensures more effective contrast therapy experiences.
Keeping short, well-paced cycles prevents adverse effects and guarantees you get the most out of your contrast therapy.
Optimal Cycle Timing
Have you ever wondered why precise timing in contrast therapy enhances its effectiveness?
During your contrast therapy session, timing the hot and cold temperatures properly is essential. Hot cycles should last 5 to 20 minutes to promote vasodilation, increasing blood flow and warming tissues. Cold exposure, lasting 1 to 3 minutes, induces vasoconstriction, helping reduce inflammation and soreness.
Rest intervals of 1 to 2 minutes between cycles allow your body to stabilize temperature and avoid dizziness. Completing 3 to 4 alternating hot and cold cycles maximizes the vascular pumping effect, improving circulation and aiding muscle recovery.
Ending with a cold cycle locks in vasoconstriction, reduces inflammation, and triggers norepinephrine release for alertness. Precise timing guarantees maximum benefits without overexposure or discomfort.
Avoiding Overexposure
To prevent overexposure during contrast therapy, it’s important to stick to recommended time limits for each phase. Keep your cold plunge under one minute to avoid excessive vasoconstriction, which can strain your cardiovascular system. Immediately following the cold, spend 2–3 minutes in heat, like a sauna, to promote vasodilation and restore blood flow without overstressing your nervous system. Avoid extending hot or cold phases beyond 20 minutes and 3 minutes respectively, as longer durations can cause dizziness, lightheadedness, or tissue damage. Always end on a cold plunge to lock in anti-inflammatory benefits and prevent heat overexposure. Rest for 5–10 minutes afterward to help stabilize your nervous system and blood vessel responses before resuming activity. Using reliable recovery tracking apps can help you monitor your session durations and ensure you stay within safe limits.
How to Choose the Best Hot Environment for Contrast Therapy
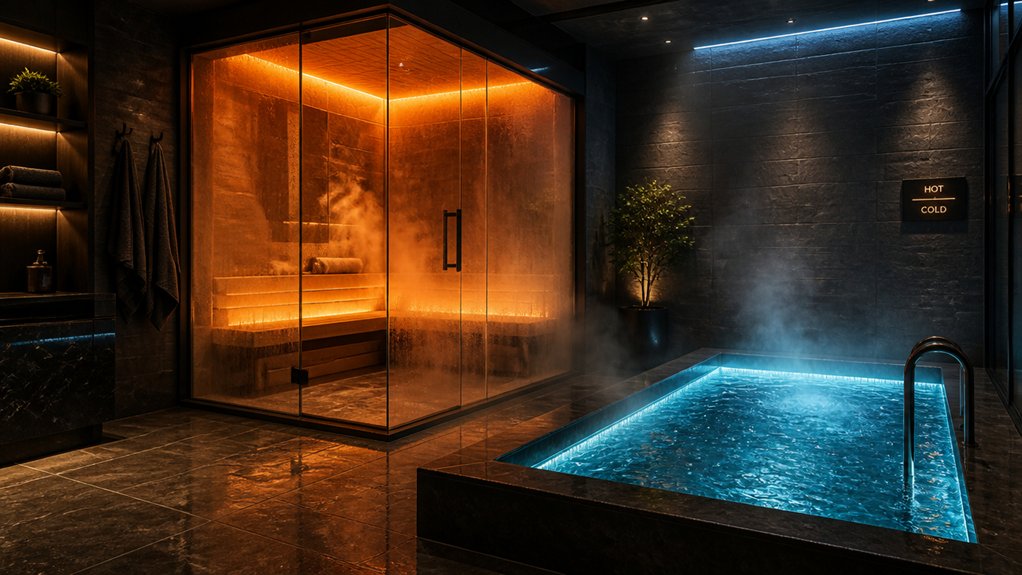
When choosing the best hot environment for contrast therapy, focus on options that provide consistent, controlled heat within the range of 35-45°C (95-113°F). An infrared sauna is ideal because it heats deeply, promoting blood flow, vasodilation, and effective temperature changes. Ensure the sauna has low EMF levels to minimize exposure risks during frequent use. Look for a setup that allows you to gradually increase the temperature and exit easily if you feel uncomfortable. Aim for 10–15 minutes of heat exposure until you sweat freely; this prepares your muscles and enhances circulation. Guarantee the environment is safe and comfortable to prevent overheating or dizziness, and choose a heat source with easy access to hydration. Proper heat exposure within these parameters optimizes vasodilation and supports the body’s natural response during contrast therapy.
How Long Should You Stay in Hot and Cold Phases?
Determining the ideal duration for each hot and cold phase is key to maximizing contrast therapy benefits without risking discomfort or safety issues.
Finding the right durations for hot and cold phases maximizes benefits safely and effectively.
For the hot phase, stay in a sauna or hot shower for 5 to 20 minutes to guarantee sufficient tissue warming and vasodilation, promoting blood flow.
During the cold phase, immerse yourself in a cold plunge or ice bath for 1 to 3 minutes; beginners should start with 60–90 seconds, gradually increasing as tolerance improves.
Repeat the hot and cold cycles 3 to 4 times for the best results, always ending on the cold to reduce inflammation.
Rest for 1 to 2 minutes between phases to stabilize body temperature and enhance the benefits of contrast therapy. This approach optimizes blood flow and inflammation control safely, especially when using commercial-grade cold plunge tubs designed for consistent temperature management.
Safety Tips for Comfortable and Safe Contrast Sessions
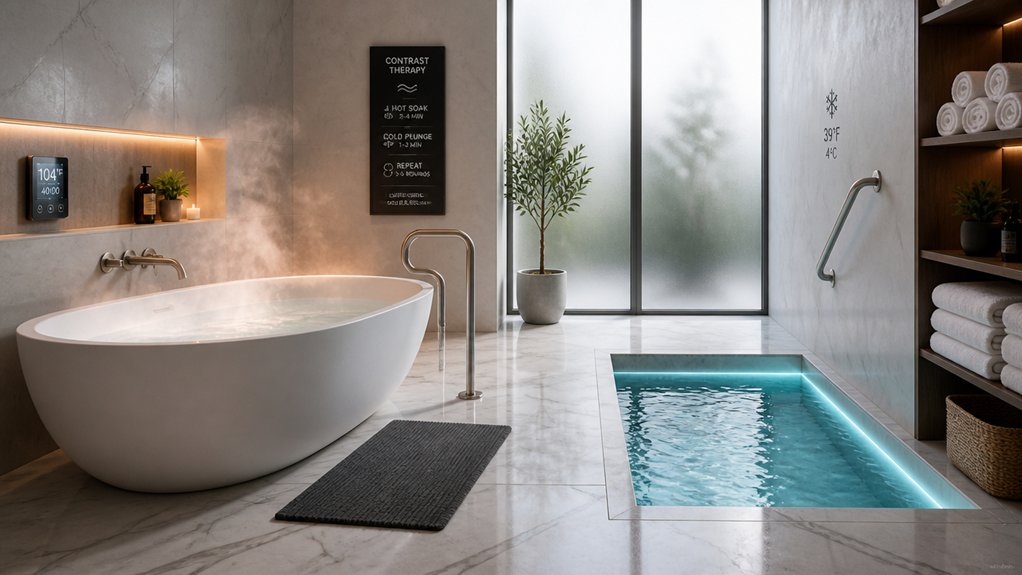
Guaranteeing your contrast therapy sessions are both comfortable and safe requires following some essential tips. First, start in a warm environment like an infrared sauna to safely boost your core temperature before your cold plunge.
Keep cold exposure under one minute if you’re a beginner, to avoid discomfort and adverse effects. Rest for 1–2 minutes between hot and cold cycles to help stabilize blood flow and prevent dizziness.
Staying well hydrated before, during, and after your session supports circulation and reduces dehydration. If you have pregnancy, high blood pressure, or heart conditions, consult a healthcare provider before beginning contrast therapy to verify it’s suitable.
Following these tips helps you enjoy the health benefits safely and comfortably. Additionally, utilizing proper insulation and temperature control systems ensures the water remains within safe and effective ranges throughout your session.
How to Protect Your Skin From Extreme Temperatures
Protecting your skin from extreme temperatures is essential to prevent burns, frostbite, and other skin damage during contrast therapy. Always place a barrier like a towel, cloth, or protective clothing between your skin and hot or cold surfaces. Avoid direct contact with ice or hot objects to reduce the risk of skin injury. Gradually increase the intensity and duration of hot and cold therapy sessions to allow your body temperature to adapt. Hydrate well before, during, and after your session to support your skin’s barrier and prevent dryness caused by temperature extremes. Recognize signs of trouble—redness, blistering, numbness, or pain—and stop immediately. Seek medical advice if symptoms persist.
| Temperature Level | Risk | Protective Tip |
|---|---|---|
| Cold Plunge | Frostbite | Use a barrier, hydrate |
| Hot Bath | Burns | Limit duration, monitor body temperature |
| Ice Pack | Skin damage | Wrap in cloth, don’t apply directly |
| Sauna | Overheating | Stay hydrated, use a barrier |
| Thermotherapy | Skin irritation | Gradually increase intensity |
Post-Therapy Stretching and Movement to Maximize Recovery
After contrast therapy, gentle stretching helps improve circulation and reduces stiffness, making your recovery more effective. Incorporate light movements or dynamic exercises within 10 minutes to warm muscles gradually and maximize benefits. Just remember to avoid strenuous activities immediately afterward to allow your tissues to settle. Using temperature therapy features can optimize recovery by safely alternating between heat and cold as part of your routine.
Gentle Stretching Techniques
Gentle stretching after contrast therapy helps your muscles relax and recover more effectively. By focusing on slow, controlled movements, you support muscle recovery and promote increasing blood flow through your blood vessels.
Incorporate static stretches lasting 10-15 seconds, targeting major muscle groups, to enhance flexibility without overstressing tissues. Deep diaphragmatic breathing during your stretches can also promote relaxation and improve oxygen delivery to muscles.
Avoid intense or ballistic stretches right after a cold plunge to prevent muscle tightness and injury. Instead, use gentle stretches that complement your workouts or therapy session, helping to restore joint mobility and foster ideal recovery.
- Target major muscle groups with static holds
- Use slow, controlled movements like neck rolls or ankle circles
- Incorporate deep breaths for relaxation
- Focus on gentle stretching to maximize blood flow
- Avoid overstretching immediately after cold therapy
- Consider using foam rollers or massage tools for targeted relief and improved circulation muscle recovery
Optimal Timing Strategies
Have you ever wondered when the best time is to start stretching after a contrast therapy session? Waiting 1-2 minutes after a cold plunge allows your body temperature to stabilize, making stretching safer and more effective.
Light dynamic movements or gentle stretching within 10 minutes of finishing contrast therapy promote blood flow, which accelerates recovery and supports muscle tissue rebuilding. Focus on major muscle groups you worked during your session to reduce stiffness and encourage nutrient delivery.
Avoid intense or prolonged stretching immediately after the cold exposure, as it can cause further muscle tightness. Instead, keep movements moderate and controlled. Timing your post-therapy stretching correctly helps maximize the benefits of contrast therapy, ensuring your muscles recover faster and your blood flow remains optimized.
Dynamic Movement Choices
Engaging in dynamic movements shortly after a contrast therapy session can greatly boost your recovery. These movements help stimulate blood flow and support muscle tissues as they warm and return to normal temperature.
Focus on gentle dynamic stretching, such as leg swings and arm circles, to avoid overstressing cooled muscles. Incorporate controlled bodyweight exercises like slow lunges or hip openers to enhance your range of motion and aid waste removal.
Prioritize full-body mobility exercises that mimic daily activities, helping to restore functional movement patterns disrupted by cold exposure or training. Maintain moderate intensity to prevent temperature shock and facilitate gradual muscle temperature normalization.
Spend 5–10 minutes on these practices to optimize circulation benefits and accelerate recovery while reducing stiffness.
Hydration and Nutrition Tips Before and After Contrast Therapy
Proper hydration and nutrition are essential both before and after contrast therapy to support your body’s recovery and optimize the benefits.
Hydration and nutrition are key for optimal recovery and benefits from contrast therapy.
Hydration helps improve blood flow, enhances circulation, and reduces the risk of dehydration, which can hinder muscle recovery. Drink at least 500 ml (about 16 oz) of water after your session, and consider electrolyte-rich drinks to restore minerals like sodium and potassium, crucial for maintaining hydration and muscle function.
Eating a light, nutrient-dense snack with protein and carbs within 30-60 minutes post-therapy can speed up recovery and replenish glycogen stores. Avoid heavy meals or alcohol immediately afterward, as they may cause digestive discomfort and dehydration.
Listen to your body’s thirst and hunger cues to maximize the benefits of contrast therapy.
Signs You Should Stop or Adjust Your Contrast Routine
You should stop or adjust your contrast routine if you feel dizzy, nauseous, or experience worsening pain during or after cold exposure.
If you notice numbness, swelling, or skin damage, it’s time to pause and seek advice.
Pay attention to your body’s signals—discomfort beyond the norm indicates it’s time to modify or stop your session.
Unusual Discomfort or Pain
While contrast therapy can offer many benefits, it’s essential to pay attention to unusual discomfort or pain that may signal your body needs a break.
If you experience sharp or worsening pain during or after cold plunging, it’s a clear sign to stop and consult a healthcare professional. Persistent numbness or tingling also indicates nerve irritation, requiring adjustment or cessation of your routine.
Be cautious of dizziness, nausea, or lightheadedness during shifts, which suggest adverse reactions. Additionally, severe skin reactions like blistering or redness, or increased swelling, mean you should halt therapy immediately.
Signs of Dizziness or Fainting
Dizziness or fainting during contrast therapy signals that your body may be responding negatively to the sudden shifts in temperature. You might experience dizziness, lightheadedness, or weakness if blood pressure drops from rapid vasoconstriction or vasodilation.
Cold water exposure beyond 1-3 minutes can cause fatigue and increase your risk of fainting. If you feel dizzy or faint, stop immediately, and rest until symptoms subside. Shortening your cold plunge or gradually increasing contrast levels can help your body adapt.
Repeated episodes of dizziness or fainting indicate you should consult a healthcare provider before continuing. Recognizing these signs early helps prevent danger and guarantees safe, effective contrast therapy practices.
How to Track Your Progress and Improve Future Sessions
To effectively improve your contrast therapy sessions, tracking key indicators is essential. By monitoring your responses, you can optimize phase durations, temperatures, and overall effectiveness.
Record your muscle soreness and fatigue levels both before and after each session to see recovery improvements. Log the temperature ranges and durations used during heat and cold phases to identify what’s most effective.
Track soreness, fatigue, and temperature durations to optimize your contrast therapy results.
Pay attention to changes in mood, mental clarity, and sleep quality, which highlight nervous system benefits. Track your physical performance, like workout intensity or endurance, after sessions to gauge functional gains.
Finally, keep a journal or app to monitor session frequency and any adverse reactions, adjusting settings as needed to maximize blood flow and overall benefits over time.
- Soreness and fatigue levels
- Temperature ranges and durations
- Mood, mental clarity, sleep quality
- Physical performance markers
- Session frequency and reactions
Frequently Asked Questions
What to Do After a Contrast Bath?
After a contrast bath, you should rest for 5–10 minutes, hydrate with water or electrolyte drinks, dry your skin gently, dress warmly if needed, and avoid strenuous activity until your muscles fully recover.
How to Properly Do Contrast Therapy With Sauna and Cold Plunge?
You start with 10-15 minutes in an infrared sauna until you sweat, then switch quickly to a 2-3 minute cold plunge at 5-15°C. Repeat 3-4 times, always ending in the cold, then rest for 5-10 minutes.
Is Contrast Therapy Better Than Just a Cold Plunge?
Yes, contrast therapy is better than just a cold plunge because it enhances blood flow, reduces soreness, promotes faster recovery, and boosts mood through temperature cycles, providing more extensive benefits for your muscles and overall health.
What Should You Do Immediately After a Cold Plunge?
Immediately after a cold plunge, rest for 1-2 minutes to stabilize your body temperature, then gradually warm up with a sauna or shower, hydrate well, and avoid intense activity, listening to your body’s response throughout.