To retrofit your bathtub for ice baths, start by checking if it’s suitable with standard materials and enough space for a chiller and hoses. Insulate the tub thoroughly using foam or spray insulation to keep water cold longer. Choose an affordable cooling system that meets temperature needs and is easy to install outside the tub. Install a circulation pump and ozone sanitizer for easy maintenance. Keep safety and comfort in mind, and discover more tips to create the perfect cold plunge setup.
How to Check If Your Bathtub Is Suitable for a Cold Plunge Conversion
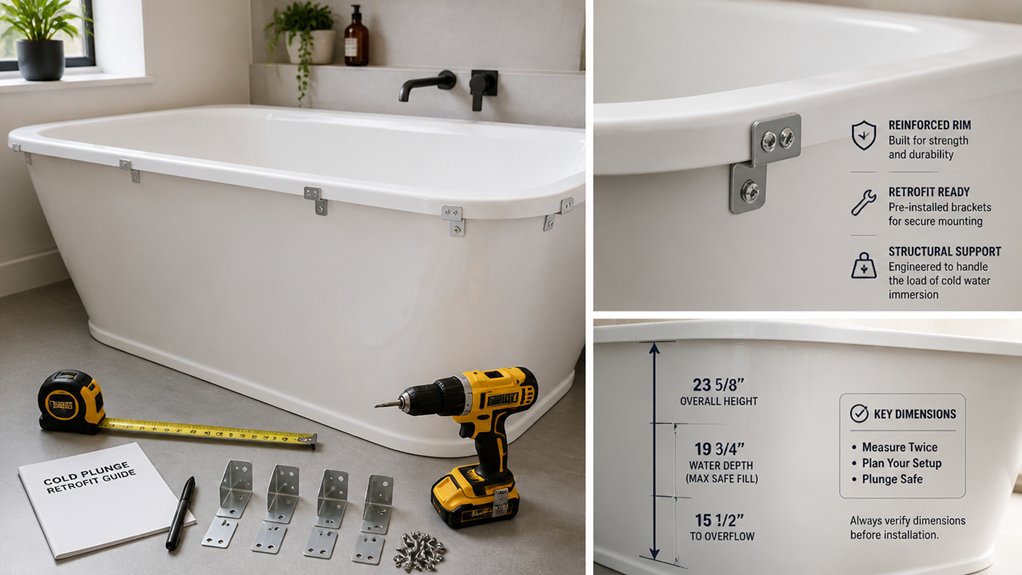
How can you determine if your bathtub is suitable for a cold plunge conversion? First, check if your bathtub is made from standard residential materials like porcelain, acrylic, or fiberglass, which don’t need modifications.
Measure its dimensions and water capacity to confirm it can hold enough water for full body immersion comfortably.
Guarantee the tub has a standard drain for easy drain and refill cycles, especially since you’ll be doing regular water changes every 2-3 weeks with the filtration system.
Also, verify nearby electrical outlets and ventilation if you’re setting up indoors, so you can safely operate your chiller unit and circulation pump.
Make sure the exterior and surroundings can accommodate the external chiller hoses without obstruction, ensuring safe and efficient cold water therapy.
Best Insulation and Water-Containment Tips for Your DIY Cold Plunge
Are you looking to keep your DIY cold plunge colder for longer and minimize energy costs? Proper insulation and water containment are key. Wrap your tub with foam board, reflective insulation, or spray foam to maintain cold temperatures and reduce energy use. Use an insulated lid to block heat gain and keep debris out when not in use, helping sustain water temperature. Waterproof the interior with aquarium-safe silicone or pond-safe resin to prevent leaks and protect the tub. Adding a circulation pump guarantees even water temperature flow, preventing cold spots and enhancing plunge effectiveness. Regular draining and refilling every 2-3 weeks, combined with ozone sanitization, keeps your water fresh. Here’s a quick summary:
| Tip | Details |
|---|---|
| Insulation | Foam board, reflective, spray foam |
| Lid | Insulated cover to retain cold temperature |
| Waterproofing | Silicone or resin to prevent leaks |
| Circulation Pump | Ensures even water temperature |
| Water Maintenance | Drain, refill, and ozone sanitization weekly |
How to Choose an Affordable and Reliable Cooling System
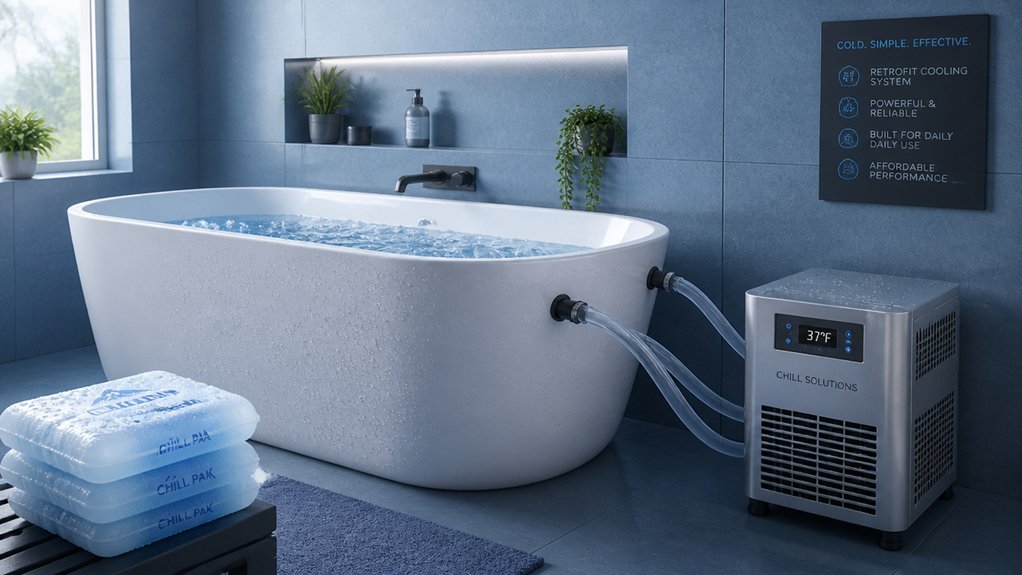
Choosing a cooling system that balances affordability and reliability can make or break your DIY cold plunge experience. For effective cold therapy, opt for systems designed for cold plunging that convert any standard tub without extensive installation—costing $1,500-2,500, about 85% less than dedicated cold units priced $10,000-15,000.
Prioritize models with consistent temperature control between 37-39°F and fast chillers that cool water from 70°F to 39°F within 3-5 hours, ensuring reliable performance. Look for units with integrated filtration and ozone sanitization to keep water fresh for 2-3 weeks and reduce maintenance.
Choose energy-efficient models drawing 500-800 watts, which cost less than $1 daily to operate, reducing long-term expenses compared to frequent ice purchases. Confirm compatibility with your existing bathtub material for a simple, portable setup.
Step-by-Step Guide to Installing and Maintaining Your Cold Plunge System
To start installing your cold plunge system, position the chiller unit outside the bathtub and connect it using standard hoses for water circulation. No need for plumbing modifications—simply attach the hoses to your tub’s existing setup.
Position the chiller outside and connect with standard hoses—no plumbing changes needed.
Fill your tub with tap water and allow the system 3-5 hours to cool the water to 37-39°F, providing a consistent cold plunge.
Use the ozone sanitization feature to keep the water fresh for 2-3 weeks, reducing the need for frequent changes.
Regularly replace the water filter every 3-6 months, costing around $20-40, to maintain efficiency.
Additionally, choosing a chiller with integrated water circulation systems, such as built-in pumps or external pump setups, ensures even temperature distribution and prevents cold spots.
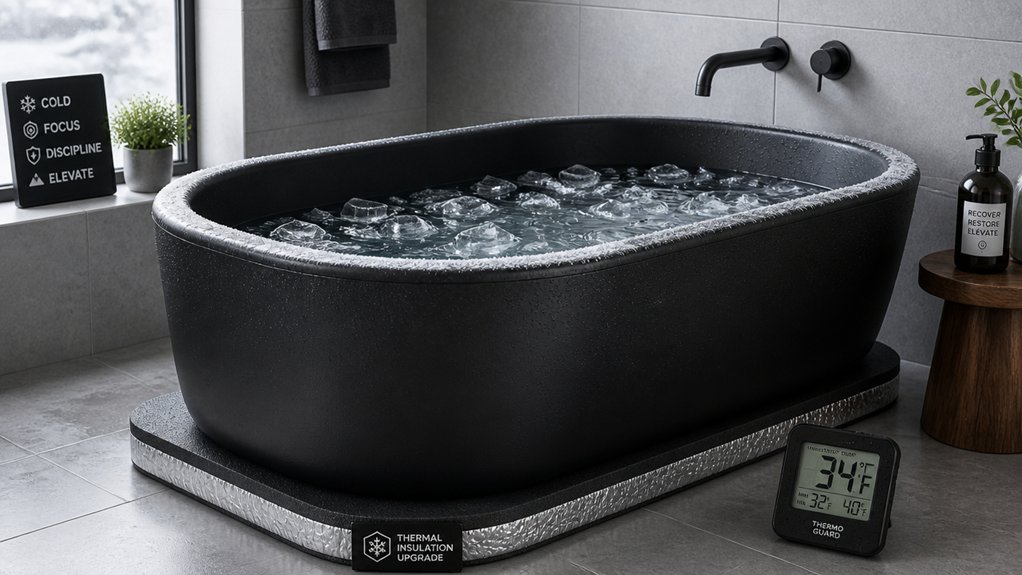
To keep heat loss minimal, insulate the tub with foam boards or reflective materials and use a fitted insulated cover, ensuring your ice baths stay cold longer and are energy-efficient.
Ensuring Safe and Comfortable Cold Water Therapy Sessions
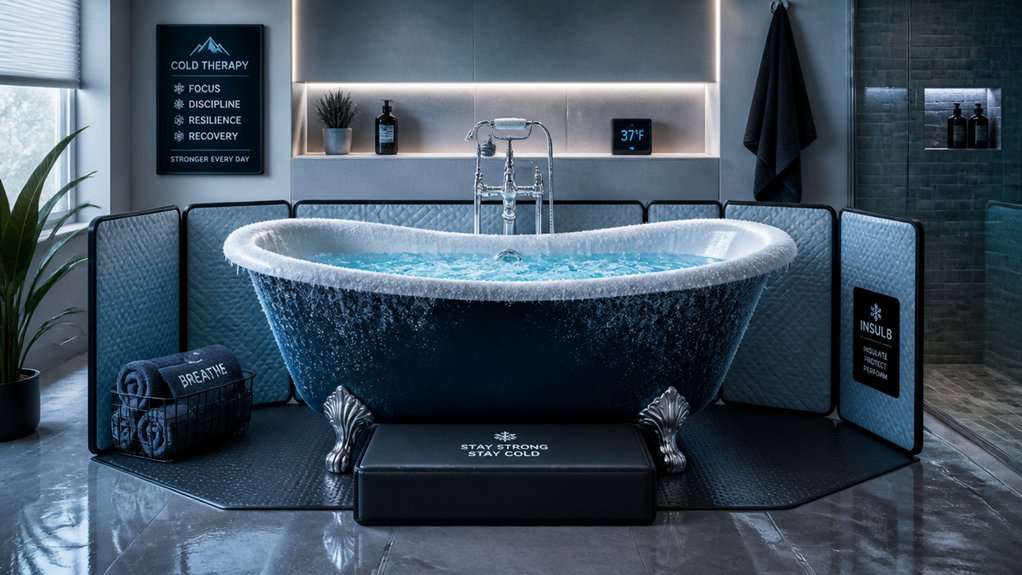
Ensuring your cold water therapy sessions are both safe and comfortable requires careful temperature control and mindful practices. Start with water temperatures between 50-59°F for beginners or 39-45°F for more experienced users, maintaining precise control within ±1°F to prevent shock responses or prolonged shivering. Use controlled breathing, like 4-second inhales and exhales, to reduce the shock response and extend your immersion safely. Begin with 2-3 minutes at higher temperatures, gradually increasing to 5-10 minutes to build mental resilience and improve tolerance. Keep the water clean by using ozone sanitization systems, only changing it every 2-3 weeks. Always consult a healthcare provider beforehand and stick to your recommended times per week to enjoy the best benefits without risking health. Additionally, choosing a energy-efficient water chiller can help maintain consistent temperatures while reducing power consumption and noise during your sessions.
Frequently Asked Questions
Can I Make My Bathtub Into a Cold Plunge?
Yes, you can convert your bathtub into a cold plunge by connecting a portable chiller unit with hoses. It cools water quickly, requires minimal setup, and needs little maintenance, making it an easy, affordable way to enjoy ice baths at home.
What Is the Miracle Method Tub Conversion?
The Miracle Method tub conversion transforms your standard bathtub into a cold plunge in under 5 minutes with no installation. It maintains precise temperatures, reduces costs, and uses ozone sanitization, making cold immersion easy, affordable, and hassle-free.
What Are Common Cold Plunge Mistakes?
You often make cold plunge mistakes by using water that’s too cold, neglecting consistent temperature, rushing sessions, skipping breathing techniques, or not sanitizing regularly, which all diminish benefits and can lead to discomfort or hygiene issues.
How to Do an Ice Bath in a Bathtub?
You fill your bathtub with cold water, add 40-50 pounds of ice, then soak for 3-5 minutes while focusing on slow breathing. Use a timer, dress appropriately afterward, and warm up gradually to maximize benefits.