For effective DIY ice bath drainage, prioritize proper placement and slope—position the drain about 9 inches from the bottom and slope the basin slightly towards it for gravity-assisted flow. Use thick bulkhead fittings, secure all connections with clamps, and seal tightly with waterproof caulk. Incorporate flexible tubing and quick-disconnect couplings for easier maintenance. Regularly inspect and clean your system to prevent leaks and clogs. Continue exploring these tips to create a leak-proof, efficient drainage setup that lasts.
Why Proper Drainage Is Key for Your DIY Ice Bath Setup
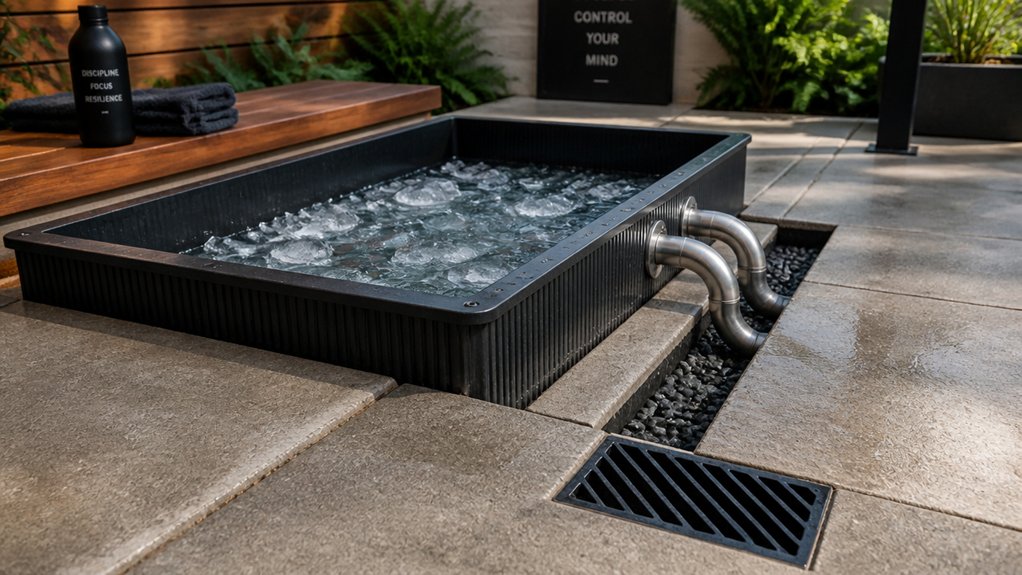
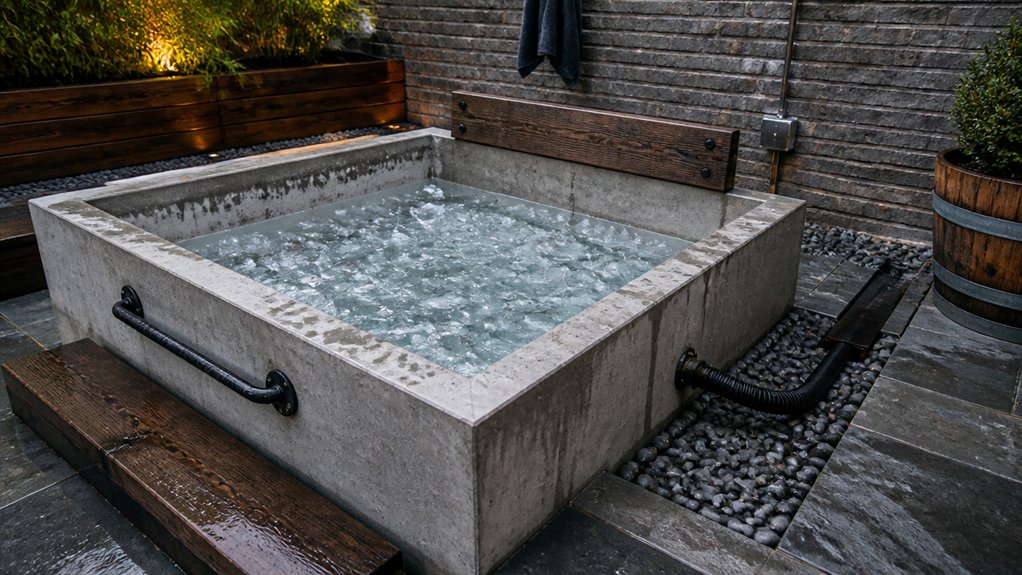
Proper drainage is essential to keep your DIY ice bath functional and efficient. Without it, water can linger, causing sediment buildup and risking damage to insulation or the structure itself. A quality drain-fitting ensures secure connections and prevents leaks, extending the lifespan of your setup. When you install a well-placed drain, you make water removal simple and effective, reducing the risk of leaks by using sealed, robust fittings with pipe thread sealant. This guarantees your setup remains water tight, maintaining insulation and thermal integrity. Proper drainage also minimizes effort during water changes, enabling quick, partial, or full replacements as needed for sanitation. Including features like a locking lid and drainage port helps preserve your ice bath’s thermal performance while making maintenance easy.
Planning Your Drain Location and Slope for Optimal Water Flow
Choosing the right spot and angle for your drain guarantees efficient water removal from your ice bath. Position the drain at the lowest point inside the basin so gravity helps fully drain the water. To optimize flow, incorporate a slight slope of 1-2% leading toward the drain. When you drill a hole, make it a half inch to guarantee proper plumbing, and place it about 9 inches above the bottom outside the basin. Use thick-wall bulkhead fittings sealed with pipe thread sealant for a watertight connection that withstands frequent use. Ensure your insulation materials do not interfere with drainage pathways and maintain proper ventilation to prevent mold growth. Designing an effective slope within the basin and plumbing layout minimizes clogging and makes cleaning easier. Proper planning of drain location and slope assures swift, complete drainage, preventing standing water and maintaining the hygiene of your DIY ice bath setup.
Finding the Perfect Spot for Your Drain Hole
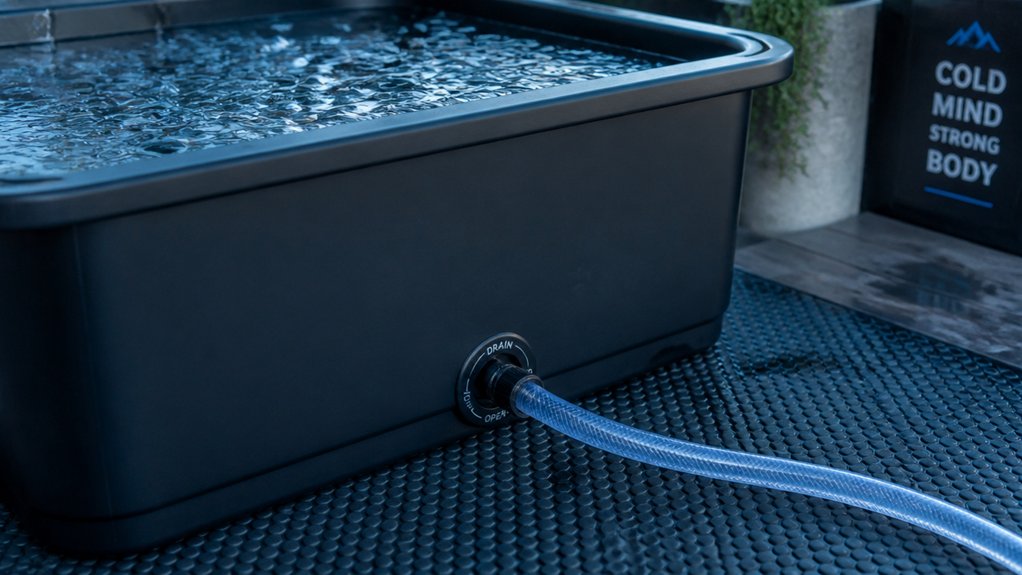
Identifying the ideal spot for your drain hole is essential to guarantee efficient water flow and ease of installation.
For your cooler, position the drain hole about 9 inches above the bottom on the outside wall. This placement balances easy drainage with water retention, preventing stagnant water buildup. Make sure the drain hole isn’t too high, so water can drain efficiently without leaving excess water at the bottom.
Measure and mark the exact center of where you plan to drill multiple times to avoid errors, especially with costly insulated coolers. Use a 1-5/8 inch hole saw and drill in reverse for a smooth, clean cut.
Place the drain hole on a vertical cooler wall rather than the bottom to simplify fitting installation and preserve the cooler’s structural integrity. Proper drain placement also supports water quality maintenance and overall hygiene of your cold plunge.
How to Drill and Seal the Drain Hole in Your Cooler
Start by marking the center of the drain hole on the cooler wall, double-checking your placement to prevent mistakes. Use a 1-5/8 inch hole saw, drilled in reverse, to make a smooth cut from both outside and inside, avoiding jagged edges. Seal the bulkhead fitting thoroughly with pipe thread sealant and perform a leak test before completing your setup. Incorporate a secure sealing method to ensure reliable and leak-proof connections.
Marking Safe Hole Position
Have you double-checked all measurements for the drain hole? To guarantee accuracy, first mark the drain hole center carefully, using a pencil or marker. Double-check the position by measuring from key edges to confirm it’s exactly where you want it. Remember, once you drill, the hole is permanent.
For proper drainage, position the outlet hole about 9 inches above the cooler’s bottom on the outside wall. When ready, mark the circle’s perimeter for the 1-5/8 inch hole saw. Use a ruler or straightedge to verify measurements before making your final mark.
Take your time to guarantee everything lines up perfectly. Proper marking prevents mistakes, helping you drill in the correct spot and making sealing easier later. Accurate measurements are essential for a successful DIY cold plunge setup.
Choosing Proper Drill Bits
Choosing the right drill bit is key to making a clean, accurate drain hole in your cooler. For this, a 1-5/8 inch hole saw bit is ideal, as it easily drills the 44 mm thick walls for a precise cut. To avoid cracking or melting, always drill the hole in reverse (counter-clockwise), which results in a smooth edge inside and outside. Before drilling the hole, double-check your markings, confirming the outlet is about 9 inches above the cooler’s base for effective drainage. Additionally, selecting a drill bit that provides proper water resistance can help ensure longevity when creating drainage holes. Below is a helpful chart:
| Drill Bit Type | Purpose | Benefits | Precautions | Tips |
|---|---|---|---|---|
| Hole saw bit | Drilling large holes | Precise, clean cuts | Use in reverse for smoother edges | Keep steady pressure |
| Standard bit | Small holes or pilot holes | Versatility | Not for large holes | Use pilot hole first |
This guarantees you drill the hole accurately and securely.
Sealing and Leak Prevention
To guarantee your cooler remains leak-proof after drilling the drain hole, proper sealing is essential. Once you’ve drilled the hole using a 1-5/8 inch hole saw and confirmed its placement, focus on sealing all connections.
Apply a generous amount of pipe thread sealant to all threaded bulkhead fittings, brushing it on evenly for a tight, leak-proof fit that still allows disassembly if needed. For added security, you can use waterproof caulks like JB Weld Water Weld around the fittings—just remember this creates a permanent seal.
Before final assembly, perform a static leak test by filling the cooler with water above the drain hole to catch any leaks early. Proper sealing guarantees your DIY ice bath remains watertight and ready to use.
Choosing the Right Drain Fittings and Plumbing Components
Selecting the right drain fittings and plumbing components is essential for creating a reliable and secure ice bath drainage system. Use thick-wall bulkhead fittings, around 2 inches thick, to make watertight holes in your cooler or tank. Drill outlet holes about 9 inches from the bottom to promote effective drainage.
For the drainage lines, opt for flexible 3/4″ ID PVC vinyl tubing; soften it in hot water to help form tight bends and guarantee secure attachment. Fasten the tubing with two hose clamps per barb fitting for leak-proof connections.
Consider plastic cam-and-groove couplings or PVC union connectors for easy maintenance and disconnection. Incorporate rubber stoppers or PVC on/off valves as practical drain plugs for simple flow control during filling and draining. Additionally, selecting leak-proof materials such as reinforced PVC with multiple layers can enhance the durability and reliability of your drainage system.
Connecting Your Drain: Setting Up Hoses and Valves
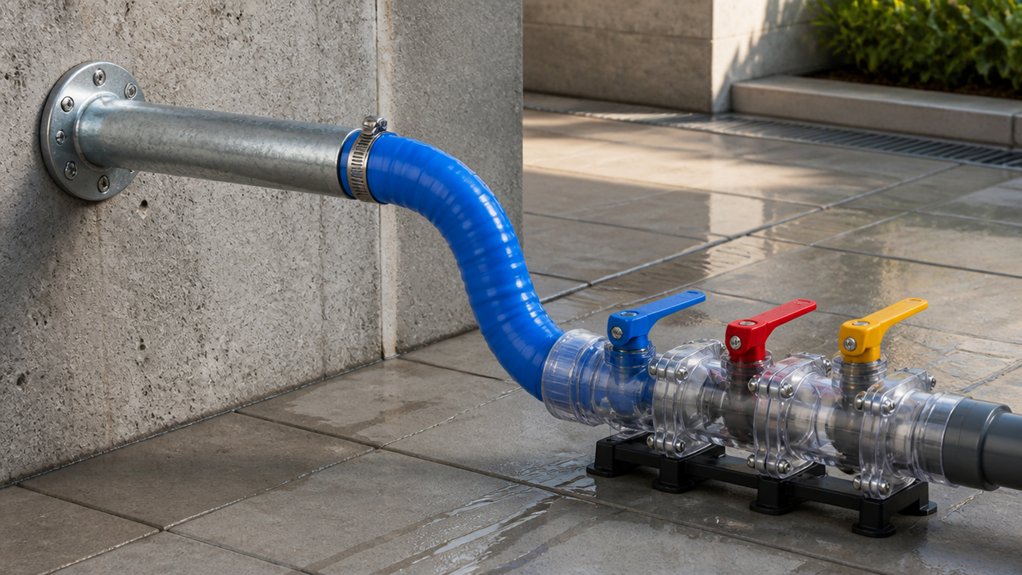
Once you’ve installed your drain outlet holes and secured your bulkhead fittings, the next step is to set up the hoses and valves to manage water flow effectively. Use 3/4 inch tubing for your drainage connections, guaranteeing compatibility with your pump and fittings for smooth drainage.
Incorporate PVC cam-and-groove couplings or union connectors in the drain hoses, allowing quick disconnection and maintenance without leaks. Install on/off valves on your drainage lines to shut off clean water flow during hose removal or partial water changes. Position the drainage outlet about 9 inches above the cooler bottom for efficient emptying and to prevent clogging. Ensure your hoses are constructed from kink-resistant materials to maintain steady flow during draining.
Seal the bulkhead fittings generously with pipe thread sealant, and secure barb fittings with double hose clamps to guarantee tight, leak-proof connections.
Sealing the Drain to Prevent Leaks During Draining
Guaranteeing a leak-proof drain requires careful sealing of all threaded connections and fittings. Use thick-wall bulkhead fittings with proper rubber gaskets to create a secure, watertight seal. Apply generous pipe thread sealant on all threaded connections to prevent leaks during draining.
When drilling the holes, confirm precise measurements, especially for fittings like the 1-5/8 inch hole saw for the Grizzly cooler, and verify placement multiple times to avoid misalignment. For added protection, consider applying interior silicone caulk or waterproof sealants like JB Weld Water Weld around the bulkhead fittings.
Tighten hose clamps securely on all barb fittings, ideally using two clamps per connection, to prevent water seepage during draining. Always perform a static leak test by filling the cooler with water above the drain level before final assembly.
Troubleshooting Leaks and Drain Blockages
When dealing with leaks and drain blockages, the key is systematic troubleshooting to identify and fix issues promptly. Start by applying generous pipe thread sealant on all threaded fittings and using two hose clamps per barb fitting for secure, leak-proof connections.
Perform a static leak test by filling the cooler or basin above the outlet level to catch any leaks before full operation. For drain blockages, regularly check and clear tubing and filter cartridges to keep water flowing smoothly and avoid pump strain or overflows.
During assembly, soften flexible tubing in warm water to prevent kinks or clogs caused by tight bends. Address leaks promptly with proper sealing, and clear any drain blockages to maintain uninterrupted drainage and peak relaxation.
Maintaining and Cleaning Your Drain System for Long-Term Use
To keep your drain system working smoothly over time, you should regularly inspect all connections and fittings for leaks or wear.
Using mild sanitizers like hydrogen peroxide or chlorine helps keep the pipes clean without damage.
Additionally, cleaning with gentle tools and installing strainers will prevent debris buildup and guarantee long-term durability.
Regular Inspection Practices
Regularly inspecting your drain system is essential to keep your ice bath setup functioning smoothly and prevent costly damage. Check the drainage outlet and fittings for signs of leaks or cracks, especially around bulkhead seals, to maintain waterproofing.
Clear debris and sediment buildup from the drain and surrounding plumbing at least monthly to guarantee smooth water flow and prevent clogs. Periodically run water through the system to test drainage performance, identifying slow drainage or pooling issues early.
Use non-corrosive cleaners compatible with your plumbing materials to clean the drain area, avoiding damage and microbial growth.
After cleaning or repairs, perform a leak test by refilling the plunge slightly above the drain level, confirming that all seals remain watertight and the system functions properly over time.
Effective Sanitization Methods
Maintaining a clean and sanitary drain system is essential for the long-term performance of your DIY ice bath setup. Regularly flushing drainage pipes with a diluted hydrogen peroxide solution (2-3 oz at 12%) kills bacteria without damaging plumbing materials. Avoid mixing chlorine-based sanitizers with other chemicals, as hazardous reactions may occur. Installing removable strainers or mesh filters at drain entrances traps debris and reduces clogs, making cleaning easier. Periodically clean drain surfaces and accessible pipes with hot water and mild detergents or specialized hot tub cleaning products to prevent biofilm buildup. Inspect and replace drain seals and gaskets as needed, guaranteeing long-term system integrity.
| Action | Purpose |
|---|---|
| Flush pipes with hydrogen peroxide | Kill bacteria |
| Use strainers | Trap debris |
| Clean surfaces | Prevent biofilm |
| Inspect seals | Prevent leaks |
| Avoid chemical mixing | Guarantee safety |
Leak Prevention Techniques
Ensuring your drain system remains leak-proof over time requires careful attention during assembly and ongoing maintenance. Use high-quality bulkhead fittings with a generous application of pipe thread sealant, not Teflon tape, to create a lasting, leak-proof connection.
Before final assembly, perform a static leak test by filling the cooler above the drain hole—this helps detect and fix leaks early. Periodically check and tighten hose clamps on barbed fittings to maintain secure seals and prevent drips during drainage or refilling.
Regularly flush the drain system using inexpensive cleaning tools or water toys to remove debris and prevent clogging. For added convenience, consider installing on/off valves or cam-and-groove couplings to easily disconnect and clean the drain without risking leaks or water spills.
Final Tips for a Leak-Free and Efficient Drain Setup
To achieve a leak-proof and efficient drain setup, start by positioning the outlet bulkhead about 9 inches above the cooler’s bottom. Use thick-wall bulkhead fittings and generously apply pipe thread sealant for a secure, leak-proof connection. You can seal further with JB Weld Water Weld for added durability.
- Fit the bulkhead fittings tightly, ensuring they pass cleanly through the cooler wall.
- Before final assembly, perform a static leak test by filling the cooler above the outlet to identify any leaks early.
- Attach tubing one section at a time, tightening two hose clamps per fitting after full assembly to prevent slipping or leaks under pressure, and consider adding on/off valves for easier maintenance.
Frequently Asked Questions
What Should I Put Under My Ice Bath?
You should put rubber or foam mats under your ice bath to protect your flooring, insulate against cold, and reduce slipping hazards. Elevate it on sturdy risers to improve drainage and prevent water pooling around the base.
Can Ice Baths Help With Lipedema?
Ice baths can help with lipedema by reducing inflammation, swelling, and pain when used regularly. However, you should consult your healthcare provider first, as cold therapy affects each person’s circulation differently and should be part of thorough treatment.
Can You Build a DIY Cold Plunge Chiller?
Yes, you can build a DIY cold plunge chiller using an insulated cooler, a water pump, a water filter, and a small chiller unit. Properly drill holes, seal fittings, and insulate well for effective cooling and continuous circulation.
Can Cold Plunge Lower Cortisol?
Yes, cold plunges can lower cortisol because regular exposure helps reduce stress hormones, improves mood, and promotes relaxation. Keep your dips short, between 3-5 minutes, and combine with proper hydration for best stress-relief results.