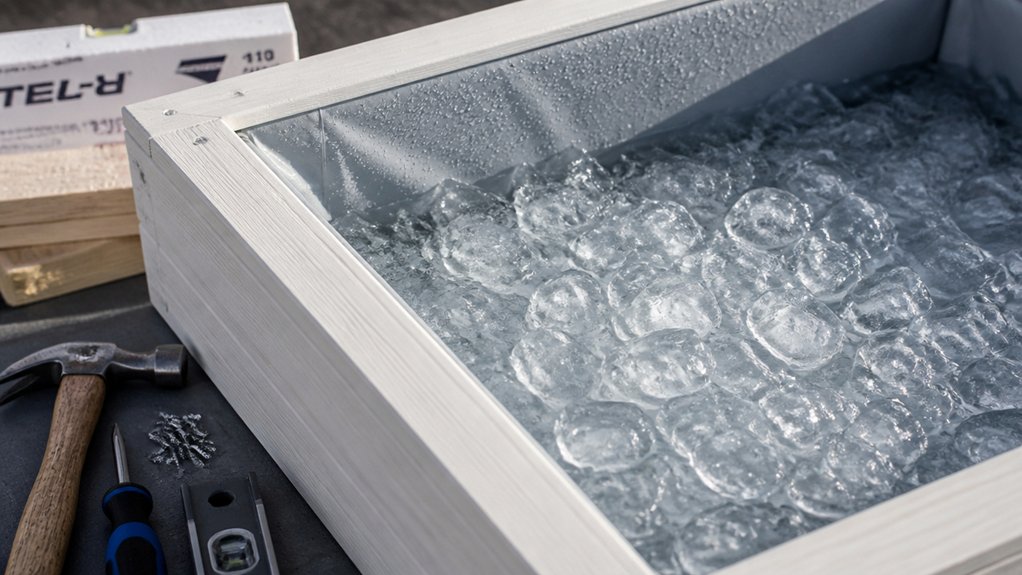
To build a great DIY ice bath, start by choosing a large, insulated container like a foam-insulated cooler or stock tank, ensuring easy access and durability. Insulate thoroughly with foam strips and reflective foil to maximize cold retention. Seal all joints with waterproof sealant to prevent leaks. Design simple water circulation with a pump and drain system for easy maintenance. Incorporate safety features like a sturdy lid and non-slip steps. Test your insulation for leaks and efficiency, then keep your setup maintained for peak cold plunges—more tips ahead to help you succeed.
How to Choose the Best Insulated Container for Your DIY Ice Bath
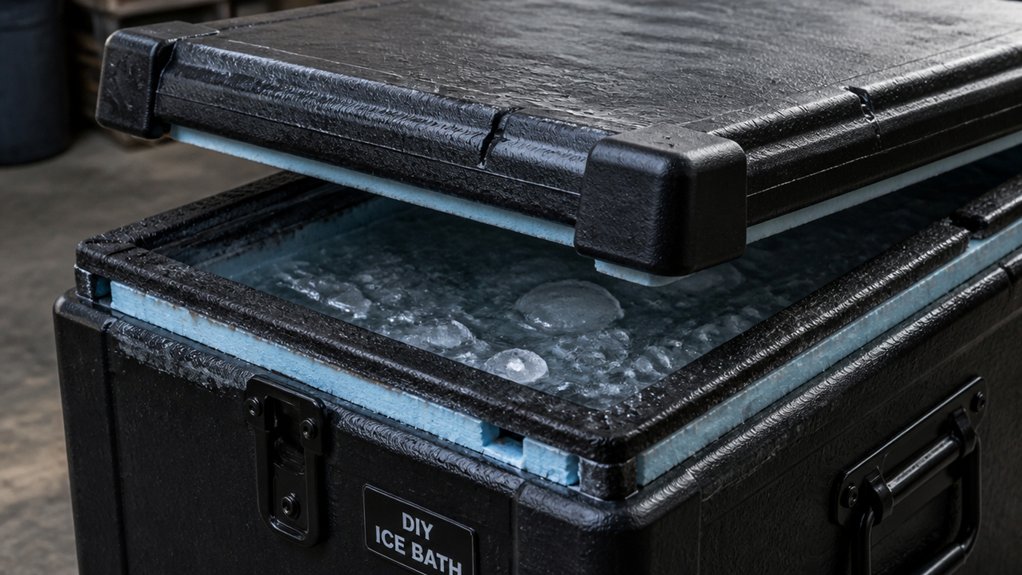
Choosing the right insulated container is essential for a successful DIY ice bath because it helps maintain cold temperatures longer and reduces ice usage. A large insulated cooler or a plastic stock tank with foam insulation works well, as it retains cold better than metal tubs. If you plan to insulate the container further, consider adding reflective insulation materials such as reflective foil or bubble foil rolls to enhance thermal retention reflective insulation, which can significantly improve cold preservation. Confirm your watertight container has enough capacity—about 100 gallons—to comfortably fit you up to the neck. Check its structural integrity by inspecting for soft spots or thin walls that might warp or puncture under water pressure. If you modify the container, such as drilling holes for drainage or fittings, do so carefully, avoiding damage to internal components like coils. Opt for a deeper and narrower shape for sitting or wider for reclining. This guarantees ease of entry, exit, and effective cold immersion.
How to Insulate Your Ice Bath for Maximum Cold Retention
To effectively maximize cold retention in your ice bath, you need to focus on strategic insulation methods that minimize heat transfer. Use thick foam insulation strips inside the curved frame or cooler walls to fully cover the insulated container, reducing heat through conduction. Wrapping the exterior with reflective UV-reflective coatings insulation reflects radiant heat away, keeping the cold water colder longer. A well-fitted insulated lid, padded with foam and sealed with a waterproof vapor barrier, prevents heat gain from above and slows ice melt. Insulate the base and legs to create an elevated, leveled platform that reduces heat transfer from the ground. For chest freezer conversions, seal drilled holes with silicone or nautical sealants and add spray foam around vulnerable spots to prevent unwanted heat ingress, ensuring your ice bath stays colder longer.
Which Materials Are Best for Sealing and Waterproofing Your Setup
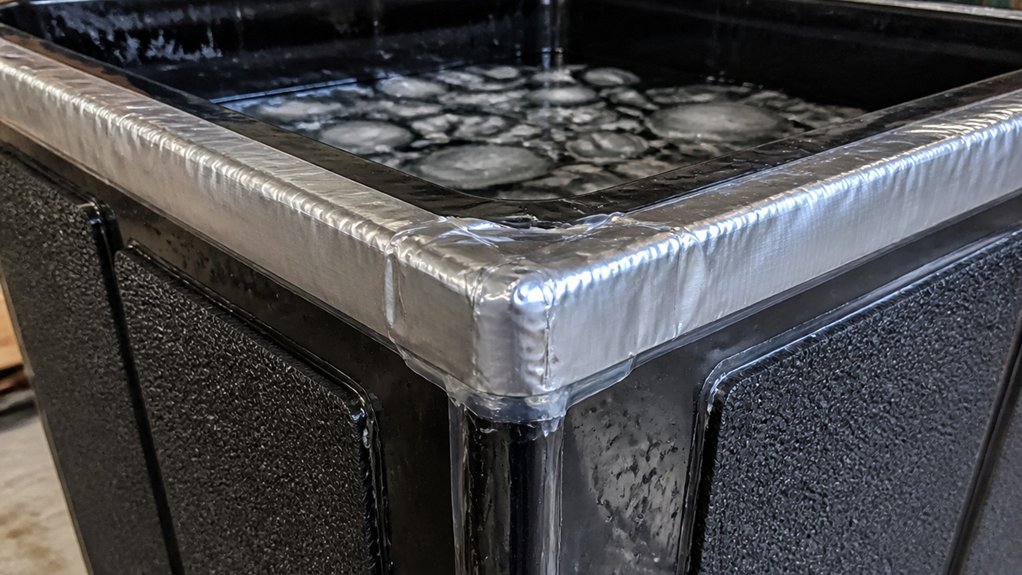
Using the right materials to seal and waterproof your setup is essential for durability and effectiveness.
To guarantee a leak-proof ice bath, consider these options:
- Waterproof tarps, tightly stapled inside the frame base and supports, create a reliable water barrier and shield wood from moisture.
- Marine-grade sealants, like nautical sealant or JB Weld Water Weld, are perfect for sealing drilled holes and seams, guaranteeing leak-proof joints.
- Pipe thread sealant, preferred over Teflon tape, assures secure, waterproof connections on all plumbing fittings.
- Coat interior surfaces, like freezer tubs, with epoxy paint designed for waterproofing and corrosion resistance, while adding slip resistance.
- For added flexibility and long-term protection against temperature shifts, consider using flexible sealants that can withstand freeze-thaw cycles without cracking or peeling.
Using these materials helps maintain a long-lasting, waterproof ice bath.
How to Design Water Circulation and Drainage for Easy Maintenance
To make maintenance easier, plan your water circulation to flow smoothly from the tub through a pump, filter, and clarifier before returning clean water. Install a dedicated drainage hose with a valve for simple emptying, avoiding heavy lifting. Keep the pump and filters accessible on a flat surface, using secure fittings, and consider raised platforms to improve drainage and prevent standing water. Incorporating submersible pumps with adjustable flow controls can further optimize circulation and ease maintenance.
Efficient Water Flow Paths
Designing efficient water flow paths starts with careful placement of inlet and outlet holes to promote proper water circulation and prevent sediment buildup.
For an insulated cold plunge, position the water outlet hole about 9 inches above the bottom on the outside and the inlet hole roughly 18 inches high for peak flow. Use bulkhead fittings sealed with pipe thread sealant and JB Weld Water Weld to create leak-proof, permanent connections through the tub wall.
Incorporate a pump and filtration system to circulate water, ensuring it flows from the plunge, through the pump and filter, then back. Selecting a pump with adequate flow rate capacity ensures quick draining and refilling, maintaining water quality and ease of maintenance.
For drainage, install a drain hose with an on/off valve for easy water removal and cleaning. Secure tubing with gentle bends and dual hose clamps to maintain reliable, leak-free flow and facilitate maintenance.
Practical Drainage Solutions
A practical drainage system starts with positioning a drain hose equipped with an accessible valve near the bottom of your tub, making it easy to empty water quickly and control the flow without heavy lifting. Use bulkhead fittings sealed with pipe thread sealant or marine-grade sealants to guarantee watertight connections at tubing entry points, preventing leaks during drainage and filling. Incorporate quality hose clamps to secure connections and prevent leaks during operation. For continuous water circulation, route drained water through a pump, UV clarifier, and whole house filter before returning it to the tub, reducing water changes. Place the tub on a leveled, waterproof surface with integrated tarps or liners to manage accidental spills. Install cam-and-groove couplings on pump and filter tubing to allow easy maintenance without draining the entire system, streamlining upkeep and sanitation.
What Safety Features and Access Points Should You Include
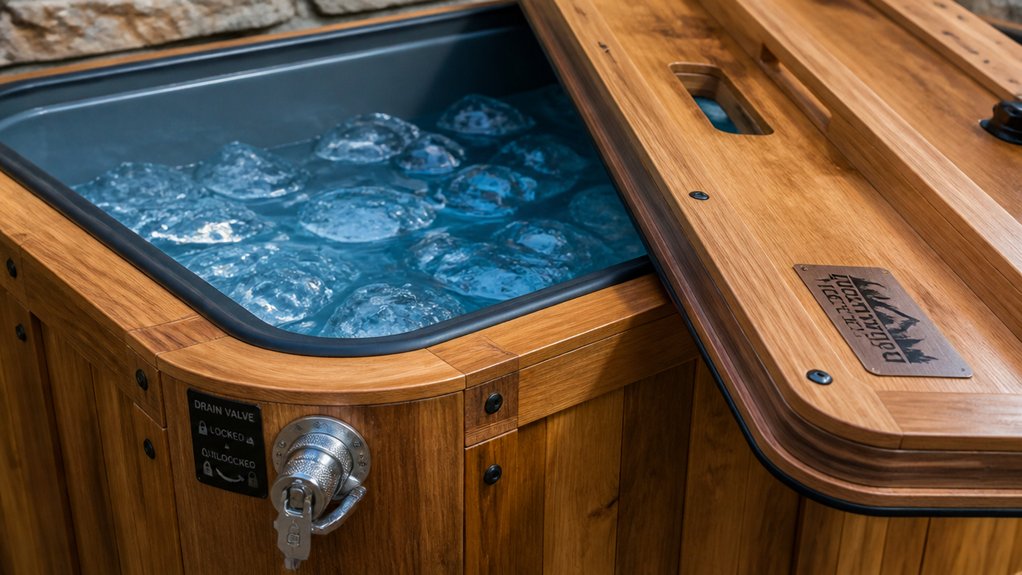
To keep your ice bath safe and accessible, you should include a sturdy, waterproof lid with easy-to-grip handles for secure covering. Make sure there’s a stable, non-slip step or bench for safe entry and exit, reducing the risk of slips. Additionally, incorporate a proper drainage system and guarantee electrical components are protected to prevent hazards. Use water-resistant materials for all components exposed to the environment to ensure durability and safety.
Secure Lid and Handles
Ensuring your ice bath lid is both secure and easy to handle is essential for safety and convenience. A well-designed lid prevents heat escape, water damage, and mold growth while keeping out debris.
Use heavy-duty barn door handles at shoulder width for safe, easy lifting without snagging or finger injuries. Design the lid with smooth, curved edges to prevent gaps that could cause accidents or heat loss.
Incorporate insulation like reflective foil and foam beneath the lid, combined with a waterproof tarp, to maintain temperature and prevent water issues. For added safety, include a non-slip surface or grip features on handles and the lid’s edge to prevent slips during opening and closing. Incorporating waterproof materials ensures the lid withstands prolonged exposure to moisture while maintaining its insulation properties.
- Heavy-duty handles at shoulder width
- Smooth, curved edges for safety
- Insulation and waterproof materials
- Non-slip grips for control
Easy Access and Exit
Adding sturdy steps or a low platform next to your ice bath makes entering and exiting safer and easier, especially when dealing with cold water and slippery surfaces.
For your Cold Plunge or inflatable cold plunge, make certain the container has a wide, smooth rim or handles for a secure grip when climbing in or out. Use non-slip mats or textured flooring around the water to prevent accidents caused by wet, slick surfaces. Position the ice bath on stable, level ground to provide secure footing and reduce tipping risks.
Keep towels, warm clothes, and seating nearby to support gradual warming after exiting the ice baths. Proper safety features make it easier to manage water temperature and keep your ice bath experience safe and comfortable.
How to Test and Improve Your Insulation Before Filling
Before filling your ice bath, it’s necessary to test its insulation to prevent heat loss and guarantee ideal freezing conditions.
Start by using an infrared camera to identify cold spots and heat leaks around the exterior and insulation.
Then, fill the tub partially with cold water and monitor the temperature hourly to confirm insulation effectiveness and spot thermal leaks.
Insert foam insulation strips tightly into all frame gaps and edges, paying close attention to corners and curves for maximum coverage.
Finally, temporarily cover the tub with the lid and reflective foil insulation to assess combined insulation value and measure temperature retention over several hours.
- Use an infrared camera to find heat leaks
- Fill with cold water, monitor hourly
- Seal gaps with foam insulation strips
- Cover with reflective foil and lid for testing
How to Maintain and Upgrade Your Ice Bath for Consistent Cold Plunges
Maintaining your ice bath for consistent cold plunges requires regular upkeep and strategic upgrades to optimize its performance. First, replace the water every 2-3 weeks, using a tablet floater to guarantee sanitation and prevent bacteria growth.
Regularly replace water and use a tablet floater to ensure cleanliness and prevent bacteria in your ice bath.
Incorporate insulation—foam strips inside the frame and reflective foil beneath the insulated lid—to greatly reduce ice melt and extend cold temperatures. Use 3-gallon freezer water bottles rotated every 2-3 days to keep water colder longer without using extra ice.
Regular cleaning and disinfecting with sump pumps every 3 weeks help prevent mold and bacteria buildup. Upgrade your temperature control by installing a digital controller for precise settings.
An insulated lid adds thermal retention and keeps debris out, assuring a reliable and efficient cold plunge experience.
Frequently Asked Questions
How Do I Prevent Mold and Bacteria Growth Inside the Ice Bath?
To prevent mold and bacteria, you should regularly clean your ice bath with disinfectant, guarantee it dries completely after use, and add a water sanitizer or use a cover to reduce moisture buildup and bacterial growth.
What’s the Best Way to Ensure Even Water Temperature Distribution?
You should add a circulation pump or small fountain to keep water moving, ensuring even temperature distribution. Regularly stirring or agitating the water also helps prevent cold spots and promotes consistent temperature throughout your ice bath.
How Often Should I Clean and Disinfect the Ice Bath?
You should clean and disinfect your ice bath after every use to prevent bacteria buildup. Regular deep cleaning weekly with disinfectant is also essential. Keep the water fresh, and guarantee proper drainage for peak hygiene and safety.
Can I Modify an Existing Freezer to Improve Insulation?
Yes, you can modify an existing freezer to improve insulation by adding foam panels or spray foam insulation. Sealing gaps and enhancing door seals also help retain cold, making your ice bath more efficient and maintaining ideal temperatures longer.
What Safety Precautions Should I Take During Installation and Use?
You should wear protective gear, handle electrical components carefully, and guarantee proper ventilation. During installation, unplug all devices beforehand, avoid water contact with electrical parts, and follow manufacturer instructions to prevent accidents or injuries.