To safely start your ice bath journey, begin with water around 15°C (59°F) and immerse for 1-2 minutes, gradually lowering the temperature by about 1°C weekly while monitoring your body’s response. Focus on controlled, deep breathing to manage the cold shock and stay relaxed. Increase duration slowly over time, aiming for 10-15 minutes at 10-13°C. Consistency, safety, and gradual progress are key—continue exploring these tips to master your cold exposure safely.
Our Recommended Product on Amazon

As an Amazon Associate we earn from qualifying purchases.
Why Gradually Acclimate to Ice Baths?
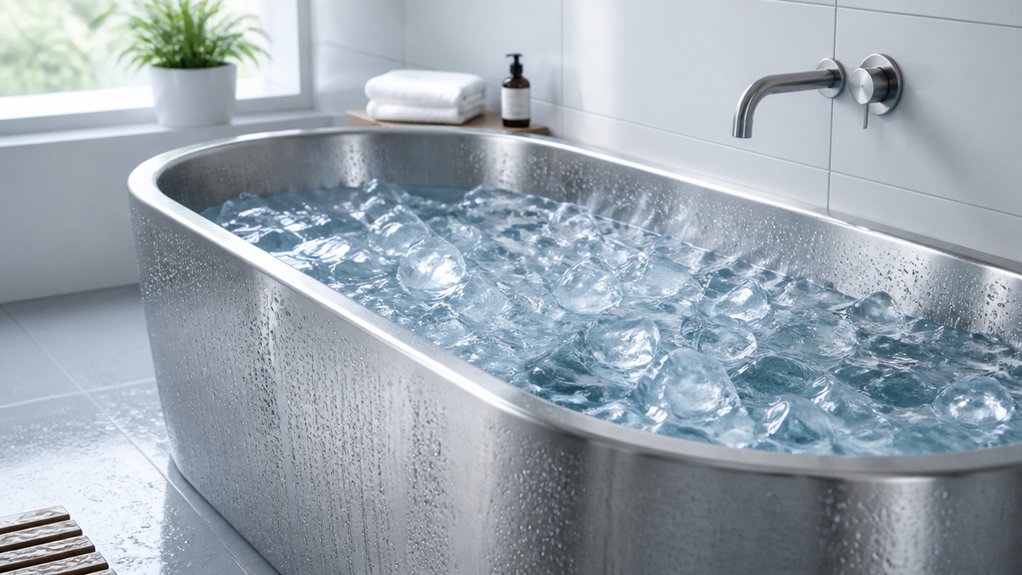
Why should you gradually acclimate to ice baths? Because sudden immersion can trigger the cold shock response—causing involuntary gasping and hyperventilation, which can lead to dizziness or drowning.
Starting at warmer temperatures around 15°C (59°F) and for just 1-2 minutes helps you build tolerance safely. This gradual acclimation trains your nervous system, reducing the risk of overwhelming stress.
It also activates brown adipose tissue more effectively and prevents hypothermia, supporting better circulation and recovery.
Plus, pacing yourself enhances mental resilience, empowering you to manage discomfort through controlled breathing. Over time, this approach strengthens your confidence and helps you adapt physically and mentally, making cold exposure safer and more effective.
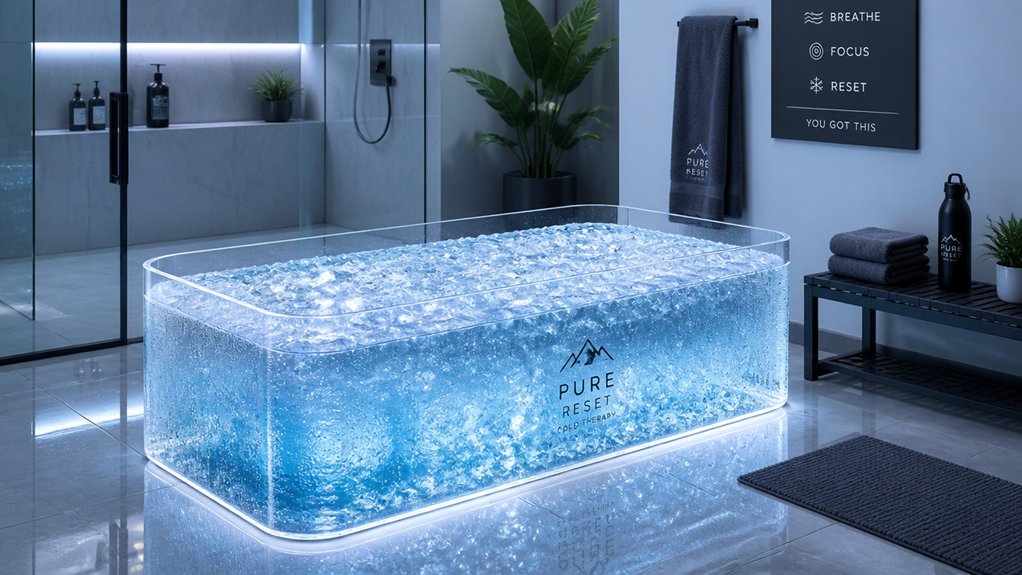
Additionally, using a cold plunge tub with good insulation can maintain consistent temperatures and simplify your acclimation process.
How to Safely Start Cold Showers
Begin your cold shower routine by gradually lowering the water temperature to around 65°F (18°C) and staying under for 10–30 seconds to build tolerance. Focus on controlled, slow breathing to help manage the cold shock and keep yourself safe. Increase your exposure gradually over time, always ensuring someone is nearby if you’re new to this practice. Using a blood oxygen monitor can help you track your oxygen saturation levels and ensure safe recovery during and after cold exposure.
Gradual Temperature Reduction
To safely start cold showers, it’s important to lower the water temperature gradually instead of jumping straight into cold water. Begin with water at around 65°F (18°C) for 10-30 seconds, then slowly decrease the temperature as your tolerance builds. Focus on partial body exposure—feet or legs first—and gradually increase immersion. Use controlled, slow breathing to manage the nervous system’s response and prevent hyperventilation. Increase shower duration gradually, starting at 15 seconds and progressing toward 2 minutes at temperatures near 50-59°F (10-15°C). Here’s a simple guide:
| Step | Temperature (°F/°C) | Duration |
|---|---|---|
| 1 | 65°F (18°C) | 10-30 seconds |
| 2 | 55°F (13°C) | 30 seconds – 1 min |
| 3 | 50°F (10°C) | Up to 2 minutes |
Consistently practice 2-3 times weekly to build cold tolerance safely. Additionally, using cold plunge water treatment liquids can help maintain water quality and hygiene as your cold exposure routine progresses.
Supervision and Safety
Starting cold showers safely requires you to have proper supervision and precautions in place. Because cold water immersion can trigger the gasp reflex, it’s essential to avoid starting alone during your initial sessions. Have someone nearby who can assist if you experience dizziness, hyperventilation, or other adverse reactions.
Limit your first cold shower to 15–30 seconds at around 65°F (18°C), gradually increasing the duration and lowering the temperature as your body adapts. Focus on slow, controlled breathing to manage your gasp reflex and prevent hyperventilation-induced dizziness.
Always maintain a warm, safe environment afterward, avoiding immediate heating to maximize cold adaptation benefits. Monitoring your reactions helps minimize the risk of hypothermia and keeps your cold exposure safe and effective. Using reliable recovery tracking apps can help monitor your session duration and reactions for added safety.
Choosing the Right Water Temperature and Duration
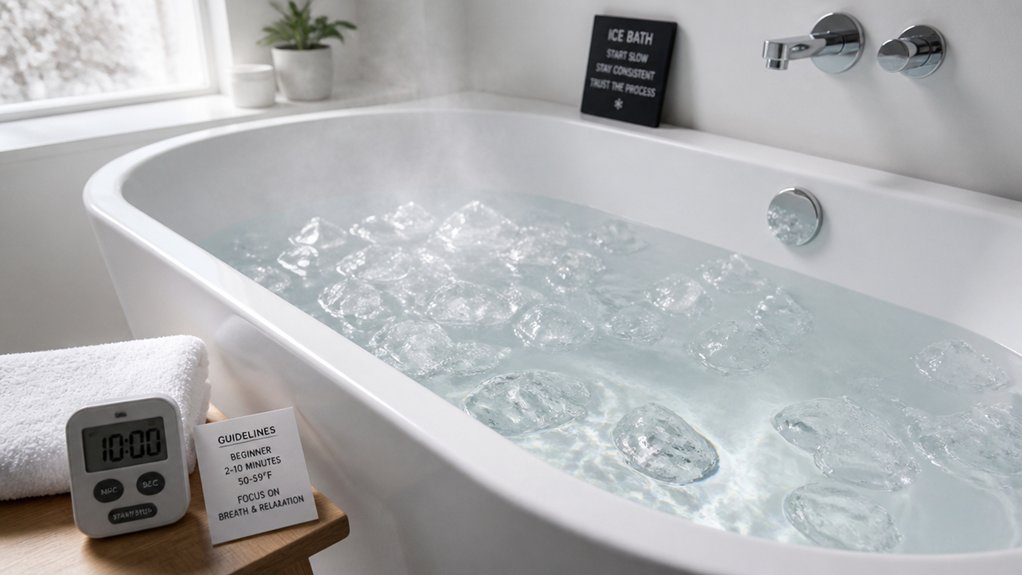
Choosing the right water temperature and duration is essential for safe and effective ice bath acclimation. Start with a water temperature near 15°C (59°F) to reduce shock, gradually decreasing to 10°C (50°F) as your tolerance improves. Use a thermometer to monitor and adjust the water temperature, aiming for 13-15°C (55-59°F) for longer sessions. Considering the materials and insulation of your tub can help maintain a consistent temperature throughout your immersion. Keep the immersion depth up to chest level, excluding your head and neck, to guarantee safety while maximizing benefits. Begin with 1-2 minutes to prevent discomfort, slowly increasing the duration to 10-15 minutes as you adapt. Limit yourself to 2-3 sessions per week initially, giving your body time to acclimate before trying longer or more frequent immersions.
Step-By-Step: Starting With Cold Showers
Start your cold shower routine by gradually lowering the water temperature to about 65°F (18°C) for just 10 to 30 seconds to build tolerance safely. Focus on steady, deep breathing to help manage the initial shock and keep hyperventilation in check. As you get comfortable, slowly increase the time and aim for longer exposures before turning down the temperature further. Incorporating resistance control practices from breathing exercise tools can further enhance your ability to stay calm and regulate your breathing during cold plunges.
Gradual Temperature Adjustment
To safely begin acclimating to cold temperatures, it’s best to start with a cold shower set around 65°F (18°C) for just 10 to 30 seconds. This initial step helps minimize shock and allows your body to begin building tolerance. Incorporating adaptogens like Rhodiola or Ashwagandha into your routine can further support stress resilience and energy regulation as you adapt to cold exposure.
Over time, focus on a gradual decrease in temperature, working toward 50–59°F (10–15°C) for more effective ice bath preparation. Keep each session short at first, around 1–2 minutes, then gradually extend to 5–10 minutes as you grow more comfortable.
During these showers, practice controlled breathing techniques to manage the initial gasp reflex and reduce hyperventilation, helping your body adapt smoothly to colder temperatures. Consistency is key in developing both physical and mental readiness.
Focused Breathing Techniques
Have you considered how controlled breathing can make cold showers more tolerable? Using focused breathing during cold exposure helps manage the initial gasp reflex and reduces hyperventilation, making cold water therapy more comfortable. Practice deep breathing, such as diaphragmatic or box breathing, to maintain steady oxygen flow and lower anxiety. In your cold shower routine:
| Step | Technique |
|---|---|
| Start with limb immersion | Gradually engage the sympathetic nervous system by focusing on breath |
| During cold exposure | Take slow, deep breaths to keep calm |
| After immersion | Breathe steadily to build resilience |
Consistently applying focused breathing improves mental resilience, comfort, and your ability to tolerate ice baths later on. Incorporating rhythmic breathing patterns can further enhance your relaxation response during cold exposure.
How to Gradually Lower Water Temperature Over Time
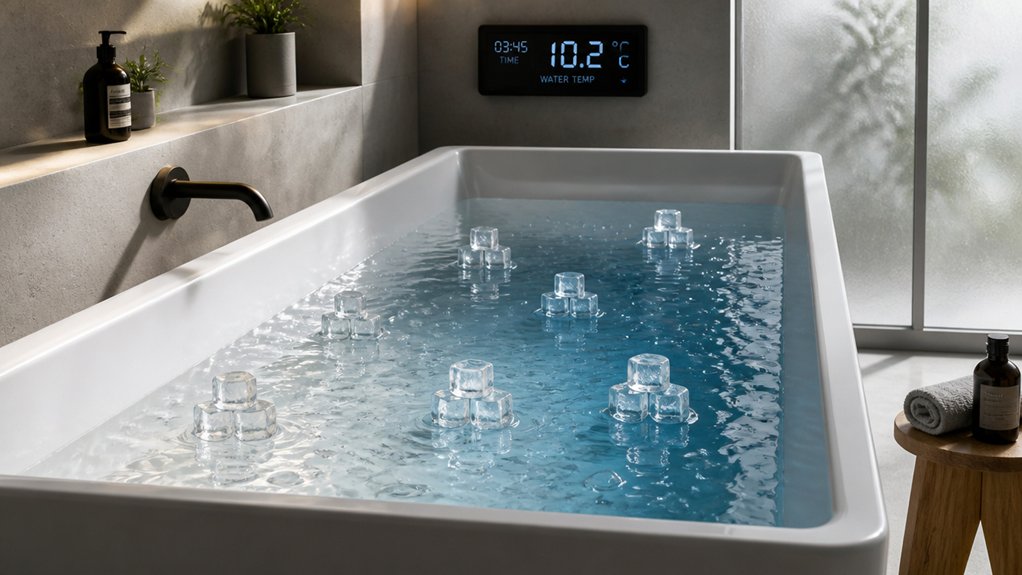
Gradually lowering the water temperature guarantees your body adapts safely to colder immersions without shocking the system.
Start by keeping the water around 15°C (59°F) and immerse for 1-2 minutes, then slowly increase your tolerance over time. Each week, aim to lower the water temperature by about 1°C (1.8°F), monitoring for cold shock symptoms and adjusting immersion time as needed to prevent hypothermia.
Use a thermometer to measure the water accurately, maintaining a safe ice bath environment by adding ice gradually—around a 3:1 water to ice ratio.
Begin with partial body immersion, like legs only, then progress to full lower-body or chest-level submersion as your cold tolerance builds, practicing consistency with 2-3 sessions weekly.
Breathing Techniques to Handle Cold Shock
When starting an ice bath, focusing on controlled breathing helps manage cold shock and reduces the urge to hyperventilate.
Deep, diaphragmatic breaths with longer exhalations activate your relaxation response and steady your mind. Practicing rhythmic patterns, like 4-second inhales and 6-second exhales, can improve your cold tolerance and prevent panic.
Controlled Breathing Methods
How can you manage the intense cold shock during an ice bath? Controlled breathing is key. Slow, diaphragmatic breaths reduce hyperventilation and help calm your mental and physical responses.
Techniques like the Wim Hof Method, with rhythmic inhalation and exhalation, can increase your tolerance by managing the gasp reflex and maintaining steady oxygen levels. Focus on long, smooth exhalations to activate your parasympathetic nervous system, which promotes relaxation despite the cold stress.
Practicing these methods before and during the first couple of minutes at around 15°C (59°F) helps you adapt and reduces anxiety. Combining breath-hold intervals with slow breathing during immersion also enhances blood flow, builds mental resilience, and prevents dizziness or tingling caused by hyperventilation.
Shallow vs. Deep Breaths
Shallow versus deep breathing greatly impacts how you handle the cold shock during an ice bath. Shallow breaths can trigger the gasp reflex, intensifying dizziness and making you feel more overwhelmed. In contrast, deep, diaphragmatic breathing helps counteract this response by promoting mental calmness and reducing hyperventilation.
Focus on controlled inhales and exhales lasting 3 to 5 seconds, which lowers your heart rate and activates relaxation nerves. Increasing oxygen intake through deep breaths alleviates the intense cold sensation and builds your tolerance over time.
Signs You’re Overdoing It and When to Stop
Pushing yourself too far during an ice bath can quickly lead to dangerous complications, so it’s crucial to recognize the signs that indicate you need to stop. Cold shock symptoms like dizziness, severe shivering, or numbness signal you’re overexposing yourself.
Overexposure signs include dizziness, severe shivering, and numbness—stop immediately to prevent complications.
If your immersion temperature drops below 10°C (50°F) or you’ve been in the water too long, your risk of hypothermia increases. Overexposure can cause fatigue, confusion, or difficulty breathing, so pay attention to sudden disorientation or reduced coordination.
Hyperventilation or uncontrollable gasping also indicate you should exit immediately. If you experience worsening anxiety or persistent cold symptoms, don’t push further—stop, warm up, and avoid risking serious health issues.
Always prioritize your safety over extending your cold water session.
Creating a Consistent Routine for Cold Water Adaptation
Establishing a steady routine is key to building your cold water endurance safely and effectively. When taking ice baths, consistency helps your body adapt gradually. Aim for 2-3 sessions per week to promote physiological changes like brown fat activation without risking overexposure.
Start with 1-2 minutes in the cold at around 15°C (59°F), ensuring you submerge your body up to chest level and keep your head above water. Gradually increase the minutes in the cold as your tolerance improves.
Incorporate controlled breathing techniques to manage the cold shock response and boost mental resilience. Track your progress, adjusting both water temperature and time to prevent overstressing your body.
Developing a routine creates a predictable rhythm, making getting started easier and safer over time.
Combining Cold Water Practice With Relaxation and Mindset
Integrating relaxation and mindset techniques into your cold water practice can greatly enhance your experience and resilience. Start each session with mindful breathing—slow, deep breaths that help control the cold shock reflex, ease your heart rate, and relax muscles. Set clear intentions, like improving recovery or mental strength, to foster a positive mindset during discomfort. Use progressive immersion, gradually increasing depth and time, to help your nervous system adapt while staying calm. Visualization techniques, imagining warmth and comfort, can buffer cold sensations and reduce anxiety. Post-immersion, gently stretch or meditate to activate your parasympathetic nervous system and reinforce relaxation.
| Technique | Purpose |
|---|---|
| Breathe | Control shock, relax muscles |
| Set intentions | Establish purpose, positive mindset |
| Progressive immersion | Adapt nervous system, stay calm |
| Visualization | Reduce cold anxiety, mental buffering |
| Post-immersion relaxation | Activate parasympathetic nervous system, recover |
Common Challenges and How to Overcome Them
Facing the initial cold shock can be intimidating, but understanding and preparing for common challenges makes it more manageable. When immersing in cold water, your body reacts with hyperventilation and panic.
Initial cold shock can be daunting, but preparation and calmness ease the transition.
To overcome this, start with short durations of 1-2 minutes at around 15°C (59°F), focusing on slow, controlled breathing. Gradually lowering the water temperature over multiple sessions helps your body adapt, reducing dizziness and discomfort.
Mental preparation, such as setting clear goals and relaxing your muscles, can diminish anxiety. Watch for signals like numbness and shivering, which indicate your body’s response but shouldn’t lead to overexposure.
Having a buddy or supervision guarantees safety and motivation, making the process safer and more manageable as you adapt to the cold immersion.
When and How to Safely Extend Your Cold Exposure
To safely extend your cold exposure, it’s important to progress gradually and listen to your body’s signals. Begin by gradually increasing your immersion duration, starting with 1-2 minutes at around 15°C (59°F).
Over several weeks, lower the water temperature slightly and extend immersion time, aiming for 13-15 minutes at 10-15°C. As you progress, focus on controlled breathing techniques to manage your cold shock response and prevent hyperventilation.
Safely extending your cold exposure also involves gradually increasing immersion depth from waist to chest while maintaining the recommended water temperature. Always do this with supervision or a buddy system.
Spacing sessions three times weekly helps your body develop physiological adaptations, like improved vasoconstriction and brown fat activation, safely increasing cold tolerance over time.
Tips to Stay Motivated and Track Progress
Staying motivated during your ice bath journey becomes easier when you set clear, achievable goals and track your progress consistently. Focus on monitoring your session duration and temperature—starting with 1-2 minutes at 15°C and gradually increasing to 10-15 minutes at 10°C.
To stay on track, consider these tips:
- Record water temperature and immersion time using the adaptation formula.
- Log your mental and physical sensations before, during, and after each session to see progress.
- Keep a routine with 2-3 sessions weekly to build consistency.
- Celebrate small milestones to boost motivation.
- Engage with a community or accountability partner to share experiences and stay committed.
Tracking these factors helps maintain motivation and enhances your adaptation over time.
Frequently Asked Questions
How Often Should I Practice Cold Showers for Optimal Benefits?
You should practice cold showers about 3 to 4 times a week for ideal benefits. Start with shorter durations, gradually increase the time, and listen to your body to avoid overstressing yourself.
Can Cold Showers Replace Full Ice Baths for Beginners?
Cold showers can’t fully replace ice baths for beginners, but they offer a good starting point. They help you adapt gradually, reduce discomfort, and build tolerance, making future shifts to full ice baths smoother and more manageable.
What Are the Risks of Starting With Too Cold Water?
Starting with water that’s too cold can cause shock, hypothermia, or dizziness, risking your safety. To prevent these, ease into colder temperatures gradually, listen to your body, and avoid pushing yourself beyond comfort initially.
How Do I Handle Extreme Cold Sensitivity or Discomfort?
If you experience extreme cold sensitivity or discomfort, start with slightly warmer water and gradually lower the temperature over time. Listen to your body, limit your exposure, and consult a healthcare professional if pain persists.
Is It Safe to Combine Cold Exposure With Other Wellness Practices?
Yes, it’s safe to combine cold exposure with other wellness practices like meditation or stretching, as long as you listen to your body. Start slowly, monitor your reactions, and consult a healthcare professional if you have concerns or health issues.