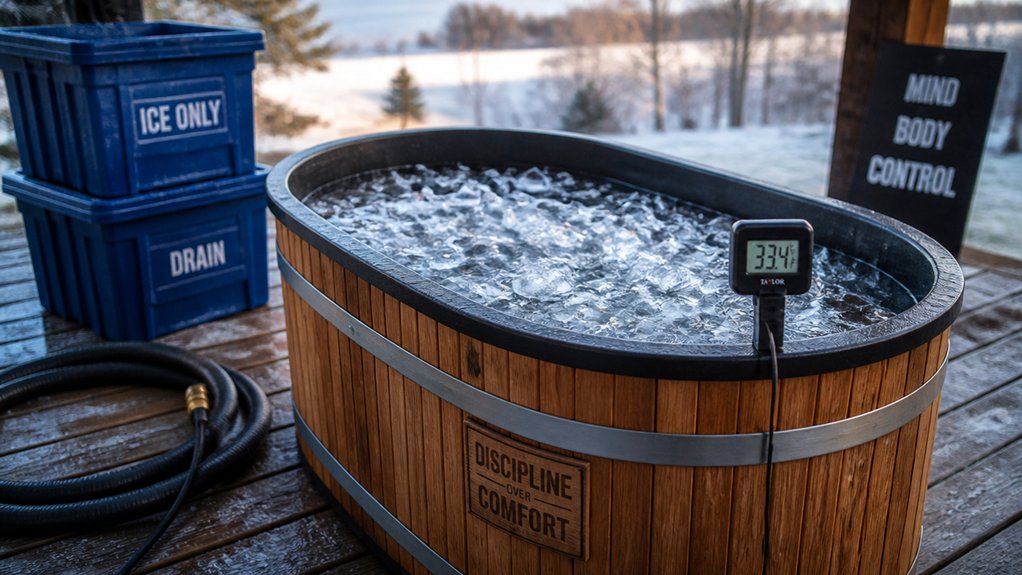
Building an ice bath yourself saves you money while giving you a customized and durable setup. You’ll need waterproof lumber like pressure-treated 2x4s or cedar, moisture barriers such as Tyvek, and insulation like styrofoam to keep your water cold. A chiller unit paired with a pump guarantees consistent cooling, and safety comes from waterproof wiring and GFCIs. If you stick with it, you’ll learn essential tips to create a reliable and cost-effective cold plunge tailored to your needs.
Why Build Your Own Ice Bath? Benefits and Key Considerations
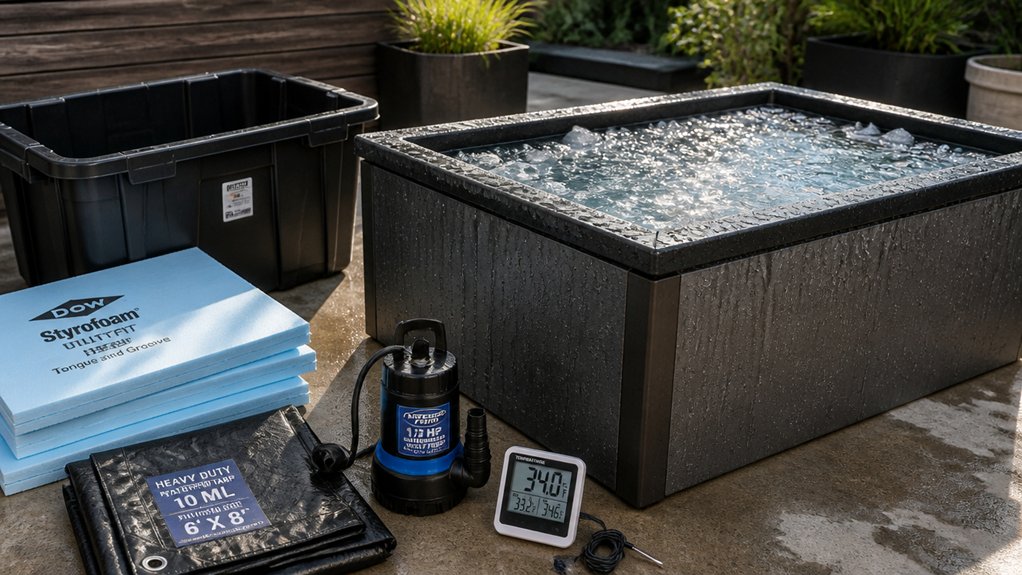
Building your own ice bath offers a practical and cost-effective way to enjoy cold therapy tailored to your needs. By designing your own setup, you can save money, as a DIY project costs around $1,440, compared to commercial models that range from $8,000 to $21,000.
A major benefit is the ability to customize the design for easier entry, aesthetic appeal, and practical features like integrated chiller housing. Using a quality chiller unit lets you control water temperatures efficiently, ensuring consistent therapeutic benefits. Incorporating insulation materials such as polyurethane or pearl cotton can further improve thermal retention and reduce energy costs. You can also focus on insulation and moisture management with materials like styrofoam and waterproof sheeting, which helps prevent heat loss and damage. Building your own ice bath grants you flexibility in plumbing and temperature control, making your cold therapy more effective and budget-friendly.
Choosing Durable and Waterproof Wood for Your Cold Plunge
Choosing the right wood for your cold plunge is essential to guarantee it stays durable and waterproof. Pressure-treated 2×4 lumber offers good resistance to moisture and outdoor elements, while cedar provides a polished finish that resists water over time. Incorporating moisture resistant materials can further enhance the longevity of your setup. Wrapping the structure with a waterproof barrier and using proper sealing techniques will help protect it from rot and damage.
Moisture-Resistant Wood Choices
Selecting the right wood is essential for ensuring your cold plunge remains durable and water-resistant over time. Pressure-treated 2×4 lumber is a popular choice for the frame, thanks to its outdoor durability and resistance to moisture and splashing, making it ideal for supporting your water chiller setup.
For a more refined look, cedar tongue and groove lumber offers excellent water resistance and adds aesthetic appeal—though it’s more expensive at around $580 total. Avoid materials like fiberglass, which can sustain moisture damage.
To further protect your wood, wrap the structure with a moisture barrier like Tyvek. Cedar is especially suitable for lids, thanks to its natural resistance to rot and mold, especially when combined with waterproofing measures like glued plastic sheets.
Marine-Grade Durability
Ever wondered what makes certain woods stand up to harsh outdoor conditions better than others? The key is marine-grade waterproofing, which guarantees your cold plunge withstands exposure to cold water and moisture. Pressure-treated 2×4 lumber offers outdoor durability and resists water splash, maintaining structural integrity. Cedar tongue and groove lumber, although pricier, provides superior marine-grade waterproofing and a sleek appearance for the exterior and lid. To enhance longevity, the entire structure is wrapped in Tyvek waterproof sheeting, creating a reliable moisture barrier. Additionally, plastic waterproofing sheets glued to the lid protect cedar from pressure damage and water exposure. Incorporating waterproof coatings can further ensure the longevity of your ice bath, especially in fluctuating outdoor conditions.
Designing a Stable and Stylish Cold Plunge Frame
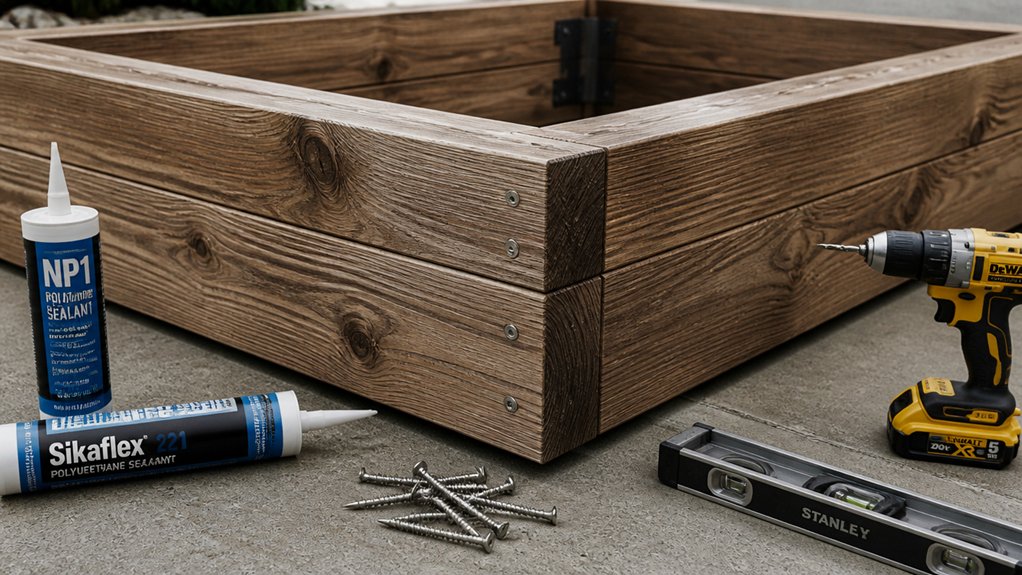
To create a cold plunge frame that’s both stable and stylish, start with pressure-treated 2×4 lumber designed for outdoor use, guaranteeing durability against water splashes and weather. Make sure to pick sturdy materials from your local hardware store. Incorporate water-resistant materials like heavy-duty polyester or laminated fabrics to prevent deterioration from moisture exposure. Keep the plunge low to the ground for easier access and safety. Extend the outer frame about 20 inches to accommodate an external chilling unit, blending functionality with aesthetics. Use pocket hole joinery for quick, strong assembly, and add an internal divider for added stability. For a polished look, incorporate cedar tongue and groove lumber with rounded edges, mitered finishing strips, and L-brackets. This combination guarantees your frame isn’t only robust but visually appealing, seamlessly integrating style and practicality.
How to Insulate Your Ice Bath to Keep Water Cold
Insulating your ice bath effectively is key to keeping the water cold enough for longer periods. Use thick 2-inch styrofoam insulation with reflective backing to boost moisture resistance and thermal efficiency.
Use 2-inch reflective styrofoam for effective, moisture-resistant ice bath insulation.
Packing the insulation tightly and filling small crevices minimizes heat transfer, helping maintain cold water longer. Wrap the entire structure with a moisture barrier like Tyvek waterproof sheeting to prevent moisture from seeping in, which can cause mold or water damage.
For the lid, apply styrofoam insulation to the back and cover it with waterproof plastic to protect against rot and pressure damage.
Avoid fiberglass or spray foam, as they pose a higher risk of moisture damage and are costlier. This approach guarantees a durable, effective insulation system that keeps water cold enough for your needs. Additionally, using multi-layer insulation systems with reflective aluminum foil layers can significantly enhance thermal performance and cold retention.
Sealing Your Cold Plunge to Prevent Leaks and Water Damage
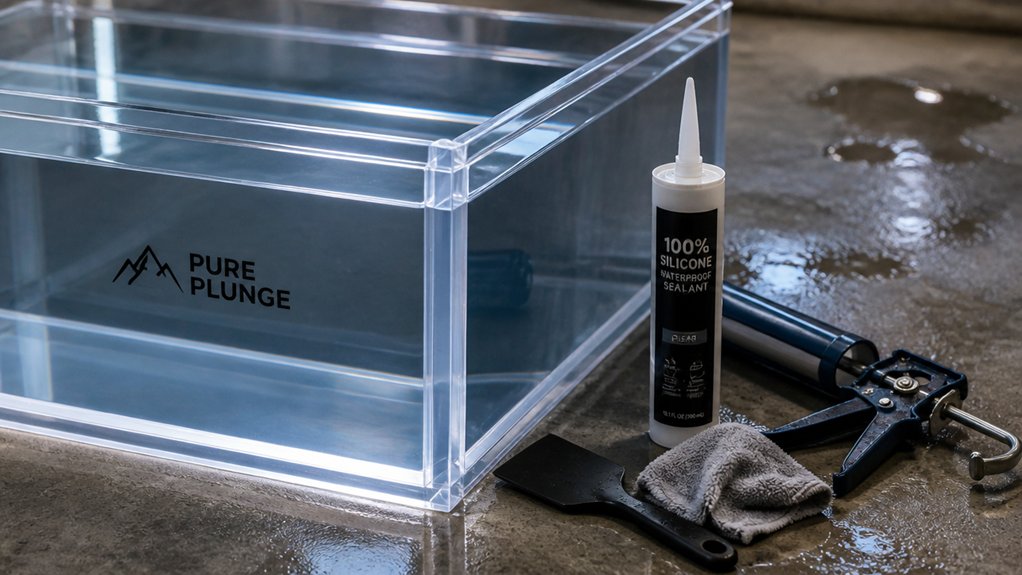
Sealing your cold plunge effectively is essential to prevent leaks and avoid water damage that can compromise its integrity. To do this, wrap the entire ice plunge structure with Tyvek waterproof sheeting, which safeguards the wood frame from moisture damage. Using waterproof fabrics such as Oxford or ripstop materials with laminated coatings can further enhance the sealing and durability of your setup.
For the lid, use plastic waterproofing sheets glued to the back; this shields cedar wood from rot and pressure caused by constant water exposure. Reinforce the lid seams with panel glue and pocket holes to create a tight, leak-resistant seal that boosts durability.
Avoid materials like fiberglass or spray foam, as they can absorb moisture and lead to costly repairs. Instead, focus on moisture-resistant sealing options that keep water contained and protect your ice bath for long-term use.
Building a Waterproof Lid for Ease and Protection
Building a waterproof lid involves carefully selecting materials that balance durability, protection, and ease of use. You’ll start with horizontal cedar planks for the lid, offering both style and strength. Reinforce the seams with pocket holes and panel glue to guarantee a tight fit. To resist moisture, mold, and bugs, incorporate 2-inch styrofoam insulation with reflective backing on the back side. Cover this with a 4×8 plastic waterproof sheet glued securely atop the insulation, preventing rot and pressure damage. The lid is designed as two lightweight pieces with hand grip access points, allowing easy opening and closing without heavy lifting. Ensuring proper insulation retention will optimize cold preservation and extend the longevity of your ice bath. 1. Durability guarantees long-term protection. 2. Waterproof materials guard against moisture. 3. Insulation maintains temperature. 4. Lightweight design balances ease and functionality.
Setting Up Circulation: Pumps and Plumbing for Your Cold Plunge
To keep your cold plunge effectively chilled and well-circulated, setting up a reliable pump and plumbing system is essential. Use a quarter horsepower aquatic water chiller with an external aquarium pump to circulate approximately 100 gallons of water smoothly.
The intake hose should be installed near the tank bottom to draw in water efficiently, while the outlet hose returns the cooled water back into the reservoir, creating a continuous flow. Confirm watertight seals with three-quarter inch flip connectors and hose receivers—no extra adapters needed.
Maintaining a water layering system, with warm water on top and cold water below, boosts chilling efficiency during circulation. Proper plumbing, including bottom and top holes for intake and refilling, guarantees consistent water movement, transforming your setup into an effective water feature.
Selecting and Installing an Effective Water Chiller on a Budget
Choosing the right water chiller without breaking the bank is doable with some careful planning. A used quarter horsepower aquatic water chiller, like the one bought on eBay for around $340, is a smart option—significantly cheaper than new units over $650.
It provides more cooling power than typical one-tenth models, helping you maintain cold water effectively. To save more, don’t forget that in high heat, bags of ice can supplement cooling when needed, especially since chillers’ performance dips in 95°F weather.
When installing, use these key tips:
- Opt for used units when possible to save hundreds of dollars.
- Pair with an external aquarium pump for reliable circulation.
- Use sturdy, watertight connectors to prevent leaks.
- Be prepared to add ice during hot days for consistent coldness.
- Consider the filtering system to ensure water stays clean and maintain optimal temperature.
Electrical Safety Tips for DIY Cold Plunge Setup
Guaranteeing electrical safety when setting up your DIY cold plunge is essential to prevent accidents and protect both yourself and your equipment.
It’s a good idea to unplug the water pump before entering the plunge to avoid electrical shock from submerged cables. Use waterproof, outdoor-rated components to minimize moisture hazards, and avoid routing power cords directly into or under water — consider adding a sealed cable hole for safe management.
Regularly inspect all electrical connections and cords for damage, especially since cold and moisture can weaken insulation. Installing ground-fault circuit interrupters (GFCIs) on your power supply is vital—a GFCI will instantly cut power if there’s a fault.
Once everything is set, let it sit overnight before use to guarantee safety and proper operation.
Maintaining Your Ice Bath: Troubleshooting and Upkeep Tips
Maintaining your ice bath involves regularly checking the water temperature and adding ice when needed to keep things consistent.
Look out for leaks by inspecting fittings and hoses, fixing any issues promptly to prevent water damage.
Always unplug the pump before maintenance to stay safe and guarantee your system works smoothly.
Temperature Regulation Tips
Keeping your ice bath at the right temperature requires regular monitoring and adjustments. To guarantee effective cold therapy, aim for 39°F, staying within the ideal 35°F to 50°F range. Use a thermometer to check water temperature frequently.
Consider these tips:
- Add ice cubes as needed to maintain ~39°F, especially during hot days or high ambient temperatures.
- Use a quarter horsepower water chiller with a pump for steady circulation, preventing hot spots.
- Insulate your bath with 2-inch styrofoam and moisture-resistant Tyvek sheeting to reduce heat transfer.
- Unplug the water pump before entering to avoid electrical hazards and guarantee safety.
Consistently adjusting for outdoor heat and using proper insulation keeps your bath cold and effective.
Leak Detection Strategies
Are you confident your ice bath is free of leaks? Regular leak detection keeps your making this cold plunge a nice thing to use. Check all joints and connections, especially around the wooden frame and plumbing holes. Reinforce them with glue and screws to prevent moisture from escaping. Inspect the bottom intake and top fill holes for cracks or gaps, sealing any issues with waterproof materials promptly. Test the water flow and pump before full assembly to catch early leaks and confirm continuous circulation. Wrap the entire plunge with a Tyvek waterproof barrier and waterproof the lid surfaces to prevent moisture damage over time. Use this table to help guide your leaks troubleshooting:
| Area to Check | Common Issue | Solution |
|---|---|---|
| Joints & Connections | Loose or cracked | Reinforce with glue & screws |
| Plumbing holes | Cracks or gaps | Seal with waterproof sealant |
| Bottom intake & fill holes | Water seepage | Reseal with waterproof materials |
| Overall structure | Water leakage | Regular inspection and reinforcement |
Frequently Asked Questions
What Is the Point of an Ice Bath?
The point of an ice bath is to speed up recovery by reducing inflammation, muscle soreness, and fatigue. You lower your body temperature, constrain blood vessels, and enhance circulation, helping you feel better and recover faster after intense workouts.
How Much Does It Cost to Build a DIY Ice Bath?
Building a DIY ice bath costs around $1,440, including cedar lumber, a used water chiller, a trough tank, insulation, plumbing, and hardware. This budget provides durability, insulation, and efficient cooling, saving you from expensive commercial options.
Should You Cold Plunge if You Have Raynaud’s?
You shouldn’t cold plunge if you have Raynaud’s without consulting your healthcare provider first. Cold exposure can worsen your symptoms, so consider safer options like cold showers or ice applications on less sensitive areas, and always monitor your reactions carefully.
Can Ice Baths Help With Lipedema?
Ice baths might help with lipedema by reducing swelling, inflammation, and pain through vasoconstriction and improved circulation. However, consult your healthcare provider first, especially if you have other health conditions, to guarantee safety and suitability.