Building a DIY ice bath can boost your recovery by reducing muscle inflammation and soreness. Use a large, durable container like a stock tank or converted chest freezer, and insulate well with reflective foil and foam. Keep water temperatures around 40-50°F by adding ice regularly, and guarantee proper sanitation with chlorine tablets or salt. With simple adjustments and maintenance, you can create a cost-effective recovery tool that suits your routine—stay tuned to learn how to customize it further.
Why Build Your Own DIY Cold Plunge for Faster Recovery
Building your own DIY cold plunge can greatly speed up recovery by providing affordable, consistent access to cold water immersion. With a DIY Cold Plunge, you control the water temperature, keeping it in the 40s-50s °F range, which is ideal for reducing muscle inflammation and promoting faster healing.
You don’t need to spend a lot; setups typically cost under $200 using stock tanks and simple insulation. Plus, adding chlorine tablets and Epsom salt keeps the water clean and enhances your experience without complex filtration systems.
A DIY cold plunge also offers customization in size and insulation, making it easier to fit into your recovery routine. Combining this with other wellness practices like sauna sessions maximizes the benefits, boosting circulation and aiding muscle repair. Incorporating water treatments and clarifiers helps maintain clear, hygienic water, ensuring a comfortable and effective recovery experience.
Deciding If a DIY Cold Plunge Is Right for You
Are a DIY cold plunge and cold therapy routines a good fit for your wellness goals? If you’re committed to regular cold exposure, a DIY setup can be cost-effective and customizable, often using a stock tank and simple cooling methods instead of expensive chillers or pumps.
Managing water temperature manually with ice or frozen bottles is essential, so you’ll need to stay attentive to keep it within your preferred range. A temperature controller isn’t necessary but can make maintaining consistent temperatures easier.
Keep safety in mind: avoid electrical components near water and guarantee proper sanitation. Additionally, selecting a durable and insulated cold plunge tub can improve heat retention and overall safety.
If you’re motivated to incorporate cold therapy into your routine—especially inspired by figures like Wim Hof—you may find a DIY cold plunge suits your lifestyle. Just be prepared for ongoing maintenance and vigilant safety.
Choosing the Best Container for Your Cold Plunge
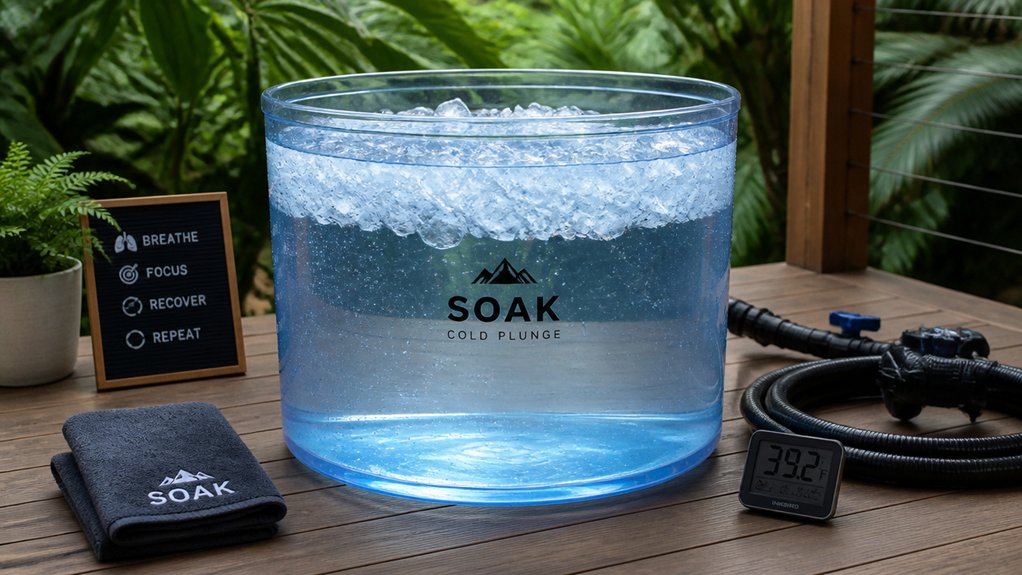
Choosing the right container for your cold plunge plays a key role in ensuring comfort, safety, and efficiency. An inflatable cold plunge is portable and easy to set up but may lack durability over time.
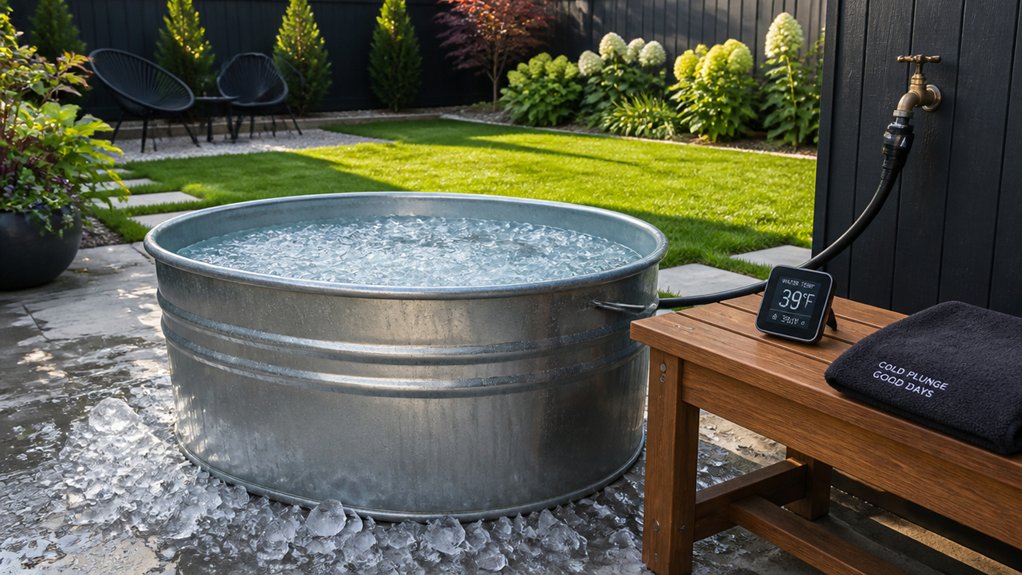
A plastic stock tank, typically around 100 gallons, is a popular DIY choice due to its affordability, weather resistance, and availability from retailers like Amazon or Tractor Supply.
For longer-lasting insulation and built-in chilling, consider a chest freezer converted into a cold plunge; just remember you’ll need to waterproof it properly with marine sealants.
Container size is vital—aim for at least 100 gallons for full-body immersion, with larger tanks like 120–150 gallons better for taller or multiple users. The shape and depth also influence comfort, with options like Scandinavian barrel-style tubs offering traditional design and insulation benefits. Additionally, chest freezers are a versatile option for DIY cold plunges, providing adjustable temperatures and ample space for immersion.
Key Components Needed: Pumps, Insulation, and Cooling Options
To keep your ice bath consistently cold and comfortable, selecting the right pump and chiller, insulation, and cooling options is essential. A reliable submersible water pump, around 250–500 GPH, circulates water to maintain a stable, cold temperature.
For efficient cooling, an electric chiller about 1/4 HP is ideal for roughly 100 gallons, cooling water about 2°F per hour. Insulation plays a vital role; materials like reflective foil, foam strips, or thick plastic coolers prevent heat gain, reducing energy use and maintaining cold temperatures longer.
Using insulated coolers with lids, or sealing stock tanks and chest freezers, helps retain cold, especially when combined with waterproof barriers. Properly selecting these key components guarantees your ice bath remains effective and energy-efficient during recovery.
Additionally, choosing a pump with sufficient debris handling capacity prevents blockages from debris or particles in the water, ensuring consistent circulation and performance.
Planning Your DIY Cold Plunge: Materials and Budget Tips
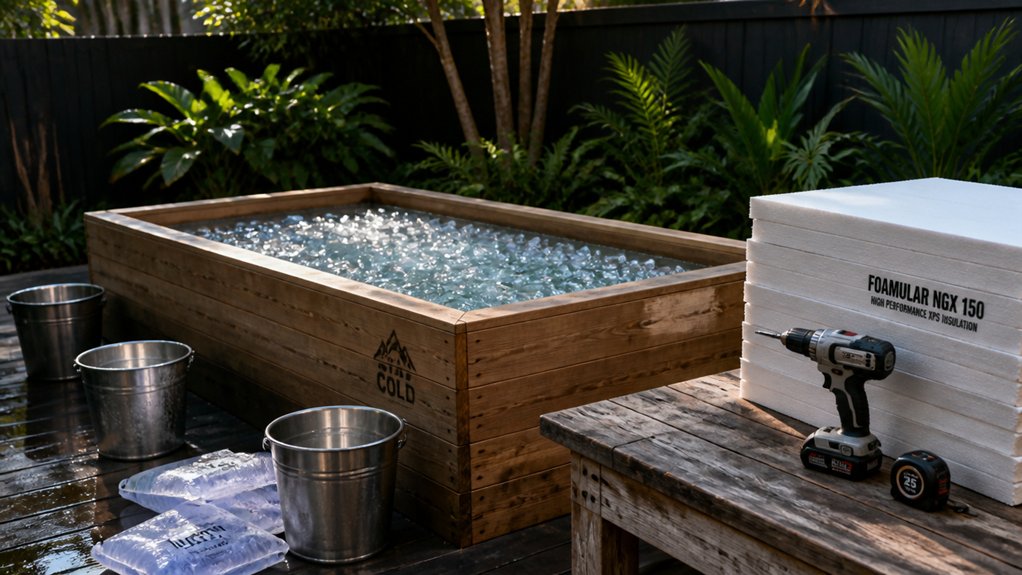
When planning your DIY cold plunge, choosing affordable materials like a Rubbermaid stock tank or reclaimed wood can keep costs low. A secure fit feature such as adjustable straps or drawstrings ensures the cover stays in place during outdoor use. Reusing resources, such as cedar from old sauna benches, helps you stay within budget while customizing your setup. Flexibility with your spending allows you to prioritize essentials like insulation and sanitation for an effective, budget-friendly ice bath.
Cost-Effective Material Choices
Opting for budget-friendly materials can considerably reduce your DIY cold plunge’s overall cost without sacrificing durability.
Cold plunge tubs like a 100-gallon Rubbermaid stock tank offer a sturdy, affordable base, costing around $136 on Amazon. These stock tanks are designed to withstand frequent use and cold temperatures, making them ideal.
For sanitation, chlorine tablets (Amazon B09R824NVT) keep the water clean for 2–3 weeks, while a tablet floater device (Amazon B0BKKVQ2G1) simplifies maintenance.
Keep framing and insulation costs low by repurposing cedar wood slats from reclaimed wood, such as sauna benches, or using plywood, which typically costs around $55 per sheet.
Waterproofing with a tarp keeps everything protected without complex plumbing or electrical systems, maximizing budget efficiency. Additionally, selecting durable acrylic tubs or liners can extend the lifespan of your setup and ensure ongoing performance.
Reusing and Repurposing Resources
Reusing and repurposing existing materials can greatly slash the overall cost of your DIY cold plunge.
To keep your project budget-friendly, consider these options:
- Reuse reclaimed wood from sauna benches for the frame, reducing expenses and adding a rustic look.
- Repurpose leftover insulation to enhance water temperature regulation without extra costs.
- Use plywood sheets at around $55 each for lining or structural elements, ensuring waterproofing with tarps.
- Incorporate affordable sanitation supplies like chlorine tablets and floaters, maintaining water clean without a filtration system.
- Utilize water treatment liquids such as stabilized or conditioning formulas to keep water hygienic and clear, minimizing the need for complex filtration setups.
Maintaining Budget Flexibility
Maintaining budget flexibility while planning your DIY cold plunge involves carefully selecting affordable, readily available materials and avoiding costly equipment. Using a 100-gallon Rubbermaid stock tank, which costs around $136, and repurposed cedar wood slats from sauna benches can keep your build under $200.
Sourcing plywood sheets, chlorine tablets, and tablet floaters from stores like Home Depot and Amazon helps manage costs while keeping the water clean. Reusing leftover insulation and waterproof tarps for the frame’s interior further cuts expenses and enhances insulation without expensive materials. Opting for simple water treatment methods like water-treatment solutions rather than advanced filtration systems can also reduce costs.
Avoiding complex chillers and pumps reduces both upfront and ongoing costs, relying instead on manual ice bags and simple sanitation practices. Prioritizing simplicity in design minimizes repairs and replacements, making your cold plunge more affordable to maintain long-term.
How to Insulate and Seal Your DIY Cold Plunge for Optimal Efficiency
To keep your ice bath efficient, you need to focus on choosing the right insulation materials like reflective foil and foam, which reduce heat transfer and cold air infiltration.
Make sure to apply sealants properly around gaps and edges to prevent moisture and air leaks. Finally, guarantee your water-tight seals, especially on the base and lid, are secure to maintain stable water temperatures.
Choosing Effective Insulation Materials
Choosing the right insulation materials is essential to keeping your DIY cold plunge energy-efficient and effective. To maximize thermal retention, consider these options:
- Use reflective foil insulation, stapled tightly around the frame, to greatly reduce heat transfer and maintain water temperature.
- Cut foam insulation into strips and wedge them firmly inside curved frames and gaps for full coverage.
- Opt for foam insulation for added padding and sealing in tricky areas.
- Cover insulation with cedar wood slats for durability and weather resistance without compromising insulation performance.
These materials work together to create a well-insulated cooler, minimizing heat loss.
The proper combination of reflective foil insulation and foam insulation guarantees your cold plunge remains cold longer and uses less energy.
Proper Sealant Application Techniques
Proper sealant application is essential to ensuring your cold plunge remains watertight and energy-efficient. Start by drilling holes for bulkhead fittings with a reverse drill technique to create clean cuts in thick cooler walls (~44mm). This reduces gaps needing sealing. Use a high-quality pipe thread sealant with a brush to coat all threaded fittings; it provides a better seal than Teflon tape and allows easier disassembly. Apply generous amounts of silicone or waterproof caulk around bulkhead fittings and inside joints to fill minor gaps, preventing leaks. For extra insulation and waterproofing, add a waterproof tarp over the frame and stretch it tightly.
| Step | Action |
|---|---|
| 1 | Drill holes carefully with reverse drill technique |
| 2 | Apply pipe thread sealant with a brush |
| 3 | Use caulk around fittings and joints |
| 4 | Cover with waterproof tarp for added sealant |
Ensuring Water Tightness
After sealing your fittings and joints with silicone and thread sealant, paying attention to insulation and waterproofing will greatly boost your cold plunge’s efficiency.
To guarantee water tightness:
- Use a heavy-duty waterproof tarp stretched tightly inside the frame and around the base 2x4s, stapled firmly, to create a reliable water barrier.
- Seal drilled holes for plumbing or fittings generously with pipe thread sealant, and add interior caulk or waterproof epoxy for a permanent, watertight seal.
- Apply two-sided reflective foil insulation on the exterior frame and under the lid to reduce heat transfer and improve cold retention.
- Insulate interior curved frames and gaps with foam strips, wedged tightly to minimize cold loss and keep water at the desired temperature.
Step-by-Step: Building Your Cold Plunge Frame and Container
To start building your cold plunge frame and container, select a large, durable container like a 100-gallon Rubbermaid stock tank, which costs around $136. This sturdy tank serves as the core of your cold plunges setup, providing a reliable vessel for water.
Next, trace its outline onto a plywood sheet with an extra 2.5-inch border to create essential frame components like the lid, outer ring, and base. Cut these plywood pieces and attach six vertical 2×4 legs between the base and ring to match the tank’s height, ensuring stability.
Wrap the exterior frame with reflective foil insulation, then wedge foam insulation inside for thermal retention. Finish by attaching cedar slats with finishing nails, creating a durable, attractive outer surface for your DIY plunge.
Installing and Securing Your Container: Construction Tips
When installing and securing your container, start by choosing a flat, stable surface to prevent uneven water levels and reduce stress on the structure. To guarantee stability, consider using leveling blocks if necessary.
Start on a flat, stable surface, adding leveling blocks if needed for extra stability.
Next, build a sturdy frame using plywood and 2×4 legs, fastening everything with pilot holes and screws to avoid splitting. Wrap the exterior frame with reflective foil insulation for better temperature control. Inside, install foam insulation strips around the container to improve heat retention.
Secure the chest freezer or container firmly within the frame, assuring it fits snugly. Use finishing nails and a nail gun to attach vertical cedar wood slats for durability and aesthetic appeal.
Finally, staple a waterproof tarp around the base and supports to prevent water leakage and damage.
Easy Ways to Keep Your Water Cold Without a Chiller
To keep your water cold without a chiller, focus on effective insulation and ice management.
You can use reflective foil, foam strips, and a tight lid to slow heat loss, while rotating large freezer water bottles and adding bags of ice helps maintain low temperatures.
Placing the tub in shade and covering it with waterproof tarps also helps preserve cold water longer.
Insulation Strategies for Coldness
Keeping your water cold without a chiller is all about minimizing heat transfer. Insulation is key to maintaining low temperatures.
First, use thick foam insulation strips, wedged tightly inside the frame; they greatly reduce heat transfer.
Second, wrapped reflective foil insulation around the external frame will block heat gain from sunlight and ambient air.
Third, install a well-fitting plywood lid with foam and reflective foil underneath to minimize heat loss and trap the cold air.
Fourth, add a waterproof tarp inside the frame to protect insulation from moisture and prevent heat bridges.
Also, use ice blocks by rotating frozen water bottles and replacing ice bags every 1–2 weeks to keep water cold without needing to replace the water entirely.
Ice Management Techniques
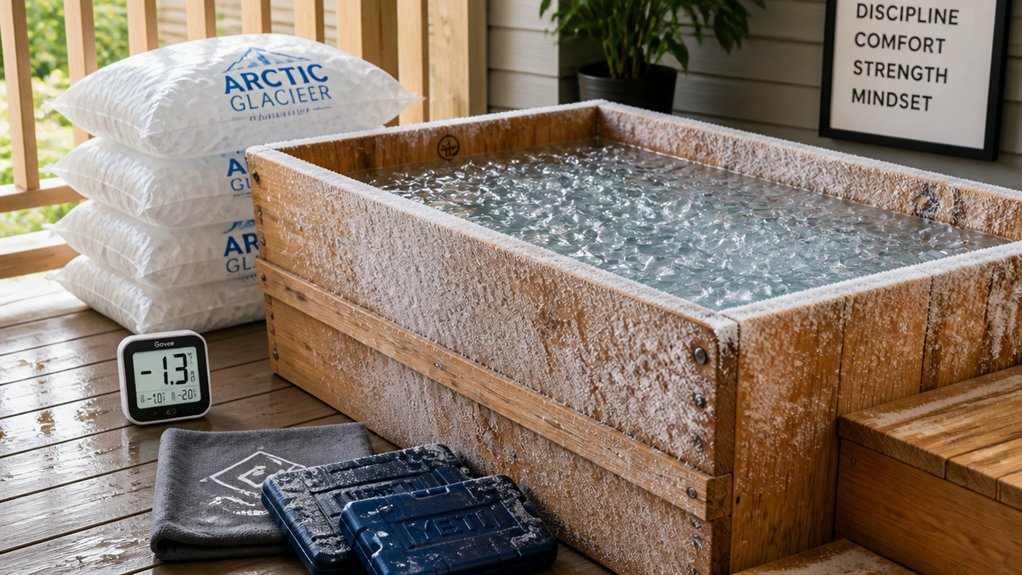
Looking for simple ways to keep your bath water cool without a chiller? You can manage your ice and water effectively by adding ice regularly—about 20 pounds every 1–2 weeks helps maintain water temperatures in the 40s-50s °F.
Reusable ice, like homemade large ice blocks in aluminum trays, lasts longer and is more cost-effective than small bags, but requires freezer space.
To extend cold retention, insulate the tub with reflective foil, foam strips, and a tight lid. Using a waterproof tarp inside the tub minimizes heat transfer from the ground.
Frequently draining and refilling the water, along with replacing chlorine tablets every few weeks, keeps your water clean and cold naturally, without needing a chiller.
How to Sanitize and Maintain Water Quality in Your DIY Cold Plunge
Maintaining water quality in your DIY cold plunge requires regular sanitation measures and attentive monitoring. To keep the water safe and fresh, follow these steps:
- Use chlorine tablets in a tablet floater, replacing them every 2-3 weeks to guarantee consistent sanitation.
- Add Epsom salt to improve the water’s smell and support your sanitation efforts.
- Install a filter system to remove debris and particulates, and run it regularly.
- Thoroughly drain and clean the tub every 3 weeks with appropriate cleaners, using a sump pump if needed.
Additionally, consistently check chlorine tablet levels to maintain proper disinfection. Supplement sanitation with hydrogen peroxide or hot tub chlorine granules for extra safety. Proper maintenance keeps your DIY ice bath clean and ready for use.
Setting Up Temperature Control Without Electricity
Without relying on electricity, you can effectively control your DIY cold plunge temperature by using strategic insulation and natural methods. Instead of a chiller, rely on large quantities of ice, like 20-lb bags replaced every few weeks or 3-gallon frozen water bottles rotated every 2–3 days.
Insulate your ice barrel with foam strips, reflective foil, and waterproof tarps to slow heat gain and maintain temperatures in the 40s-50s °F. Construct a snug, insulated lid lined with foil and foam to minimize heat exchange during and between dips.
Placing your ice barrel in shaded or cooler outdoor areas during colder months also helps passive temperature control. Regularly monitor water temperature and replenish ice as needed for safe, effective cold therapy.
Troubleshooting Common Issues With Your DIY Ice Bath
Water temperature fluctuations are common if your insulation isn’t tight enough or if you lack a chiller, so monitor and adjust ice levels regularly.
Leaks and seal issues often happen when liners or tarps aren’t properly installed or degrade over time, leading to water seepage. Ensuring your base is level and seals are intact helps prevent spills and extends the lifespan of your setup.
Water Temperature Fluctuations
Water temperature in a DIY ice bath often fluctuates because of ice melting, changes in ambient temperature, and insufficient insulation. To keep temperatures consistent, you need to address these factors.
Here are steps to manage fluctuations:
- Improve insulation quality by adding reflective foil, foam layers, or waterproof lids to reduce heat transfer.
- Monitor water temperature regularly with waterproof thermometers to catch rises early.
- Replenish ice consistently, typically every few days, to maintain the desired cold range.
- Use frozen water bottles rotated every 2–3 days to stabilize temperature between larger ice replacements.
Leakage and Seal Issues
Leaks are a common issue that can compromise the effectiveness and safety of your DIY ice bath. To prevent leaks, use high-quality pipe thread sealant instead of Teflon tape on all threaded fittings. When drilling holes for fittings, double-check the hole placement multiple times, and drill in reverse with a hole saw to create clean edges, minimizing sealing gaps. Test the system with a static leak test by filling it above outlet holes, spotting any seepage before full use. Secure all connections tightly, using two hose clamps per barb fitting to prevent loosening. Also, guarantee waterproof tarps and insulation inside the frame are stapled and folded tightly. This combination keeps your setup sealed and safe.
| Issue | Solution |
|---|---|
| Leak from fittings | Use pipe thread sealant, tighten connections thoroughly |
| Hole placement | Verify multiple times, drill in reverse |
| Sealing gaps | Create clean edges with a hole saw |
| Loose connections | Secure all clamps firmly |
| Water seepage | Staple and fold tarps tightly |
Optional Upgrades to Enhance Your Cold Plunge’s Performance
To optimize your cold plunge’s performance, consider incorporating a few key upgrades that improve temperature control and water quality.
- Install an Active Aqua temperature controller, like the Inkbird WiFi ITC-308, to automate cooling and maintain consistent temperatures, saving energy and reducing manual adjustments.
- Add a pump and filtration system, such as a 250–500 GPH submersible pump paired with a Culligan filter, to keep water clean and extend maintenance periods.
- Enhance insulation with thick foam and reflective foil around the tub and lid, which minimizes heat gain, prolongs ice retention, and reduces ice replenishment needs.
- Upgrade to an infrared thermometer or digital probe for accurate temperature readings, ensuring you stay within the safe and effective 40–55°F range.
How Often Should You Change the Water and Why?
Maintaining clean water is key to enjoying your DIY ice bath safely and comfortably. You need to manage water quality by changing it regularly to prevent bacteria, microbes, and dirt buildup—especially since water exposure can lead to odors and health risks.
If your setup has built-in filtering, you can extend water changes to every 1 to 2 weeks, as the filter helps remove particulate matter. Without filtration, you should change the water every 3 to 5 days to keep it hygienic.
Sanitizing chemicals, like chlorine tablets, should be replaced every 2 to 3 weeks, but more frequent water changes may be necessary based on usage and contamination levels. A regular routine guarantees your ice bath stays safe, fresh, and effective for recovery.
Next Steps: Customizing Your Cold Plunge for Your Recovery Goals
Customizing your cold plunge to align with your recovery goals involves adjusting temperature, duration, and supplementary practices to maximize benefits.
Start by gradually lowering the temperature from 50-55°F to 40-45°F, matching your tolerance and muscle recovery needs. Next, modify the session time between 3 to 5 minutes to balance cold exposure and comfort. Incorporate heat therapy or sauna sessions afterward for enhanced recovery.
To improve water quality and experience, consider adding Epsom salt for better water quality and aroma.
Additionally, insulate your cold plunge with reflective foil and foam, and use a lid to retain temperature and reduce ice use.
Finally, regularly sanitize with chlorine tablets and water changes to prevent skin irritation and maintain optimal cleanliness.
Frequently Asked Questions
How Do Ice Baths Speed up Recovery?
Ice baths speed up recovery by constricting blood vessels, reducing inflammation and soreness, then increasing blood flow when you warm up again, which helps clear waste and delivers nutrients to heal muscles faster, decreasing recovery time considerably.
How Long Should You Ice Bath for Recovery?
You should aim for 4 to 10 minutes in the ice bath, with around 5 minutes being ideal. Start with shorter sessions if you’re a beginner, gradually increasing time as your tolerance improves for effective recovery.
How to Build Your Own Ice Bath?
You build your own ice bath by choosing a durable, insulated container, filling it with cold water and ice, insulating it properly, and maintaining water cleanliness. Regular draining, cleaning, and routine use make your DIY setup effective.
Can Ice Baths Help With Lipedema?
Ice baths can help with lipedema by reducing inflammation, alleviating pain, and improving lymphatic flow. You should consult your healthcare provider first to guarantee safe use, and incorporate cold therapy as part of your overall management plan.