To create affordable DIY ice baths, consider using a large rubber stock tank or 55-gallon plastic drums for full immersion, both costing around $60-$150. Convert a used chest freezer into a safe, temperature-controlled bath with waterproofing and a controller for about $100-$300. Insulate your setup with reflective foil and foam to keep water cold longer, and add chlorine tablets for sanitation. For more tips on choosing the best setup for your space, keep exploring!
What Are the Best Budget Materials for DIY Ice Baths?
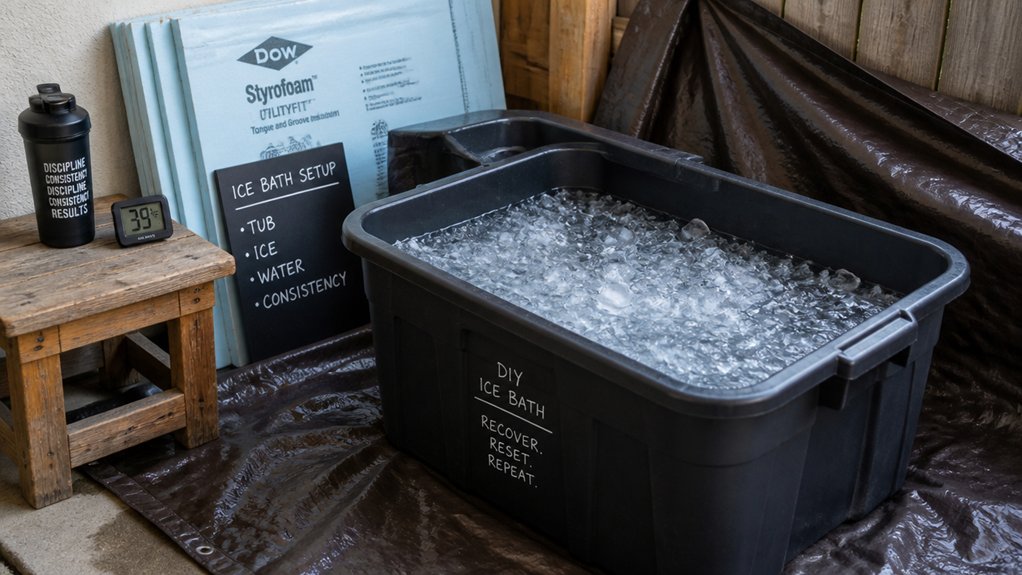
Looking for affordable materials to build your DIY ice bath? You can start with a Rubbermaid Stock Tank, which offers durability and weather resistance for around $100-$150.
A used chest freezer, costing $100-$300, can be converted into a chilled bath with a temperature controller and waterproof sealing for consistent water temperature.
A used chest freezer can be transformed into an ice bath with a temperature controller and waterproof seal for consistent cooling.
55-gallon plastic drums, roughly $60 each, are ideal for an inexpensive barrel-style plunge; just add a spigot kit for easy drainage.
Inflatable Cold Plunges and ice barrels priced between $100 and $500 provide portable options but need frequent refilling with bags of ice.
Maintain water cleanliness easily with chlorine tablets and floating dispensers, ensuring a water-tight seal to prevent leaks and keep things hygienic.
Insulation is key to maintaining consistent temperatures and reducing the frequency of ice refills, so choosing materials with multi-layer insulation can improve your setup’s efficiency.
How Can I Convert a Stock Tank or Trough Into a Cold Plunge?
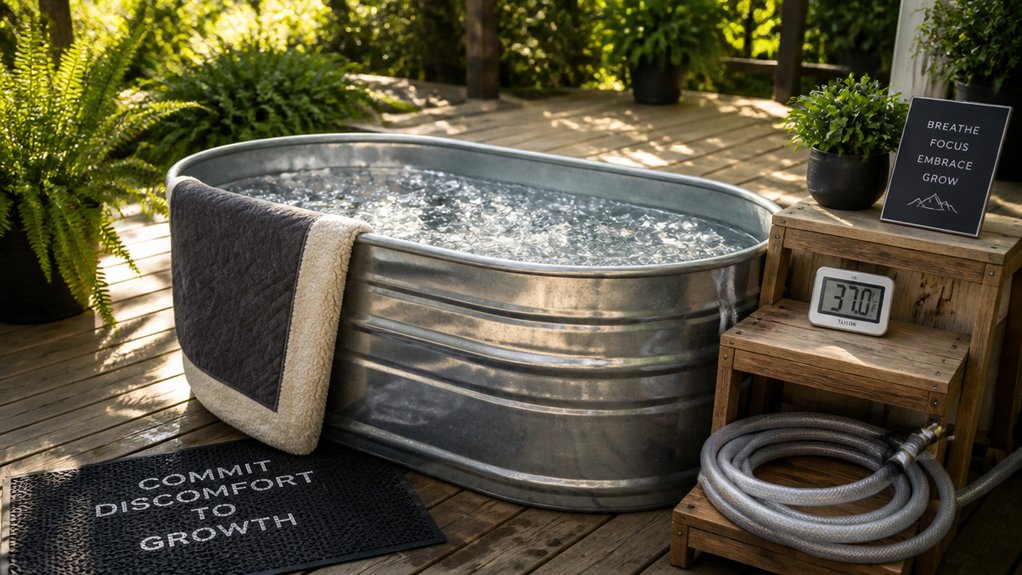
Transforming a stock tank into a cold plunge is a straightforward project that combines practicality with cost-efficiency. Start with a large, heavy-duty plastic stock tank—about 100 gallons—priced around $100 for durability and weather resistance.
Place it on a waterproofed, level surface like a tarp, slightly elevating it for better drainage. Build a simple wooden frame and lid using reclaimed materials for added insulation and heat retention, which helps maintain stable water temperature.
Insulate the tank externally with reflective foil insulation and foam strips inside the frame to reduce heat gain. Fill it with water and add ice—about six bags for a mid-40s°F ice bath—and use a chlorine floater for sanitation. Proper water treatment ensures maintenance is simple and the water remains clear and fresh.
This DIY Cold Plunge setup creates effective cold plunge tubs suitable for regular use.
How Do You Turn a Chest Freezer Into a Safe, Budget-Friendly Ice Bath?
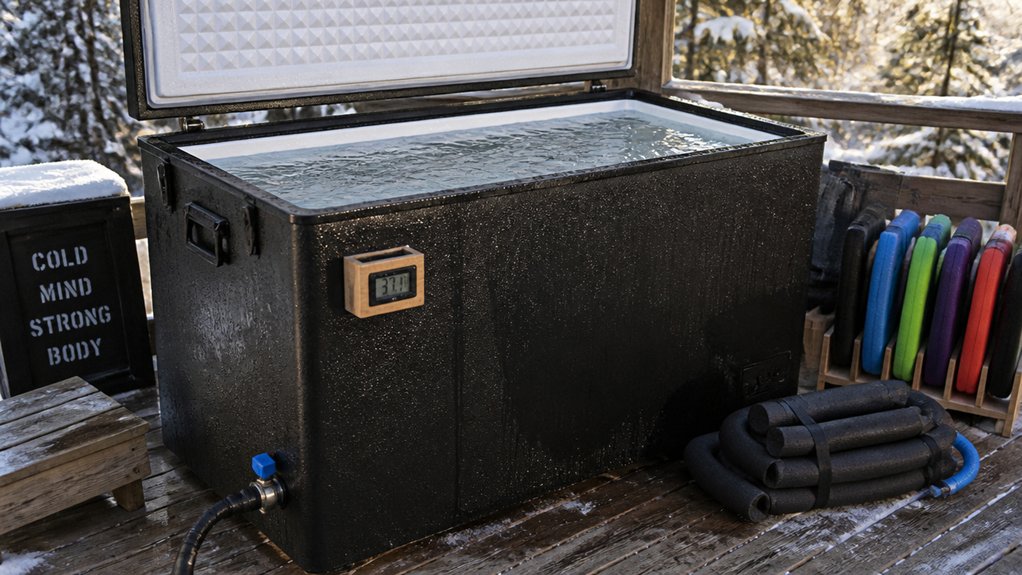
Ever wondered how to turn a regular chest freezer into a safe, budget-friendly ice bath? Start by waterproofing it thoroughly using marine sealant and Flex Seal to seal internal seams. Install a reliable temperature controller, like the Inkbird ITC-308, to maintain ideal water temperature without freezing the water solid. Always plug the freezer into a GFCI outlet for electrical safety, and unplug before entering for cold therapy. Regularly drain and clean the water, since chest freezers lack filtration, and consider adding chlorine tablets or ozone cautiously. Choose a larger freezer (15+ cubic feet) to hold around 80-100 gallons for full-body immersion. Proper drain access guarantees easy water changes, making your DIY cold plunge both safe and effective. Incorporate ultra-low temperature controls to ensure precise and consistent cold exposure for optimal recovery.
How Can I Keep the Water Cold and Safe in My DIY Cold Plunge?
Maintaining cold and safe water in your DIY plunge requires strategic insulation, proper circulation, and sanitation techniques. Insulate your tank or stock tank build with reflective foil, foam strips, or waterproof tarps, and always use a well-fitting lid to slow heat gain and ice melt.
For cold exposure, keep the water between 45-55°F by adding large quantities of ice or pre-chilling water with frozen bottles.
To guarantee water safety, deploy chlorine tablets via a floating dispenser, which can sanitize the water for 2–3 weeks. Employ filtration systems, like a Culligan HF-360B, with a pump to reduce particulate matter.
Additionally, using professional-grade insulation materials can significantly improve temperature retention and reduce energy costs.
Regularly drain and clean the tank, scrubbing surfaces and replacing the water, to prevent bacteria, mold, and mineral buildup.
Tips for Choosing the Right DIY Ice Bath Setup for Your Space and Needs
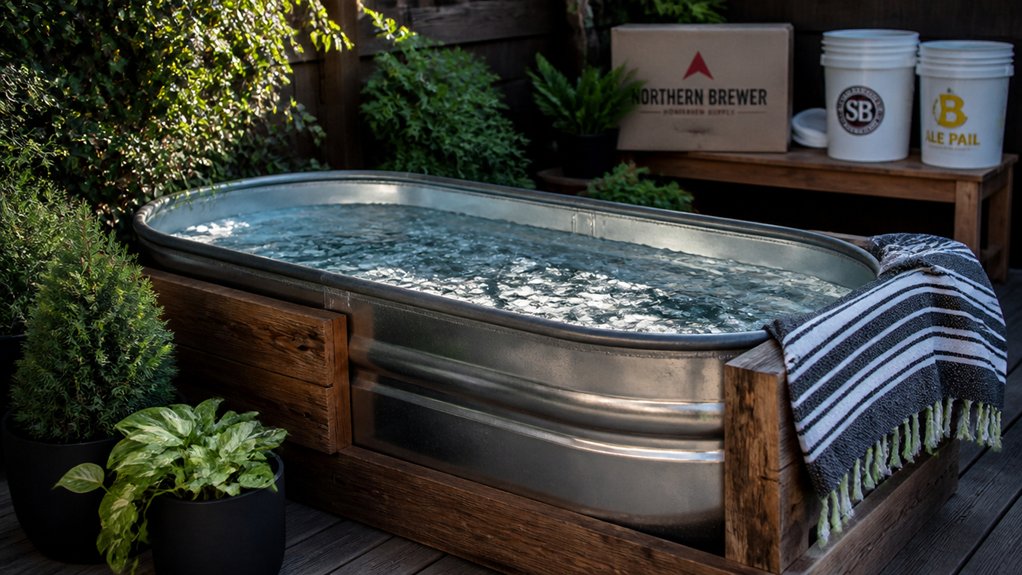
Choosing the right DIY ice bath setup depends on your available space, budget, and how often you plan to use it.
For a cold plunge, select a tub of at least 100 gallons, like a rubber stock tank, to guarantee full-body immersion and comfort. Prioritize insulation and waterproofing, especially if you’re using plastic stock tanks or converting chest freezers—this helps maintain stable water temperatures and reduces ice consumption.
Consider whether you’ll rely on ice blocks or invest in a water chiller and filter for consistent cold water. Make sure your workspace has level ground and proper drainage for easy water changes and hygiene. Incorporating proper water treatment solutions can help keep your water clean and extend the lifespan of your setup.
Balancing low-cost ice methods with more efficient, higher-upfront investments will help you build a DIY setup that’s safe, effective, and suited to your needs.
Frequently Asked Questions
How Often Should I Change the Water in My DIY Ice Bath?
You should change the water in your DIY ice bath every 1 to 3 days, especially after heavy use or if it becomes dirty or cloudy. Regular changes keep the water clean, safe, and effective for recovery.
What Safety Precautions Are Necessary for Homemade Ice Baths?
You should guarantee the ice bath area is safe, monitor water temperature regularly, avoid prolonged exposure, and never dunk your head. Always supervise, especially if you have health issues, and consult a doctor before use.
Can I Add Supplements or Salts to Improve Cold Therapy?
Yes, you can add supplements or salts to enhance cold therapy. Use Epsom salts or magnesium flakes carefully to avoid skin irritation, and consult a healthcare professional before adding any substances. Always prioritize safety in your homemade setup.
How Do I Prevent Mold and Bacteria Growth in My Setup?
You prevent mold and bacteria growth by regularly cleaning your setup, draining and drying it completely after each use, and using a mild disinfectant. Maintain good airflow and avoid leaving water standing for extended periods.
What Is the Ideal Water Temperature for Effective Cold Therapy?
You should aim for a water temperature between 50-59°F (10-15°C) for effective cold therapy. Keep the water cold enough to reduce inflammation and soreness, but not so cold that it causes discomfort or risks frostbite.