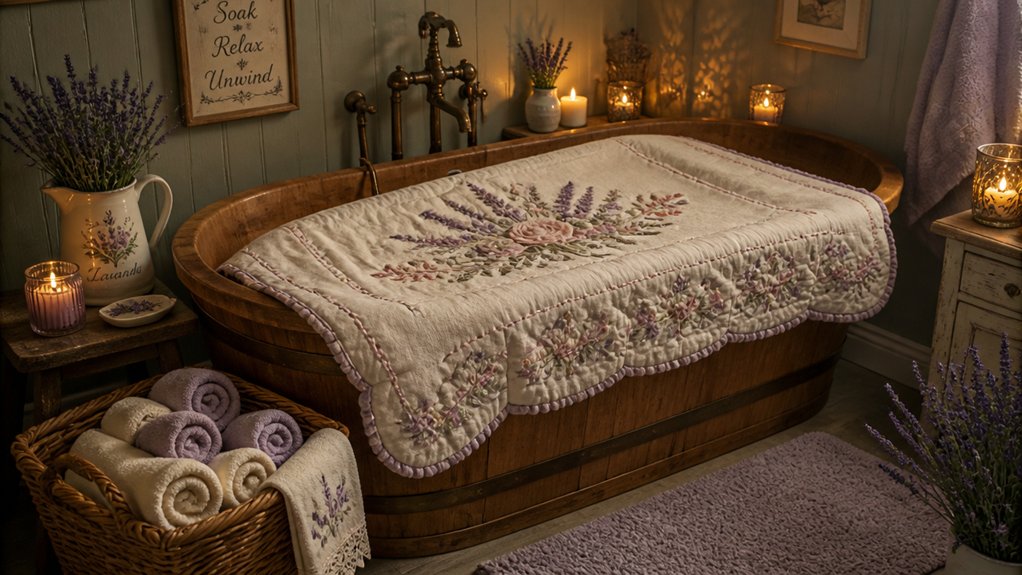
Great homemade bath cover ideas include building a custom wooden or plywood cover with waterproof fabric and insulation to save space and retain heat. You can add folding panels, hinged sections, or wooden slats inspired by spa designs. Using waterproof sealants, felt pads, and slip-resistant safety features guarantees durability and safety. With proper measurements and quality materials, your cover will last longer. Keep exploring for detailed steps and tips to help your DIY project succeed.
Why Building Your Own Bathtub Cover Can Save Space and Add Functionality
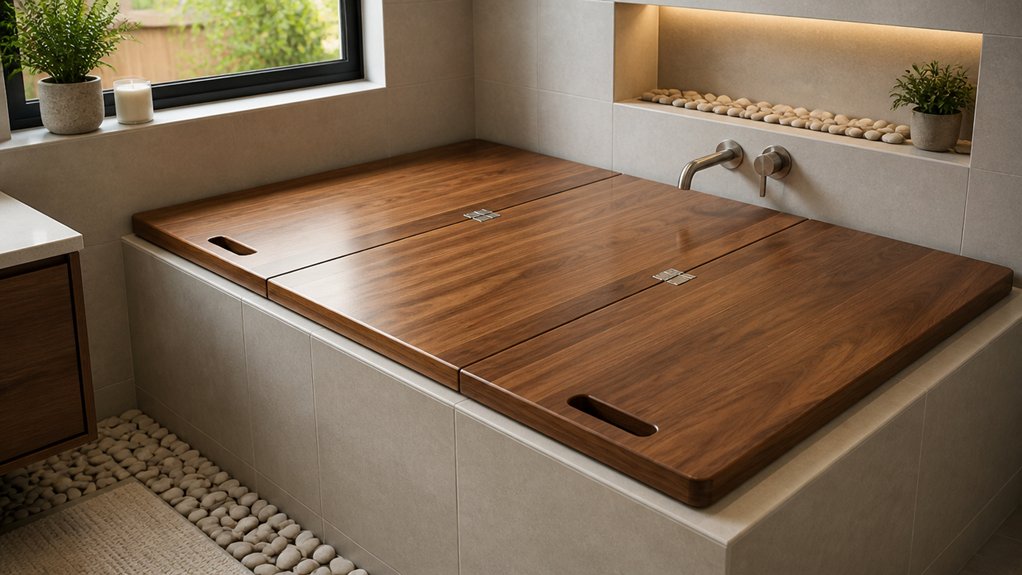
Building your own bathtub cover allows you to make the most of limited bathroom space by transforming the tub into a practical surface for seating or storage. In a small bathroom, a custom cover maximizes functionality without cluttering the room.
By using materials like plywood or pine boards, you can create a perfect fit specifically for your DIY bathtub, giving it a clean, polished look. Waterproof elements like shower liners help protect the cover from humidity, extending its lifespan.
A homemade cover also reduces dust and debris buildup, especially for rarely used garden tubs. Plus, it offers insulation to keep bathwater warm and adds aesthetic appeal. Incorporating UV-reflective coatings can also help maintain the cover’s appearance and function over time.
Materials and Tools You’ll Need for Your DIY Bathtub Cover
To create a durable and waterproof bathtub cover, you’ll need some essential materials like plywood or OSB, a shower curtain liner, and fabric for the finish. Basic tools such as a saw, tape measure, staple gun, and scissors are vital for accurate cuts and secure assembly. Opt for water-resistant options and consider supporting elements like additional boards to guarantee your cover is sturdy and long-lasting. Additionally, incorporating waterproof coatings can enhance the longevity and effectiveness of your DIY cover.
Essential Materials List
Creating a durable and attractive DIY bathtub cover requires a carefully selected set of materials and tools. For a sturdy, heavy duty wooden cover or a simple bathtub cover for small tubs, you’ll need precise materials. Start with plywood or OSB wood cut to your tub’s dimensions for the base. Polyester batting offers cushioning and must extend 4–5 inches beyond edges, wrapping the base. A thin waterproof shower curtain liner should cover the batting for water resistance and durability. For extra protection against moisture and UV damage, consider adding waterproof coatings or weather-resistant layers to prolong the lifespan of your cover. For the outer covering, select a smooth fabric that’s stapled tightly for a professional look. Essential tools include a saw to cut the wood, a staple gun for attaching material, a tape measure for accuracy, and scissors for trimming fabric and liner.
Necessary Construction Tools
Gathering the right tools is a key step before starting your DIY bathtub cover. You’ll need a saw—like a jigsaw—to cut your materials accurately. A tape measure helps guarantee precise measurements of your tub and chosen materials. A staple gun is essential for attaching fabric and the shower curtain liner securely. Scissors come in handy for trimming batting and fabric.
For your tub, whether it’s a basic bath or shower, having a saw and measuring tools guarantees a perfect fit. Sandpaper or a sander smooths rough edges of cut wood, preventing damage to your bathroom surfaces. Pine boards, supports like 1x2s or 2x4s, and waterproofing options like shower curtains are also crucial. Additionally, protect your tub with felt pads or heavy fabric to prevent scratches and improve stability.
Measuring Your Tub and Choosing the Right Cover Design
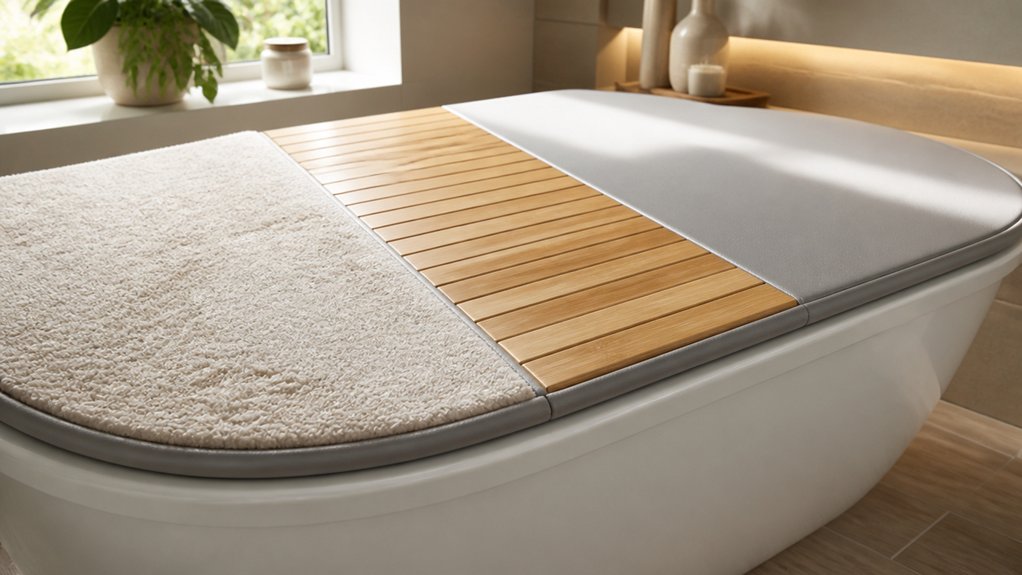
Measuring your tub accurately is essential before selecting a cover design because it guarantees a snug and secure fit. Whether you have a standard bathtub, Clawfoot Tub, or a standalone tub, precise measurements confirm your cover functions properly. Remember to measure the length, width, and depth, including any raised ledges or faucet protrusions. Factor in the thickness of foam padding or batting, adding 4–5 inches beyond the edges for neat wrapping and securing. When choosing a design, consider the shape of your tub:
Accurate tub measurements ensure a perfect, secure fit for your custom cover.
- Matching support frames for Clawfoot Tubs
- Hinged covers for simple solutions
- Material choices based on water resistance needs
These steps help you create a custom cover that’s functional and aesthetic for your bathtub. Additionally, considering insulation properties can improve the efficiency of your homemade cover, especially if you want to retain warmth or cold longer.
How to Build a Waterproof, Durable Bathtub Cover Step by Step
Start by measuring your bathtub precisely and cutting a plywood or OSB board to match these dimensions, allowing an extra 4–5 inches on all sides to accommodate wrapping with foam batting and fabric.
To make your bath cover waterproof and durable, begin by wrapping the board with polyester batting for softness. Secure a thin shower curtain liner underneath, stapling it tightly all around to guarantee waterproofing.
Next, cover the padded board with your chosen fabric, pulling it taut and folding edges under neatly, then stapling every 10 inches for a secure, tidy finish.
This method results in a waterproof, durable bath cover that offers a sleek, water-resistant surface capable of withstanding humidity. Place it over your tub to protect it from splashes, add seating, or create extra storage. For added protection against moisture and temperature fluctuations, consider applying a waterproof sealant around the edges or seams.
Innovative Covering and Insulation Ideas to Enhance Your Bathtub
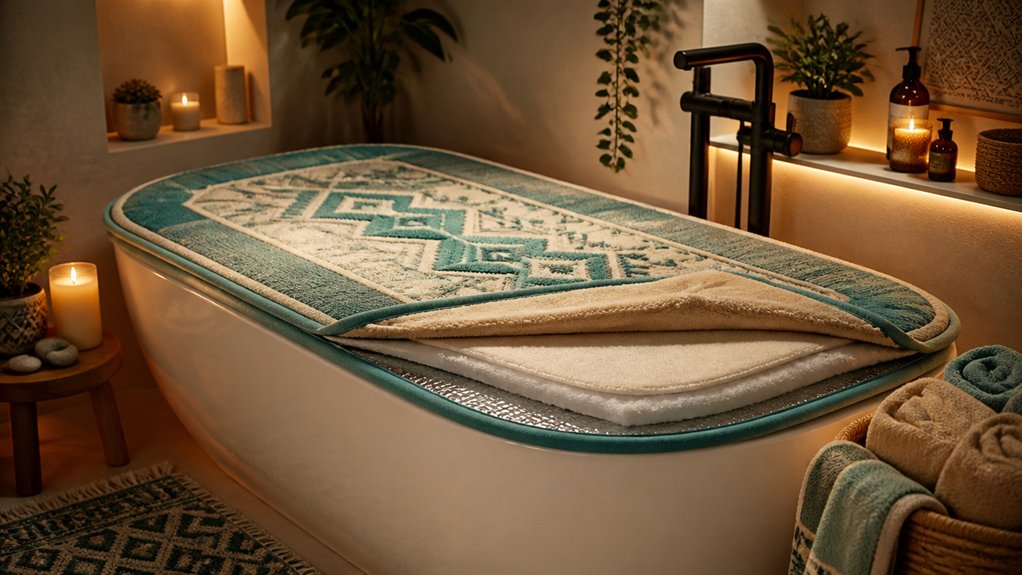
Enhancing your bathtub cover with innovative materials and designs not only boosts its functionality but also elevates its aesthetic appeal. Using plywood or OSB as a base, combined with waterproof liners and polyester batting, is a great option to improve heat retention and durability.
Custom wooden slatted covers made from pine or bamboo add natural warmth and a spa-inspired look, perfect for a master bathroom or creative bathroom ideas. To boost insulation and comfort, consider adding thick foam padding beneath fabric coverings—this makes the cover suitable for extra seating and improves moisture resistance.
For improved accessibility, incorporate removable hinged sections or folding panels with tongue and groove joints. Applying stain and varnish guarantees long-lasting protection against humidity, making your DIY bathtub cover both stylish and functional. Additionally, exploring reflective insulation materials can further enhance heat retention by minimizing radiant heat loss.
Finishing Touches: Personalize and Maintain Your DIY Bathtub Cover
To keep your DIY bath cover looking great and lasting longer, focus on choosing durable finishes like stain and varnish, and regularly clean the surface to prevent buildup.
Personalizing it with paint, stencils, or fabric helps match your bathroom décor and adds a unique touch. Don’t forget to inspect and maintain the cover’s water resistance and structure to guarantee it stays functional over time.
Choosing Durable Finishes
How can you guarantee your DIY bathtub cover stays looking great and lasts longer? Make sure you choose durable finishes that withstand bathroom humidity. Waterproof options like polyurethane varnish or marine-grade sealants are ideal for wooden covers, protecting against water damage.
Keep in mind, sanding all wood surfaces smoothly and applying multiple coats of paint or stain will boost durability, preventing chipping or peeling. For cushioned covers, incorporating tightly woven, water-resistant fabrics like treated polyester or vinyl helps with easy cleaning and mold prevention.
Additionally, attaching felt pads or silicone strips under the edges can prevent scratching and slipping. Incorporating advanced insulation techniques can help maintain water temperature longer and reduce heat transfer, further extending the cover’s lifespan.
- Use waterproof sealants for longevity
- Apply multiple coats for added protection
- Regularly inspect and reseal to maintain quality
Regular Cleaning Tips
Keeping your DIY bathtub cover looking its best requires regular cleaning and maintenance. To maintain your jacuzzi tub’s energy efficiency and enhance your home decor, clean the cover weekly with a mild, non-abrasive cleaner to prevent dust, soap scum, and mildew buildup. Vacuum or gently brush fabric surfaces to minimize pet hair and dust. Check and re-staple fabric edges or shower liners to keep the cover taut and professional-looking. Use a fabric-safe spray protector to repel stains and moisture, extending its lifespan. Also, inspect the underside for mold or moisture, ensuring proper ventilation. Regular upkeep keeps your cover functional and attractive. Incorporating hygienic design principles from professional cleaning tools can further improve your maintenance routine.
Common Mistakes to Avoid When Making Your Bathtub Cover
When making a bathtub cover, overlooking key details can lead to functional and safety issues. A master plan is essential, as a Great idea like creative fabric choices still needs accurate measurements to guarantee your cover would work properly.
Don’t skip waterproofing steps—wrapping the base in a shower liner is critical to preventing moisture damage and mold growth. Failing to smooth and staple fabric edges properly, or neglecting to fold them under, results in a messy finish that can fray quickly.
Also, avoid using inappropriate materials that aren’t water-resistant or resistant to humidity, as these will wear faster and cause issues over time. Finally, always check support placement and stability to prevent slipping or tipping hazards.
Proper planning helps you create a durable, safe bathtub cover.
Frequently Asked Questions
How to Make a Bathtub Cover?
To make a bathtub cover, measure your tub precisely, cut a wooden base, add padding and waterproof fabric, then secure it with staples. Finish with paint or stain, and add supports for stability and surface protection.
What Natural Things Can I Put in My Bath?
You can add oatmeal to soothe your skin, eucalyptus for invigorating aromatherapy, herbs like lavender or rosemary for relaxation, Epsom salts to ease soreness, and rose petals for a calming, luxurious atmosphere. These natural ingredients enhance your bath experience.
How Can I Cover My Existing Bathtub?
You can cover your existing bathtub by measuring carefully, using waterproof materials like plywood and shower curtain liners, wrapping with fabric, securing with staples, and adding non-slip pads underneath to guarantee safety and a polished look.
How to Make a Bath Look Nicer?
To make your bath look nicer, you can add a custom wooden cover with a polished stain, decorate with colorful cushions and plants, paint or stencil for style, and incorporate coordinated accessories like baskets for both beauty and functionality.