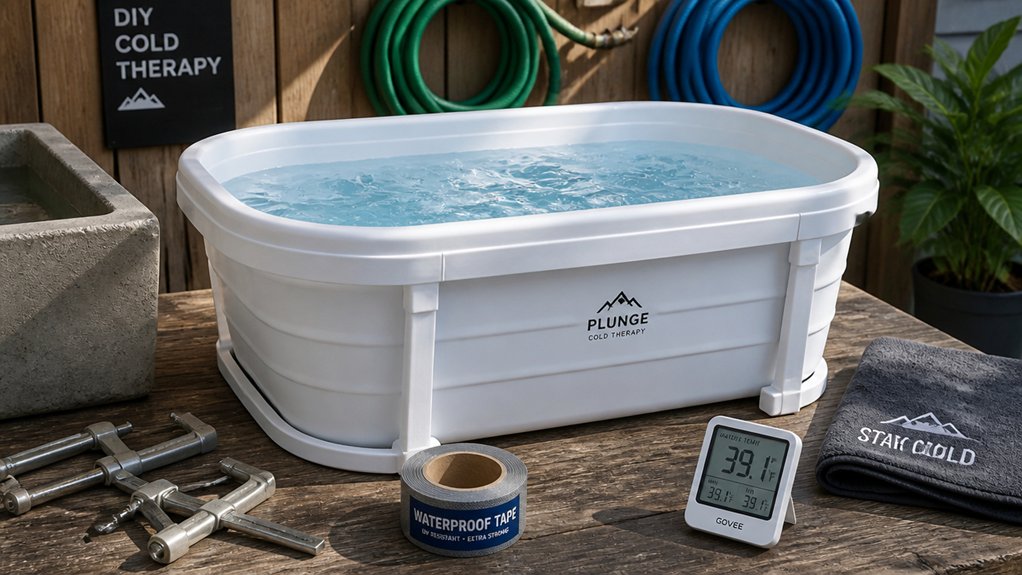
To set up a DIY portable ice bath, choose a durable, insulated container like a plastic stock tank, ensuring it’s stable and easy to access. Position it near a water source and drainage area, ideally outdoors or in a cool, shaded spot. Use ice and insulation to keep the water cold, and install a pump with a filter for circulation. Regularly sanitize and maintain water quality for safe use. Keep exploring to discover tips that will enhance your ice bath experience.
What Are the Benefits of Cold Water Therapy?
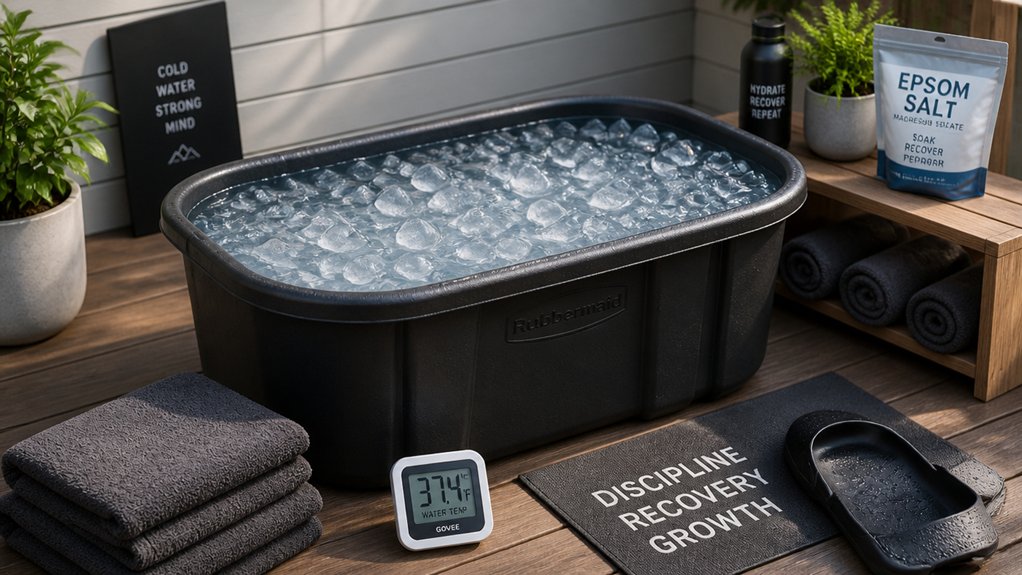
Have you ever wondered why cold water therapy has become so popular among athletes and wellness enthusiasts? Cold therapy, like taking an ice bath, helps reduce muscle soreness and inflammation after intense workouts, speeding up recovery.
Cold water therapy accelerates recovery by reducing soreness and inflammation after intense workouts.
When you immerse yourself in cold water, your blood vessels constrict, improving circulation. Once you warm up, they dilate again, encouraging fresh blood flow and healing.
Cold water also stimulates the release of endorphins, boosting your mood and reducing stress. Regular cold plunges can enhance mental resilience and sharpen focus, especially when done in the morning.
Plus, cold therapy activates your sympathetic nervous system, giving you a natural energy boost. Incorporating proper water treatment ensures the water remains clean and safe, maximizing these benefits. These advantages make ice baths a simple yet effective addition to any wellness routine.
How to Choose the Best Container for Your DIY Ice Bath
When selecting a container for your DIY ice bath, focus on durability and safety to guarantee it withstands regular use and cleaning. Consider insulation options to help maintain cold temperatures, especially if the container isn’t built-in for that purpose. Additionally, choosing a container with an appropriate material type and sufficient insulation layers can significantly improve heat retention and overall performance. Finally, choose a size that offers easy access and comfort for full-body immersion without sacrificing practicality.
Material Durability and Safety
Selecting the right container for your DIY ice bath is essential to guarantee safety and longevity. You want a durable, non-toxic, waterproof container that withstands cold temperatures and water weight. A food-grade plastic stock tank is an ideal choice, as it’s strong enough to resist cracking or warping over time. Confirm the container has sufficient thickness and structural strength, like heavy-duty polyethylene tanks, which are designed for outdoor use and can handle the demands of an ice bath. Additionally, choose a container with built-in drainage or design provisions for easy water removal and cleaning. Stability matters too—look for a model with a stable, non-slip base and rounded edges to prevent injuries. Prioritizing safety and durability ensures your setup remains reliable and secure. Incorporating material durability considerations will help prevent damage and ensure consistent use.
Insulation and Temperature Retention
Choosing the right container for your DIY ice bath hinges on its ability to retain cold temperatures efficiently. Insulation is key to maintaining water temperature and reducing energy use. Insulated coolers like the Grizzly 400 keep water cold longer, losing just 1-2°F per day without active chilling. Plastic stock tanks offer better insulation than metal, especially when combined with foam or reflective foil wraps and fitted lids. Waterproof lids with seals trap cold air, stabilizing temperature during use and between sessions. Thick, impermeable walls like those of drop-stitch fabric tubs or high-quality coolers also boost thermal retention and durability. To help visualize, here’s a quick comparison:
| Feature | Effect on DIY Cold Plunge | Best for |
|---|---|---|
| Insulated Cooler | Minimizes temperature loss | Long-term cold retention |
| Reflective Foil Wrap | Reflects heat, improves insulation | Reducing heat loss |
| Waterproof Lid | Maintains stable water temperature | Frequent use |
Additionally, incorporating materials with reflective insulation can significantly enhance the container’s thermal efficiency, keeping your water colder for longer periods.
Size and Ease of Access
The size of your container directly influences comfort and practicality during your ice bath sessions. You want a container that allows full-body immersion without being overly bulky or hard to move.
Consider these options:
- Choose a sturdy container between 100 to 200 gallons to balance water volume and weight.
- Rubbermaid stock tanks (~100 gallons) are affordable and accessible but need insulation and a lid for temperature control.
- Barrel-style tubs offer ergonomic comfort and easier entry compared to coffin-style wooden tanks.
- Select a container with a flat, stable base and smooth edges to improve balance and minimize injury risks when entering or exiting.
- Ensuring your container is made from durable materials like reinforced nylon or PVC enhances longevity and resistance to punctures or leaks during use.
Opting for lightweight, portable materials like plastic or inflatable tubs makes transportation simple, giving you flexibility to set up indoors or outdoors.
Where Should You Set Up Your Cold Plunge for Easy Access?
Choose a spot with easy access to a water source and drainage to make filling and cleaning simple.
Make sure the surface is level and stable to prevent accidents or spills.
Also, pick a location that offers shelter and privacy to keep your cold plunge comfortable and safe.
Proximity to Water Source
Positioning your DIY ice bath near a water source is essential for convenience and efficiency. With easy access, you can quickly fill or refill your cold plunge without hauling water bottles or heavy containers. Consider the following:
- Set up next to an outdoor water spigot or garden hose connection for quick filling and refilling.
- Choose a flat, stable surface near a drainage area or floor drain to manage overflow and make cleanup easier.
- This proximity reduces the time spent replacing the water since a 100-gallon tank takes effort to fill manually.
- If indoors, place it in a bathroom, laundry room, or garage where plumbing is accessible, and drainage is available to avoid water damage.
- Ensuring the hose used for filling has a high enough pressure rating and diameter will help maintain a steady flow and reduce fill times.
Level Ground Surface
Setting up your cold plunge on a flat, stable surface guarantees it remains secure and evenly balanced during use. A level ground surface prevents tipping and reduces structural stress caused by uneven weight distribution.
Make certain the area can support the heavy load of the filled tub, considering that 100 gallons of water weigh roughly 830 pounds plus the tub’s weight. Choose a spot with good drainage or place a waterproof mat or tarp underneath to protect the flooring and make draining easier.
A stable, flat surface also simplifies routine maintenance, water filling, and draining. For convenience, set up your plunge near a water source for quick hose connections.
For added stability, consider using reinforced and durable materials, which help withstand frequent use and prevent punctures or leaks during setup.
Prioritize safety, accessibility, and support to create a durable, functional setup that’s easy to use and maintain.
Shelter and Privacy
To maximize convenience and privacy, placing your cold plunge in a location that’s easily accessible and discreet is essential.
For a DIY setup, consider these options:
- Shelter: Use a covered outdoor area or garage to protect your ice bath from the elements.
- Privacy: Set up near your sauna or workout space to maintain privacy while integrating seamlessly into your routine.
- Shade: Choose a shaded spot outdoors to keep water temperatures cooler and reduce ice use.
- Drainage & Access: guarantee the location has nearby water sources and drainage for easy filling and emptying without mess or water hazards.
- Insulation: Incorporate proper insulation, such as multi-layer materials, to help maintain water temperature in your setup.
How to Keep Your Water Cold: Cooling and Temperature Maintenance
Keeping your water consistently cold relies on strategic insulation, regular ice replenishment, and possibly incorporating cooling devices.
Maintaining cold water requires insulation, regular ice updates, and optional cooling devices for best results.
To maintain water temperature between 40°F and 55°F without electrical chillers, use large reusable ice blocks or 20–40 lb ice bags. Around the container, add thick insulation like reflective foil and foam, and seal it with a well-fitted insulated lid to minimize heat gain.
Replenish ice every 1–2 weeks for large setups, or rotate frozen bottles every 2–3 days to keep water cold.
Cold plunge chillers, such as 1/4 HP units, can lower water temperature by about 2°F per hour, especially when combined with good insulation. For precise control, automate with devices like the Inkbird WiFi ITC-308, preventing overcooling and conserving energy.
Step-by-Step: Building Your DIY Portable Ice Bath
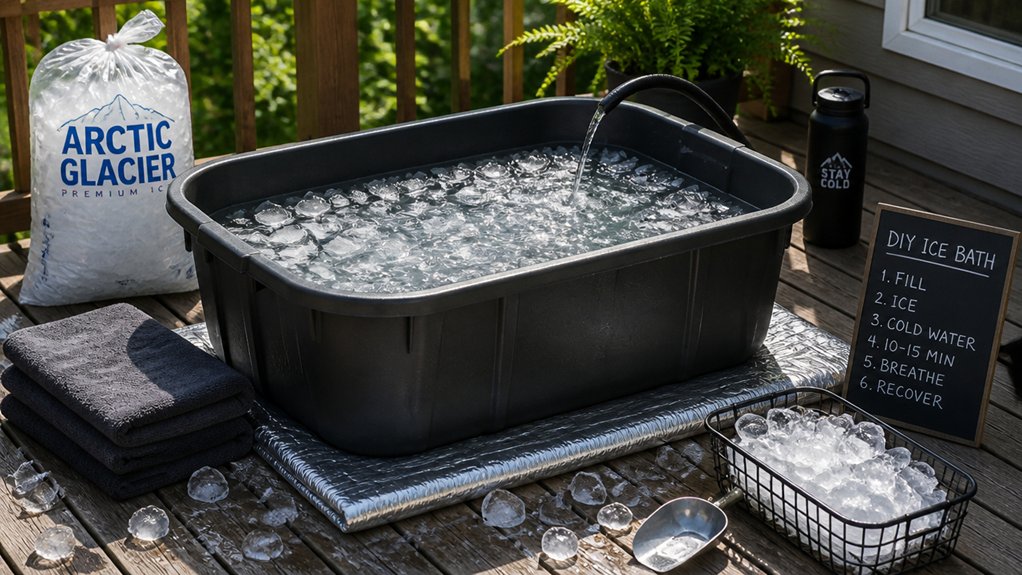
Building your DIY portable ice bath begins with selecting a sturdy, waterproof container that can hold ample water and withstand frequent use, such as a 100-gallon Rubbermaid stock tank or a large insulated cooler.
To create a comfortable Cold Water Plunge, follow these steps:
- Build a wooden frame and install vertical cedar slats around the container for insulation and aesthetics.
- Add reflective foil insulation and foam strips inside for effective temperature retention.
- Construct a plywood lid with handles, then insulate it with reflective foil and foam, covering with a waterproof tarp.
- Fill the tub with water, then add ice cubes to keep it cold, and consider a filtration system to maintain water clarity.
How to Set Up Water Filtration and Sanitation for Safe Use
Establishing a reliable water filtration and sanitation system is essential to secure your ice bath remains safe and clean for regular use. To keep the water properly circulated, use a minimum 500 GPH pump with a cartridge filter, running it for 3-4 hours daily. This continuous flow of blood benefits recovery and helps remove debris from the water.
Sanitize weekly with 1-2 teaspoons of chlorine granules or bromine to eliminate pathogens and keep the water safe. Maintaining the correct pH level between 7.2 and 7.8 guarantees the sanitizer works effectively and prevents skin irritation.
Additionally, cover your ice bath when not in use to keep out debris, reduce evaporation, and maintain water temperature. Regularly inspect and clean your pump and filter to keep the system functioning optimally.
Safety Tips for Cold Water Immersion at Home
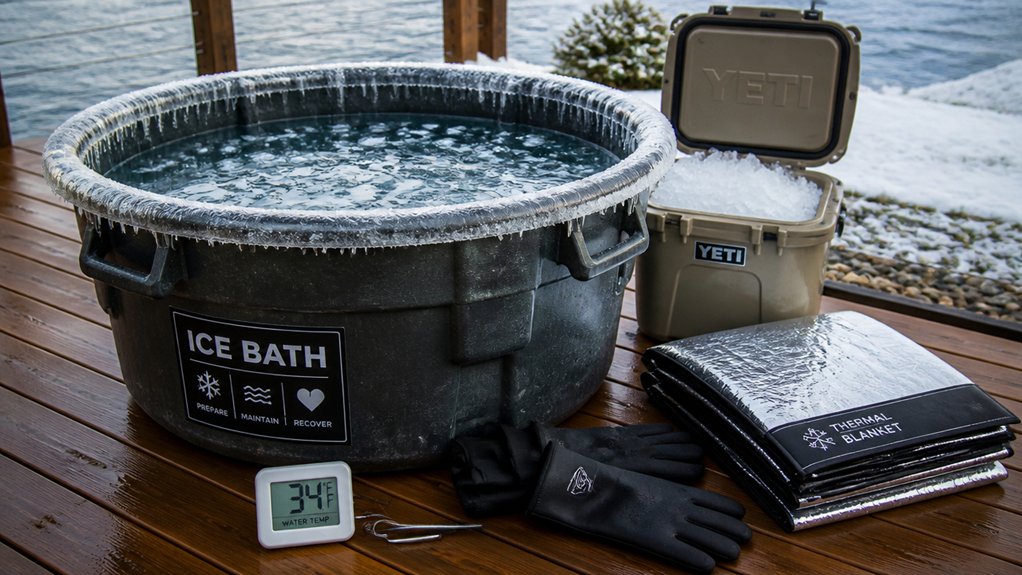
Before taking cold water immersions at home, you need to be aware of potential health risks and consult a healthcare professional if you have existing conditions.
Always have someone nearby to supervise your dip to respond quickly to any adverse reactions.
Follow recommended temperature and time guidelines to reduce the risk of hypothermia or shock.
Recognize Health Risks
While cold water immersion can offer benefits, it’s essential to recognize potential health risks and follow safety precautions. Cold water plunges can cause shock or hypothermia if not approached carefully.
To stay safe:
- Always consult a healthcare professional first, especially if you have heart issues or chronic conditions.
- Never let children, pregnant women, or people with epilepsy or open wounds use an ice bath alone.
- Limit initial dips to 1–2 minutes, gradually increasing as your body acclimates.
- Perform water plunges in a safe environment with stable footing, avoiding solo immersions.
Maintain slow, controlled breathing during the cold plunge to prevent panic and reduce cardiovascular stress. Recognizing these risks helps guarantee a safer cold water experience at home.
Supervise Cold Dips
Ever wonder why supervision is vital during cold water dips? Supervise cold dips to guarantee your safety and respond quickly if symptoms of hypothermia or cold shock appear. Never let children, pregnant individuals, or people with heart conditions use an ice bath unsupervised, as they face higher risks of cardiac events. Limit initial plunge sessions to 2–3 minutes, gradually building tolerance. Always monitor their breathing—maintain slow, steady breaths to prevent cold shock. Place the ice bath on a stable, flat surface, away from hazards, and keep a warm area nearby for safe recovery.
| Consideration | Details |
|---|---|
| Supervision necessity | Immediate assistance needed during any distress |
| Duration of dips | Limit to 2–3 minutes initially |
| Risk management | Avoid fasting or exhaustion before dips |
| Suitable candidates | Only healthy individuals, supervised at all times |
| Post-dip safety | Warmth and proper recovery essential |
Follow Usage Guidelines
Following proper usage guidelines is essential to guarantee your safety during cold water immersion at home.
To keep your DIY experience safe and effective, follow these steps:
- Start with short sessions of 2–3 minutes and gradually increase to 5–10 minutes as your tolerance improves, always monitoring your body’s responses.
- Keep your breathing slow and steady; only enter the bath when your breathing stabilizes within 30 seconds to prevent cold shock.
- Maintain the desired temperature between 50–59°F (10–15°C); lower it by 3–5°F every 1–2 weeks to build tolerance gradually.
- Never immerse alone, especially when adjusting to cold water, and consult a healthcare professional if you have any health concerns.
Tips for Maintaining and Cleaning Your Ice Bath for Longevity
To keep your DIY ice bath in top condition and guarantee it lasts, regular maintenance is essential. Make sure to replace the chlorine tablets in the floater every two to three weeks to prevent algae and bacteria from growing.
Drain and thoroughly clean the cold plunge tub with a mild disinfectant and a sump pump about every three weeks to eliminate sediment and biofilm buildup. Rinse the tub regularly and avoid harsh bleach-based cleaners, which can damage waterproof liners, seals, and insulation.
When not in use, cover the bath with a fitted lid or waterproof tarp to reduce debris, evaporation, and temperature fluctuations. Keep an eye on water clarity and smell; perform partial water changes or add Epsom salts as needed to maintain freshness and hygiene between full cleans.
Troubleshooting Common DIY Cold Plunge Challenges
Troubleshooting common DIY cold plunge challenges often involves identifying the root causes behind performance issues and applying simple fixes.
Fix common DIY cold plunge problems quickly with simple troubleshooting tips.
Here are some tips:
- If your ice baths leak, check your bulkhead fittings for proper sealing, reapplying pipe thread sealant if needed, and guarantee holes are drilled correctly.
- Struggling to keep water cold? Use insulation and circulate frozen water bottles to extend the weeks to keep temperature low.
- Pump or filter clogging reduces circulation. Regularly clean or replace filters to prevent damage and maintain efficiency.
- Rapid heat gain occurs if lids aren’t sealed properly or insulation is inadequate. Improve sealing and add insulation to cut down on ice pack and ice needs.
Address these issues swiftly to maximize your DIY ice baths’ effectiveness and longevity.
Upgrades and Accessories to Enhance Your DIY Ice Bath Experience
Enhancing your DIY ice bath setup can make a significant difference in comfort, efficiency, and overall experience. Adding a lockable thermal-shield lid, like those used in CrocPad Ice Baths, improves insulation and reduces ice consumption, keeping water colder longer.
Installing a pump and filtration system, such as a 500-1200 GPH pump with a cartridge filter, helps maintain water clarity and hygiene, minimizing the need for frequent water changes.
Using floating chlorine tablets with a tablet floater guarantees consistent sanitation over 2–3 weeks without handling chemicals constantly.
Additionally, incorporating reflective foil insulation and foam strips around and beneath your bath frame dramatically reduces heat gain, extending cold water retention time.
These upgrades make your DIY ice bath more efficient, comfortable, and cost-effective.
Frequently Asked Questions
How to Set up an Inflatable Ice Bath?
You just inflate your tub with the included pump, place it on a flat surface, fill two-thirds with water, add ice or frozen bottles, and cover with the insulated lid. Maintain temperature for effective cold therapy.
Can Ice Baths Help With Lipedema?
Yes, ice baths can potentially help with lipedema by reducing inflammation, fluid retention, and pain, improving circulation, and decreasing discomfort. However, you should consult a healthcare professional first to guarantee safe, personalized use and avoid risks.
How Many Bags of Ice for a Portable Ice Bath?
You’ll need about one 20-40 pound bag of ice every 1-2 weeks to keep your portable ice bath in the 40s-50s°F range, adjusting for weather and usage. Start with 3-5 bags for initial cooling, then rotate bottles or add ice as needed to maintain the temperature.
How to Set up an Ice Bath at Home?
To set up an ice bath at home, choose a sturdy container on a stable surface, fill it two-thirds with cold water, add ice or frozen bottles, and keep the water clean with proper sanitation. Cover it when not in use.